English

22 Operation

Normal Recording

Preparation:

Turn on the power for both the DVD+VCR and TV.

Tune the TV to the DVD+VCR output channel (CH 3 or 4) or set the TV’s source selector to VIDEO (if using Video Inputs).

If a direct VIDEO/AUDIO connection is made between the DVD+VCR and the TV, set the TV’s source selector to correct VIDEO mode.

1

Insert a video cassette with the safety tab intact.

2

Select the desired channel by using v/V.

If you are recording from another source via audio/video input jacks (at the Rear or Front panel), select the LINE1 or LINE2 by pressing INPUT.

3 Set the desired recording speed (SP or SLP) by pressing SPEED.

This DVD+VCR is not designed to record in LP mode.

4 Set the MTS mode as desired (See page 15, 25).

5 Press REC/ITR (z) once.

Recording will start. (The REC indicator will light in the display window.)

REC indicator appears only when the Output Source is set to VCR.

If a cassette with no safety tab is loaded, the cassette will be ejected automatically.

6 Press STOP (x) to stop recording.

If the tape reaches the end of its playback, the DVD+VCR will automatically stop, rewind, eject, and turn itself off (Functions only with no disc in unit).

To pause the recording

1Press PAUSE/STEP (X) to pause the tape during recording.

The REC indicator will flash in the display window.

2When you want to continue recording, press PAUSE/STEP (X) or press REC/ITR (z).

After 5 minutes in pause mode, the unit will stop automatically to protect the tape and the video heads.

To record one TV program while watching another

1Press TV/VCR to select the TV mode during recording.

The TV indicator appears.

2Using the TV, select the desired channel to be viewed.

Tips

Always use PAUSE/STEP (X) for the best results when making changes during recording.

For example: To change channels during recording, first press PAUSE/STEP (X) to put the unit in pause mode. Then select the desired channel on the DVD+VCR, and press PAUSE/STEP (X) again to resume recording.

Timer Recording

This DVD+VCR can be programmed to record up to 8 pro- grams within a period of 1 year. For unattended recording, the timer needs to know the channels to be recorded and the program start and end times.

Things to know before starting

If you try to set the program timer before setting the clock, PLEASE SET THE CLOCK appears for a moment and then CLOCK menu appears on the TV screen. Set the time and date to continue.

Make sure a tape is in the DVD+VCR and the safety tab is in place or the tape will be automatically ejected.

Preparation:

Turn on the power of both the DVD+VCR and the TV.

Be sure the TV is set to the DVD+VCR output channel (3 or 4).

Make sure the TUNING BAND in the TUNING menu is set cor- rectly (TV or CATV).

1Press SYSTEM MENU and the MAIN menu will appear.

2Use v/V to choose the PROGRAM menu.

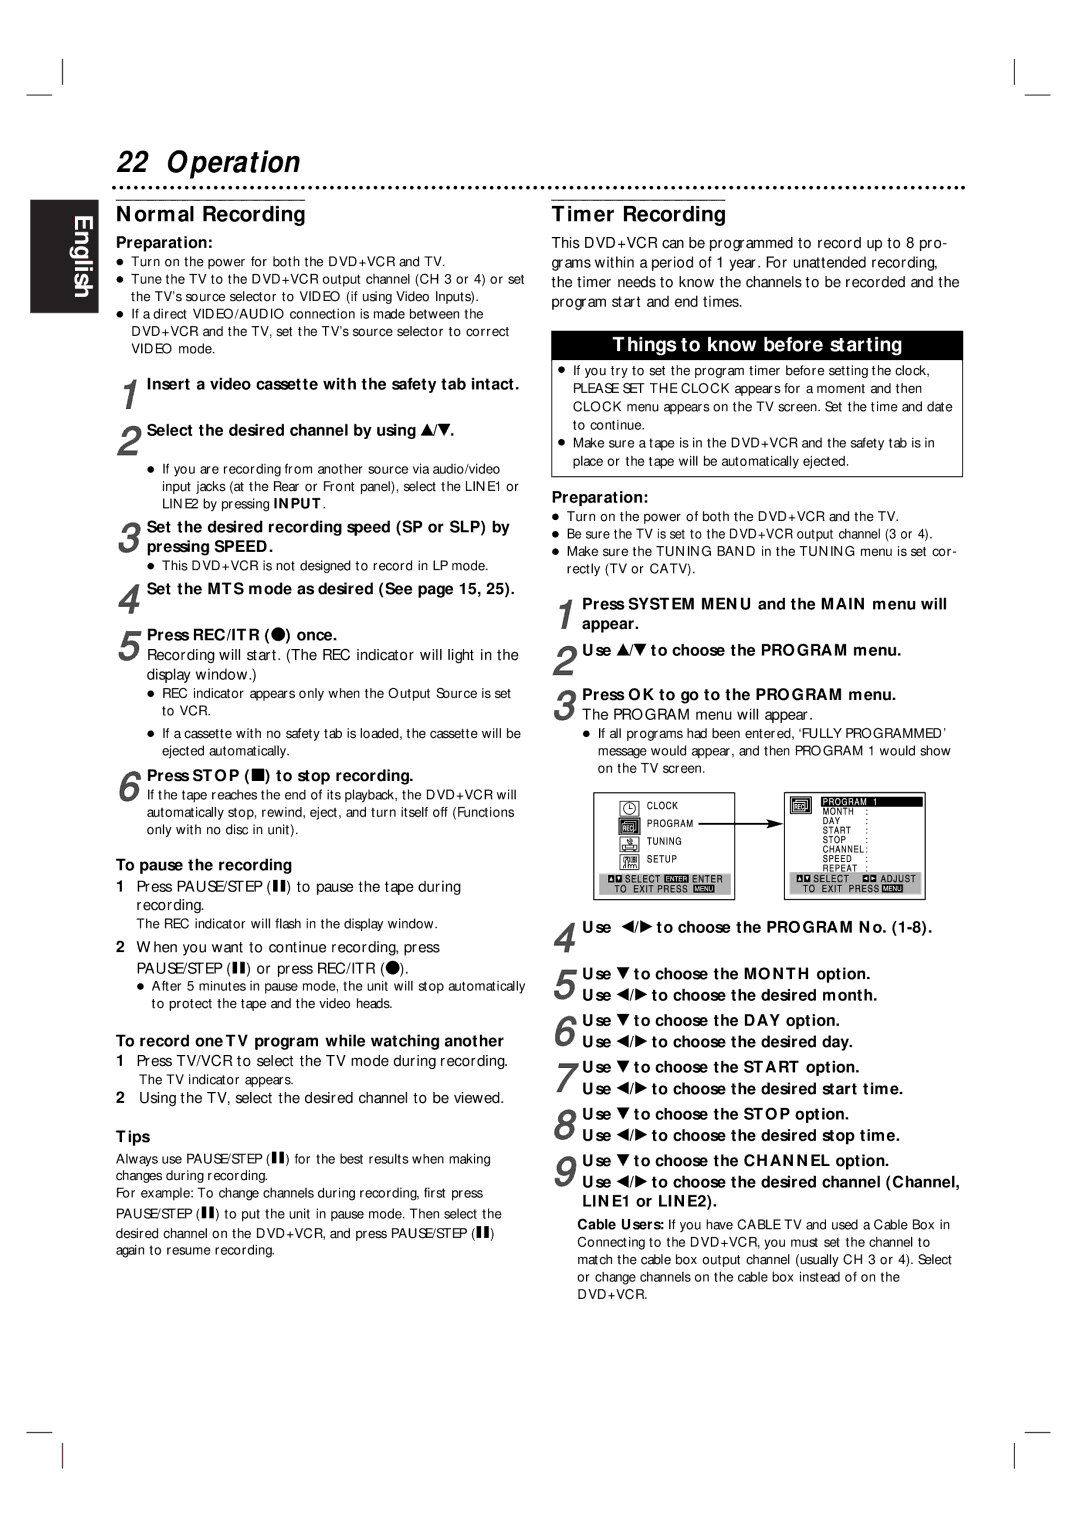
3Press OK to go to the PROGRAM menu. The PROGRAM menu will appear.

If all programs had been entered, ‘FULLY PROGRAMMED’ message would appear, and then PROGRAM 1 would show on the TV screen.

4 Use b/B to choose the PROGRAM No. (1-8).

5 Use V to choose the MONTH option. Use b/B to choose the desired month.

6 Use V to choose the DAY option. Use b/B to choose the desired day.

7

Use V to choose the START option.

Use b/B to choose the desired start time.

8 Use V to choose the STOP option.

Use b/B to choose the desired stop time.

9 Use V to choose the CHANNEL option.

Use b/B to choose the desired channel (Channel, LINE1 or LINE2).

Cable Users: If you have CABLE TV and used a Cable Box in Connecting to the DVD+VCR, you must set the channel to match the cable box output channel (usually CH 3 or 4). Select or change channels on the cable box instead of on the DVD+VCR.

Page 22
Image 22
Magnavox MDV560VR/17 warranty Normal Recording, Timer Recording

MDV560VR/17 specifications

The Magnavox MDV560VR/17 is a versatile and feature-rich device that combines the functionalities of a DVD player and a video recorder. This appliance is designed to meet the entertainment needs of consumers looking for a reliable way to enjoy their favorite films and record live television shows.

One of the standout features of the MDV560VR/17 is its dual functionality. With the ability to play DVDs and VHS tapes, it caters to a wide range of media formats, making it an ideal choice for those who still own a collection of VHS recordings while also wanting to enjoy the clarity of DVDs. This feature alone makes the MDV560VR/17 a valuable addition to any home entertainment system.

The device boasts advanced recording capabilities, allowing users to record directly from TV broadcasts onto VHS tapes. With its built-in TV tuner, users can easily capture their favorite shows in real-time, ensuring that they never miss an episode. This is particularly advantageous for those who have a busy schedule and want to enjoy television at their convenience.

In terms of connectivity, the Magnavox MDV560VR/17 is equipped with multiple input and output options. These include composite video inputs and outputs, as well as S-Video connections for improved video quality. This allows users to connect the device to a variety of televisions and audio systems, enhancing the overall viewing experience.

Another notable characteristic of the MDV560VR/17 is its user-friendly interface. The remote control is designed for easy navigation, enabling users to access a range of functions, from basic playback controls to advanced recording settings. This simplicity is ideal for users of all ages, ensuring that everyone can enjoy the device without a steep learning curve.

The MDV560VR/17 also incorporates high-quality audio and video technologies, ensuring that playback is smooth and crisp. With support for various sound formats, it provides an immersive viewing experience that complements its visual performance.

In summary, the Magnavox MDV560VR/17 is an all-in-one entertainment solution that offers a blend of DVD playback and video recording. Its range of features, ease of use, and versatile connectivity options make it a top choice for consumers looking to merge the past and present of home video technology.