group and this will highlight these in red. When finished, press EXIT. Then store the settings.
TO RENAME CHANNEL
Select Rename and press OK. Select channel and press OK, a keypad will appear. Select character and press OK. After naming press EXIT. Then store the settings.
TO MOVE CHANNEL
Select Move and press OK. To move individual channel, press OK twice on the channel. This will highlight it in mauve. Then select a position in the list and press OK. To move a group of channels, press OK once on the first channel. Then scroll down wards this will highlight these in mauve. Press OK on the last channel in the group. Select a position in the list and press OK. When finished, press EXIT. Then store the settings.
STORE: After all above settings and exiting, move down to STORE and press OK
SATELLITE / TP EDIT
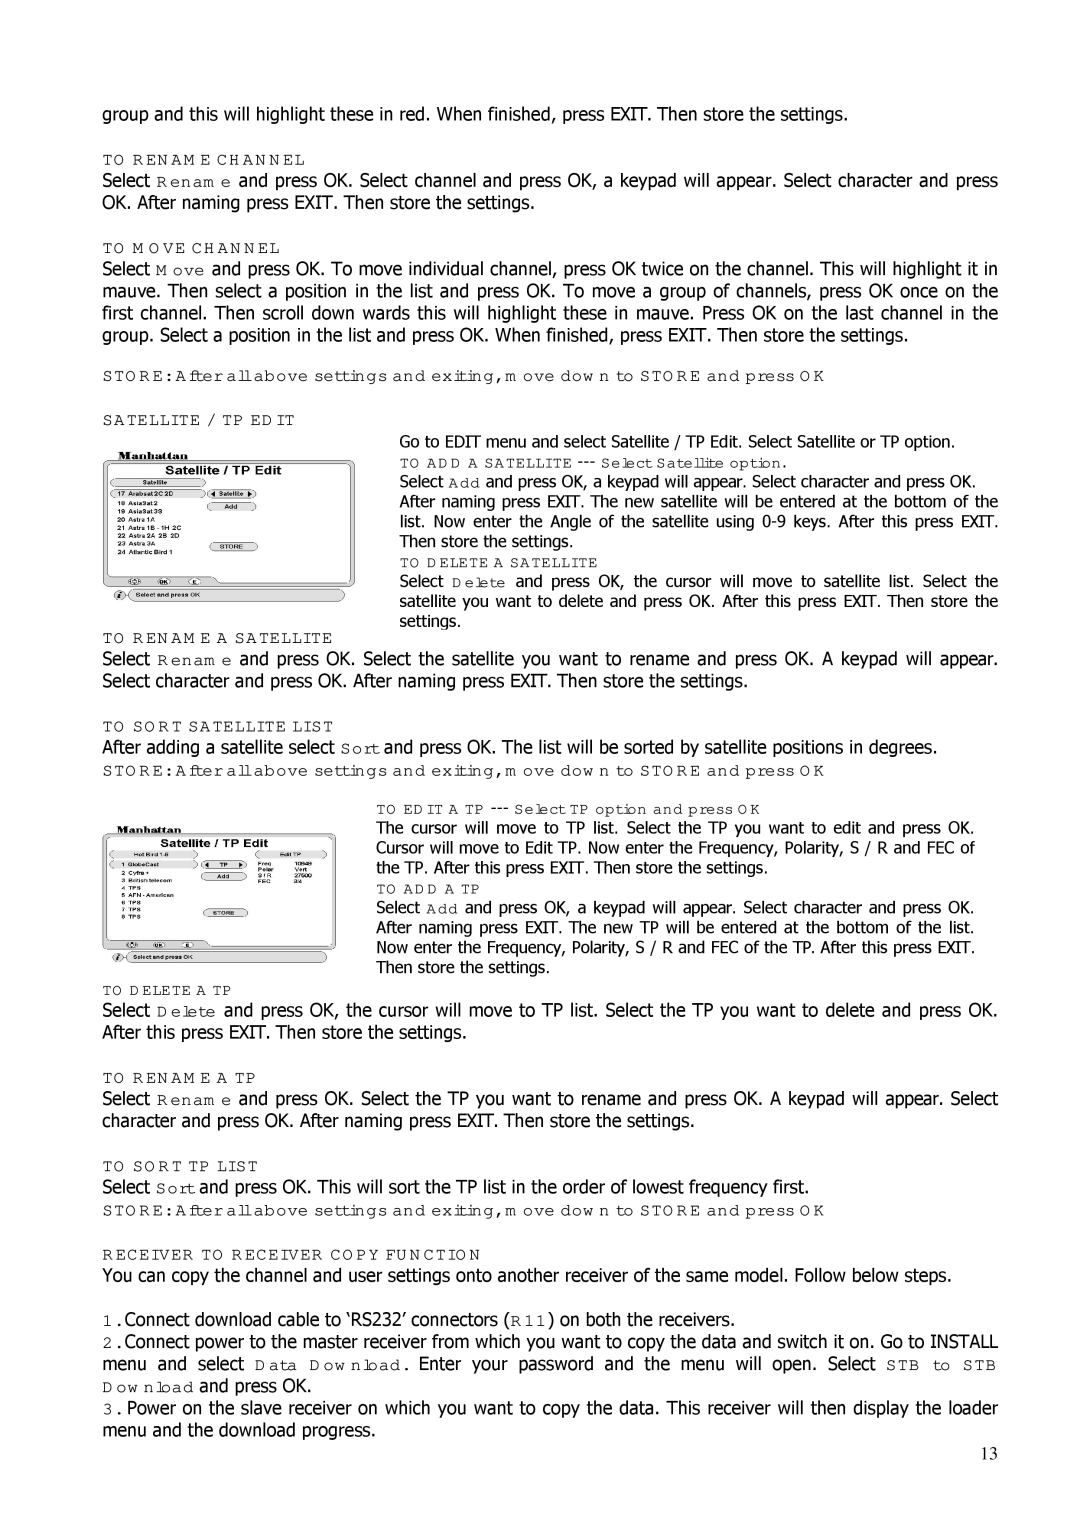
Go to EDIT menu and select Satellite / TP Edit. Select Satellite or TP option. TO ADD A SATELLITE
Select Add and press OK, a keypad will appear. Select character and press OK. After naming press EXIT. The new satellite will be entered at the bottom of the list. Now enter the Angle of the satellite using
TO DELETE A SATELLITE
Select Delete and press OK, the cursor will move to satellite list. Select the satellite you want to delete and press OK. After this press EXIT. Then store the settings.
TO RENAME A SATELLITE
Select Rename and press OK. Select the satellite you want to rename and press OK. A keypad will appear. Select character and press OK. After naming press EXIT. Then store the settings.
TO SORT SATELLITE LIST
After adding a satellite select Sort and press OK. The list will be sorted by satellite positions in degrees.
STORE: After all above settings and exiting, move down to STORE and press OK
TO EDIT A TP --- Select TP option and press OK
The cursor will move to TP list. Select the TP you want to edit and press OK. Cursor will move to Edit TP. Now enter the Frequency, Polarity, S / R and FEC of the TP. After this press EXIT. Then store the settings.
TO ADD A TP
Select Add and press OK, a keypad will appear. Select character and press OK.
After naming press EXIT. The new TP will be entered at the bottom of the list.
Now enter the Frequency, Polarity, S / R and FEC of the TP. After this press EXIT.
Then store the settings.
TO DELETE A TP
Select Delete and press OK, the cursor will move to TP list. Select the TP you want to delete and press OK. After this press EXIT. Then store the settings.
TO RENAME A TP
Select Rename and press OK. Select the TP you want to rename and press OK. A keypad will appear. Select character and press OK. After naming press EXIT. Then store the settings.
TO SORT TP LIST
Select Sort and press OK. This will sort the TP list in the order of lowest frequency first.
STORE: After all above settings and exiting, move down to STORE and press OK
RECEIVER TO RECEIVER COPY FUNCTION
You can copy the channel and user settings onto another receiver of the same model. Follow below steps.
1.Connect download cable to ‘RS232’ connectors (R11) on both the receivers.
2.Connect power to the master receiver from which you want to copy the data and switch it on. Go to INSTALL menu and select Data Download. Enter your password and the menu will open. Select STB to STB Download and press OK.
3.Power on the slave receiver on which you want to copy the data. This receiver will then display the loader menu and the download progress.
13
