Search Mode: Select search option for each satellite. See below for options. Options with + D will also include data channels
Auto All - All TP, Video and Radio channels.
Auto All + D
Auto FTA - All TP for Free To Air Video and Radio channels.
NIT All – All TP, Video and Radio channels with Network Identification Table.
NIT All + D – All TP, Video, Radio and Data channels with Network Identification Table. NIT FTA
TP All
TP All + D
Manual All – Single TP for all Video and Radio channels. To select go to TP Data and press OK for sub menu.
Manual All + D – Single TP for all Video, Radio and Data channels. Manual FTA – Single TP for Free To Air Video and Radio channels.
ADD OR EDIT A TP
Go to TP Data and press OK key.
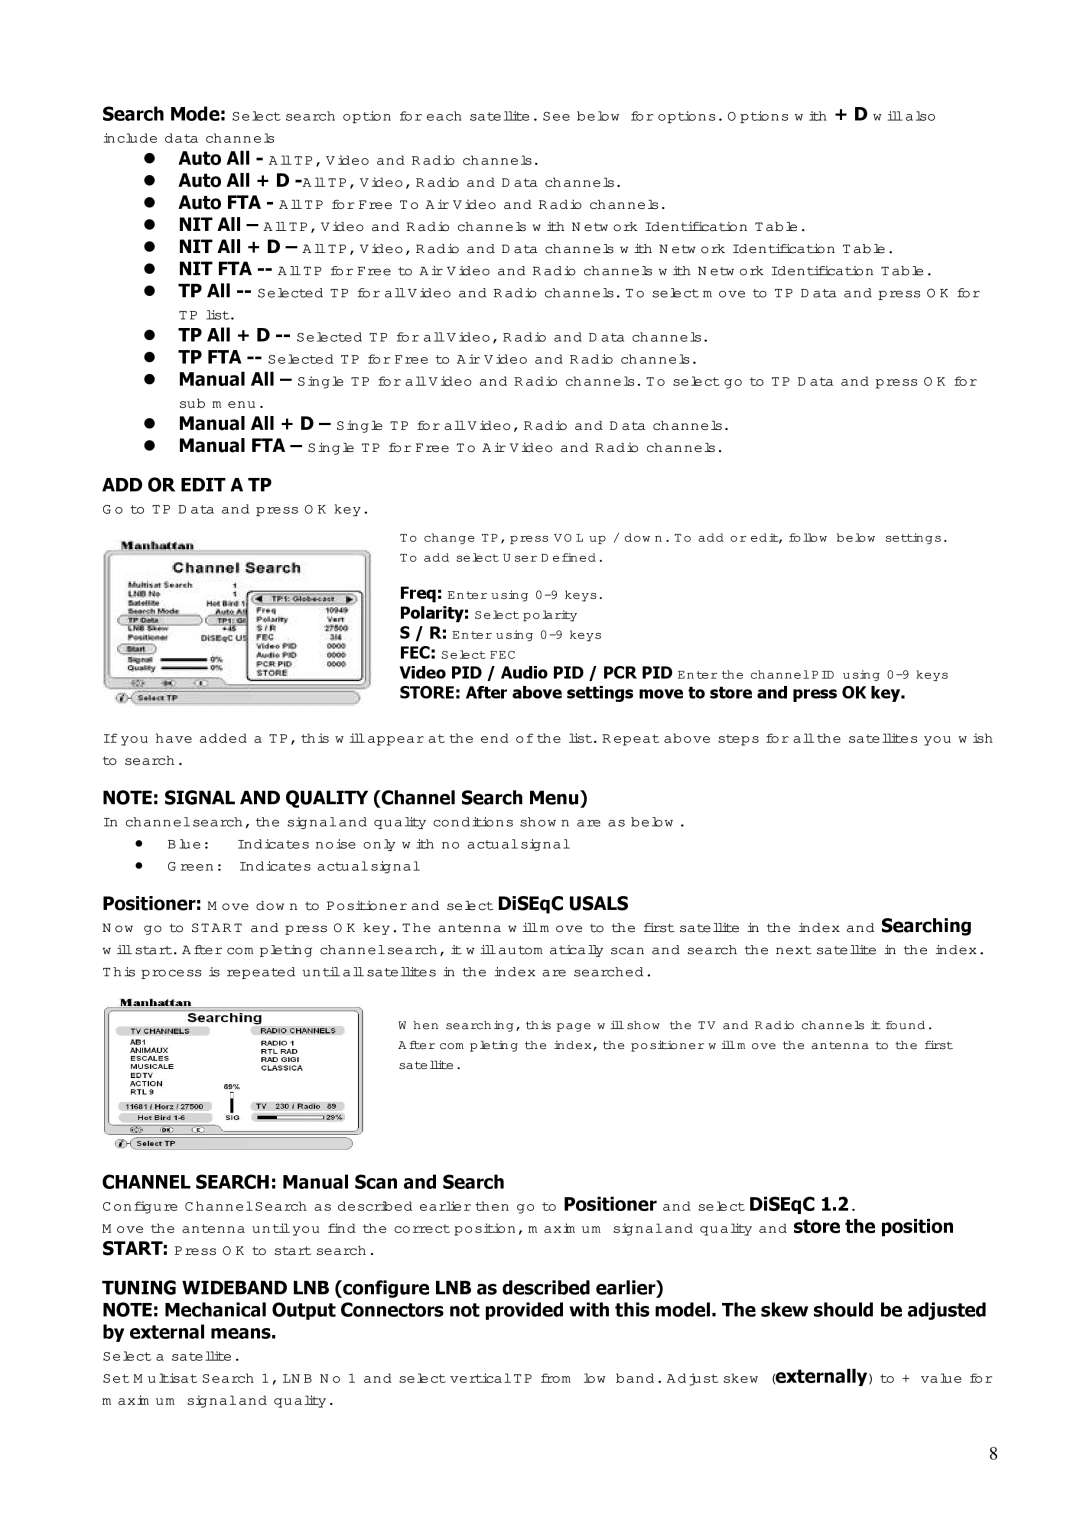
To change TP, press VOL up / down. To add or edit, follow below settings.
To add select User Defined.
Freq: Enter using
Polarity: Select polarity
S/ R: Enter using
Video PID / Audio PID / PCR PID Enter the channel PID using
STORE: After above settings move to store and press OK key.
If you have added a TP, this will appear at the end of the list. Repeat above steps for all the satellites you wish to search.
NOTE: SIGNAL AND QUALITY (Channel Search Menu)
In channel search, the signal and quality conditions shown are as below. Blue: Indicates noise only with no actual signal
Green: Indicates actual signal
Positioner: Move down to Positioner and select DiSEqC USALS
Now go to START and press OK key. The antenna will move to the first satellite in the index and Searching will start. After completing channel search, it will automatically scan and search the next satellite in the index. This process is repeated until all satellites in the index are searched.
When searching, this page will show the TV and Radio channels it found. After completing the index, the positioner will move the antenna to the first satellite.
CHANNEL SEARCH: Manual Scan and Search
Configure Channel Search as described earlier then go to Positioner and select DiSEqC 1.2.
Move the antenna until you find the correct position, maximum signal and quality and store the position START: Press OK to start search.
TUNING WIDEBAND LNB (configure LNB as described earlier)
NOTE: Mechanical Output Connectors not provided with this model. The skew should be adjusted by external means.
Select a satellite.
Set Multisat Search 1, LNB No 1 and select vertical TP from low band. Adjust skew (externally) to + value for maximum signal and quality.
8
