@3 CLASS A SWITCH
Press this switch while amplifier power is turned off to switch between Class A (25W, 8 ohms) and Class AB (95W, 8 ohms) amplifier operation. The CLASS A indicator is lit while CLASS A operation is selected, and Class AB operation is indicated when the CLASS A indicator is not lit.
IMPORTANT:
The top cover may become hot during CLASS A operation, but this does not indicate malfunction. Note, however, that you should never place anything on top of this amplifier. Doing so can block ventilation holes, resulting a build up of heat and malfunction of or damage to the amplifier.
@4 SPEAKER SWITCHES 1/2
Use these switches to turn speaker output on (depressed) and off (raised). You can turn off speaker output when listening to output over headphones.
@5 PHONES JACK
Use the jack to plug in headphones that are equipped with a standard phone jack.
@6 STANDBY INDICATOR
This indicator is lit while the amplifier is in the Standby Mode. Press- ing the remote control unit’s POWER buttons switches the amplifier between standby and power on.
OPERATION |
|
|
|
|
|
|
|
|
|
|
| |||
|
|
| 1 |
|
|
|
|
|
|
|
| 3 |
|
|
|
| INTEGRATED AMPLIFIER PM7200 |
|
|
|
|
|
|
|
|
|
|
| |
INPUT SELECTOR |
|
|
|
|
|
|
|
|
|
| VOLUME | |||
|
|
|
| TAPE | PHONO | CD | TUNER | AUX1 | AUX2 |
|
|
|
| |
|
|
|
| TAPE |
|
| MUTE |
|
|
|
|
|
| |
|
|
|
|
|
|
|
|
|
|
|
| MIN |
| MAX |
|
|
|
| REC SELECTOR |
| BASS |
|
| TREBLE |
|
|
| BALANCE | |
POWER ON/OFF | PHONES | STANDBY | 1 SPEAKERS 2 | OFF |
|
|
|
|
|
| CLASS A | SOURCE DIRECT |
|
|
SOURCE | TAPE |
|
|
|
|
|
| |||||||
|
|
|
|
| TAPE |
|
|
|
|
|
|
|
| |
|
|
|
|
| COPY |
|
|
|
|
|
|
|
| |
|
|
| ON OFF |
|
|
| - | + | - | + | ON OFF | ON OFF | L | R |
3
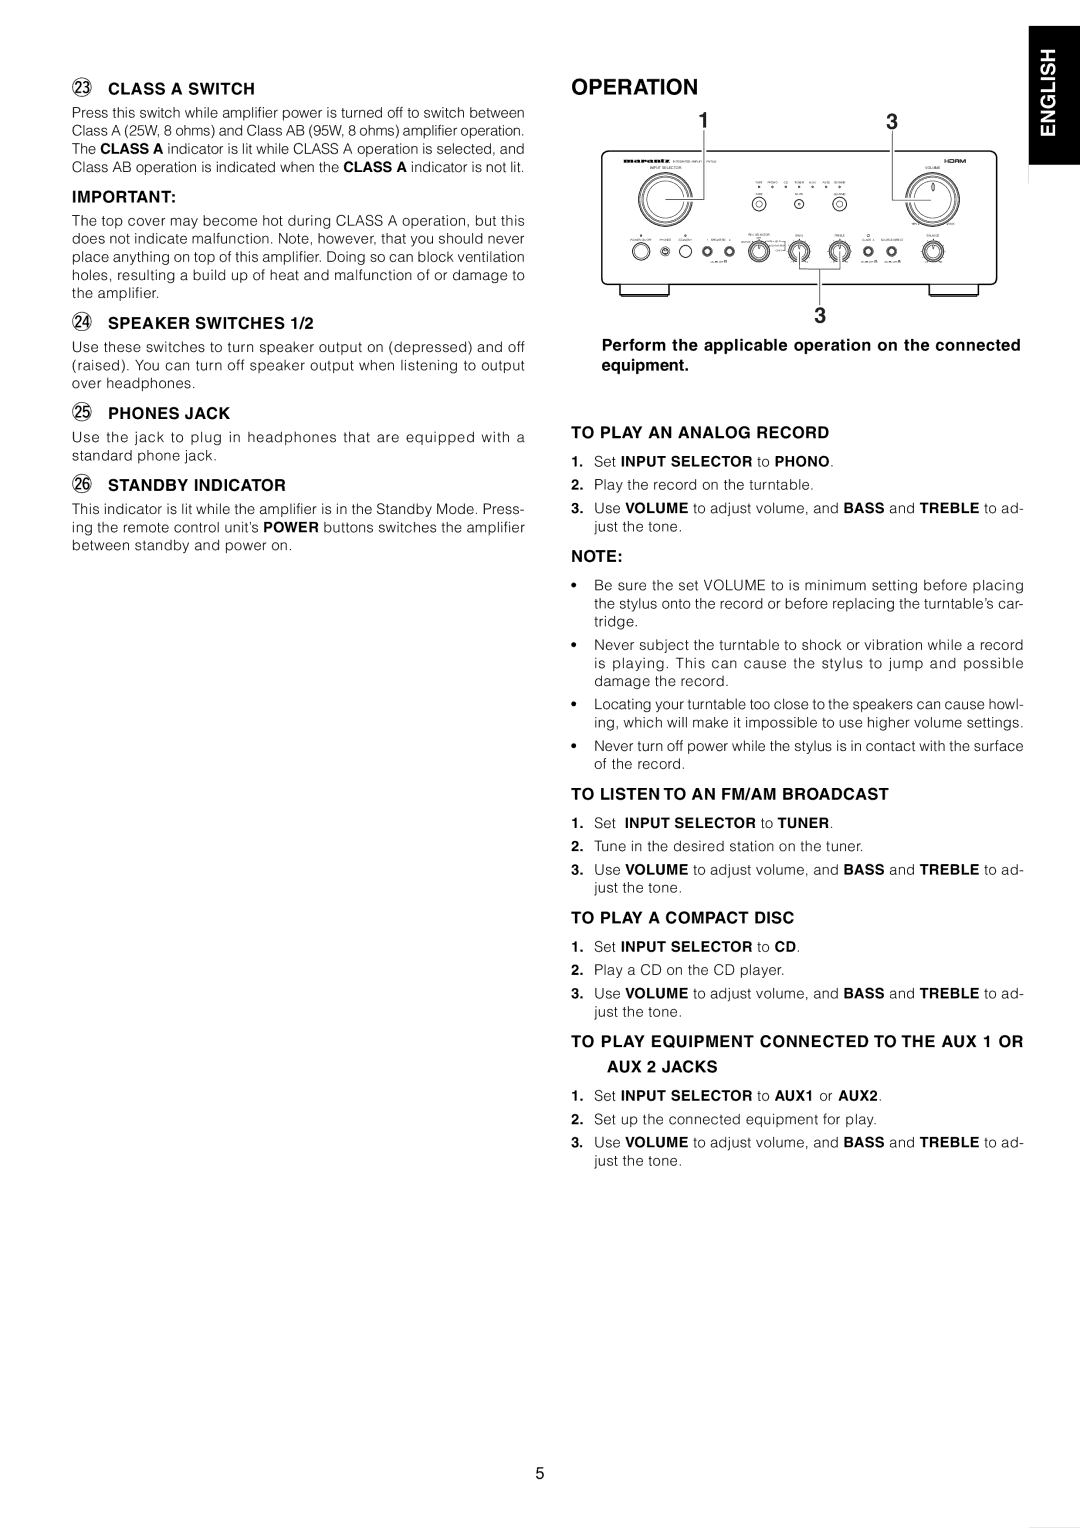
Perform the applicable operation on the connected equipment.
TO PLAY AN ANALOG RECORD
1.Set INPUT SELECTOR to PHONO.
2.Play the record on the turntable.
3.Use VOLUME to adjust volume, and BASS and TREBLE to ad- just the tone.
NOTE:
•Be sure the set VOLUME to is minimum setting before placing the stylus onto the record or before replacing the turntable’s car- tridge.
•Never subject the turntable to shock or vibration while a record is playing. This can cause the stylus to jump and possible damage the record.
•Locating your turntable too close to the speakers can cause howl- ing, which will make it impossible to use higher volume settings.
•Never turn off power while the stylus is in contact with the surface of the record.
TO LISTEN TO AN FM/AM BROADCAST
1.Set INPUT SELECTOR to TUNER.
2.Tune in the desired station on the tuner.
3.Use VOLUME to adjust volume, and BASS and TREBLE to ad- just the tone.
TO PLAY A COMPACT DISC
1.Set INPUT SELECTOR to CD.
2.Play a CD on the CD player.
3.Use VOLUME to adjust volume, and BASS and TREBLE to ad- just the tone.
TO PLAY EQUIPMENT CONNECTED TO THE AUX 1 OR
AUX 2 JACKS
1.Set INPUT SELECTOR to AUX1 or AUX2.
2.Set up the connected equipment for play.
3.Use VOLUME to adjust volume, and BASS and TREBLE to ad- just the tone.
SVENSKA PORTUGUÊS ITALIANO ESPAÑOL NEDERLANDS DEUTSCH FRANÇAIS ENGLISH
DANSK
5
