ENGLISH | 5. Press and hold the corresponding | |
disc player’s remote transmitter until the head of name blinks in | ||
the | ||
| ||
| changes to the RENAME mode automatically as the next step. A | |
| function name of the DIRECT function button blinks, you can | |
| rename this blinking function name. You input the desired letter | |
| or number with the ten keypad. (See the table in step 3 of the next | |
| procedure for referece.) If you need not rename, press the OK | |
| button or the other buttons except the ten keypad. | |
| ||
| 6. Now, proceed to program the other commands from the laser | |
| disc player’s remote transmitter to the other DIRECT function | |
| buttons | |
| for Page 1, press the page direction key , to go to Page 2, and | |
| you can program more direct function keys. | |
| 7. After memorizing all codes to all DIRECT function buttons, press | |
| the operation MODE button z with the tip of a paper clip and | |
| return the |
codes are usable from the
If you wish, you can
For our example, you can change the LCD display window indication from “LD” to
1.Using the tip of a paper clip, press the operation MODE button z until the NAME indicator appears and begins to blink in the LCD window.
2.Choose a button that you wish to
3.Choose the desired letter or number by pressing the 10 keypad buttons ⁄2. Each 10 keypad button has 4 characters attached to it as follows:
10 keypad button | Press, press again, press again, etc. | ||||
1 | 1 → | A → | B → | C → | 1 → |
2 | 2 → | D → | E → | F → | 2 → |
3 | 3 → | G → | H → | I → | 3 → |
4 | 4 → | J → | K → | L → | 4 → |
5 | 5 → | M → | N → | O → | 5 → |
6 | 6 → | P → | Q → | R → | 6 → |
7 | 7 → | S → | T → | U → | 7 → |
8 | 8 → | V → | W → | X → | 8 → |
9 | 9 → | Y → | Z → | / → | 9 → |
0 | 0 → | + → | — → | SPACE → , → ’ → 0 | |
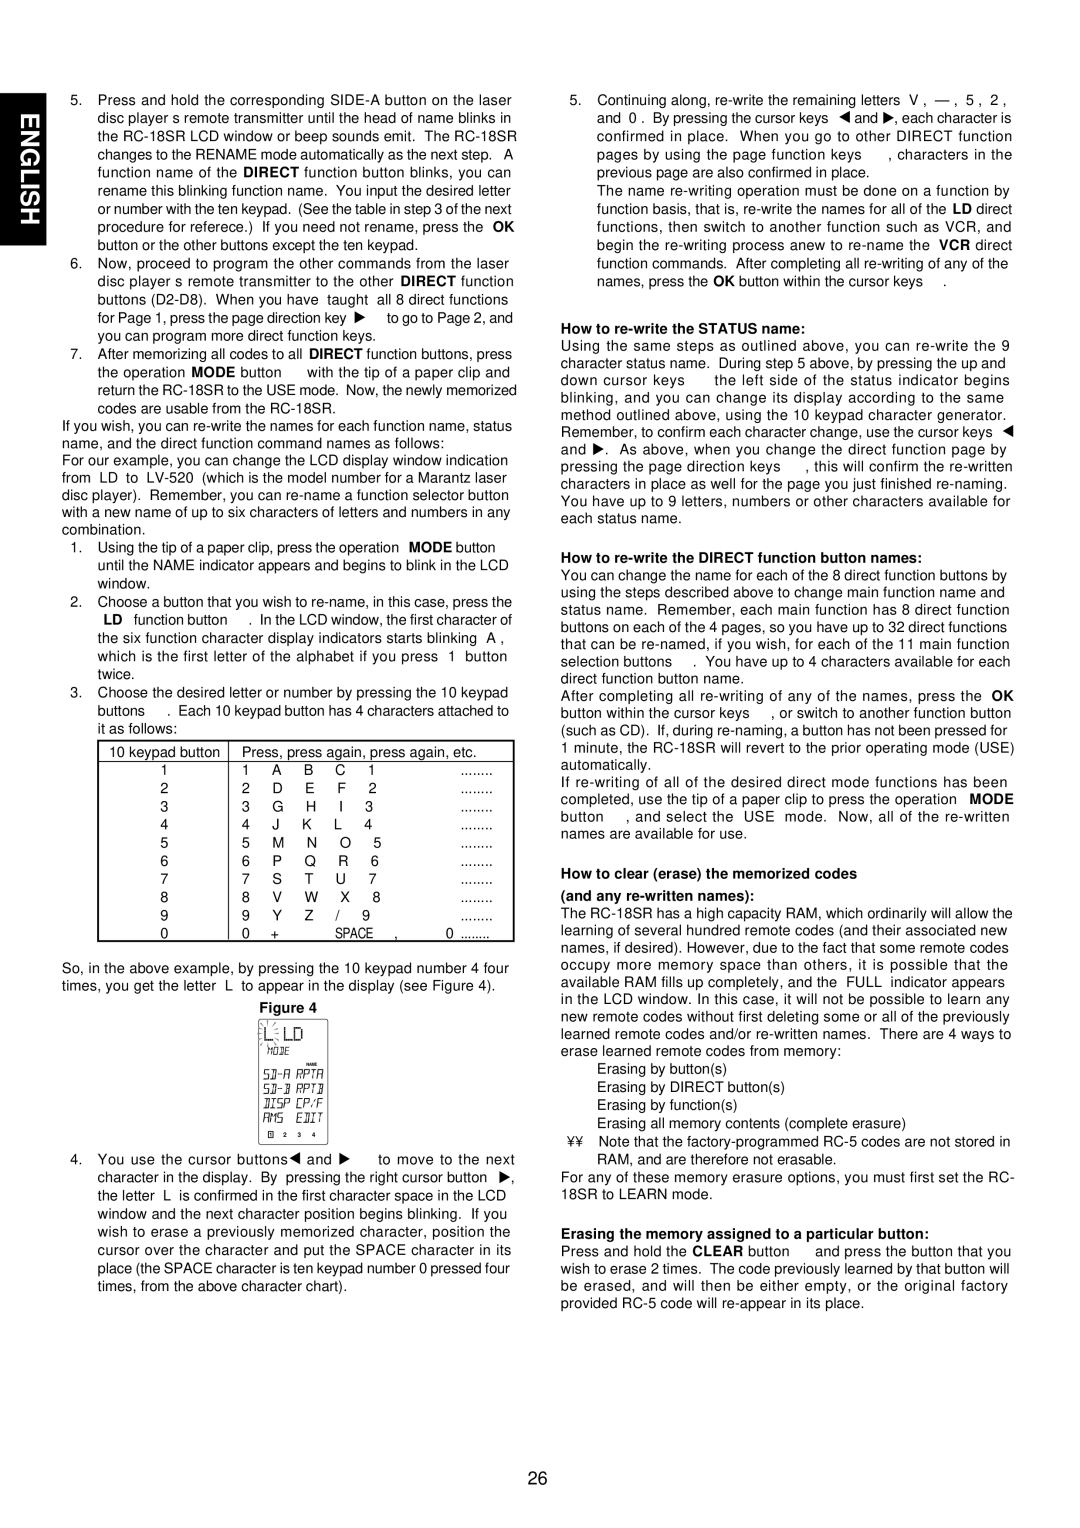
So, in the above example, by pressing the 10 keypad number 4 four times, you get the letter “L” to appear in the display (see Figure 4).
Figure 4
LOW ![]() USE NAME
USE NAME ![]()
1![]()
![]() 2
2![]()
![]() 3
3![]()
![]() 4
4
4. You use the cursor buttons![]() and
and ![]() ⁄6to move to the next character in the display. By pressing the right cursor button
⁄6to move to the next character in the display. By pressing the right cursor button ![]() , the letter “L” is confirmed in the first character space in the LCD window and the next character position begins blinking. If you wish to erase a previously memorized character, position the cursor over the character and put the SPACE character in its place (the SPACE character is ten keypad number 0 pressed four times, from the above character chart).
, the letter “L” is confirmed in the first character space in the LCD window and the next character position begins blinking. If you wish to erase a previously memorized character, position the cursor over the character and put the SPACE character in its place (the SPACE character is ten keypad number 0 pressed four times, from the above character chart).
5.Continuing along, ![]() and
and ![]() , each character is confirmed in place. When you go to other DIRECT function pages by using the page function keys ,, characters in the previous page are also confirmed in place.
, each character is confirmed in place. When you go to other DIRECT function pages by using the page function keys ,, characters in the previous page are also confirmed in place.
The name
How to re-write the STATUS name:
Using the same steps as outlined above, you can ![]() and
and ![]() . As above, when you change the direct function page by pressing the page direction keys ,, this will confirm the
. As above, when you change the direct function page by pressing the page direction keys ,, this will confirm the
How to re-write the DIRECT function button names:
You can change the name for each of the 8 direct function buttons by using the steps described above to change main function name and status name. Remember, each main function has 8 direct function buttons on each of the 4 pages, so you have up to 32 direct functions that can be
After completing all
If
How to clear (erase) the memorized codes
(and any re-written names):
The
nErasing by button(s)
nErasing by DIRECT button(s)
nErasing by function(s)
nErasing all memory contents (complete erasure)
••Note that the
RAM, and are therefore not erasable.
For any of these memory erasure options, you must first set the RC- 18SR to LEARN mode.
Erasing the memory assigned to a particular button:
Press and hold the CLEAR button ⁄4and press the button that you wish to erase 2 times. The code previously learned by that button will be erased, and will then be either empty, or the original factory provided
26