Setup, con’t
Display Brightness
The Front Panel Alphanumeric DISPLAY Brightness may be varied from a setting of 1 (Dim) to 7 (Bright). Follow the steps below for reducing the Display Brightness.
1.Press the SETUP
2.Rotate the MENU Control until the word DISPLAY 7 appears.
3.Rotate the SELECT 2 Control until the Front Panel Alphanumeric Display indicates “Display 3”.
4.Press the SETUP
Power Control Triggers
The OUTPUT 1(A) and OUTPUT 2(B) Power Control Outputs are reassignable to activate only when a given Input is selected. In the following example, the Power Con- trol OUTPUT 1(A) Jack will be set to function as TRIG- GER A for the DVD Input.
1.Press the SETUP
2.Rotate the MENU Control until “TRIG TUNER >
-- ” appears on the Front Panel Alphanumeric Display. Refer to figure 8.
Figure 8
3.Rotate the SELECT 1 Control until the display indi- cates “TRIG DVD > - - ”.
4.Rotate the SELECT 2 Control until the display indi- cates “TRIG DVD > A ”. Refer to figure 9.
Figure 9
5. Press the SETUP
Accessory Power Control
The ACC (C) Power Control Output is reassignable from the default setting of going ON/OFF with the C2300 (Main), to being controlled by the Remote Control ACC ON/OFF
1.Press the SETUP
2.Rotate the MENU Control until “ACC < C > MAIN” appears on the Front Panel Alphanumeric Display.
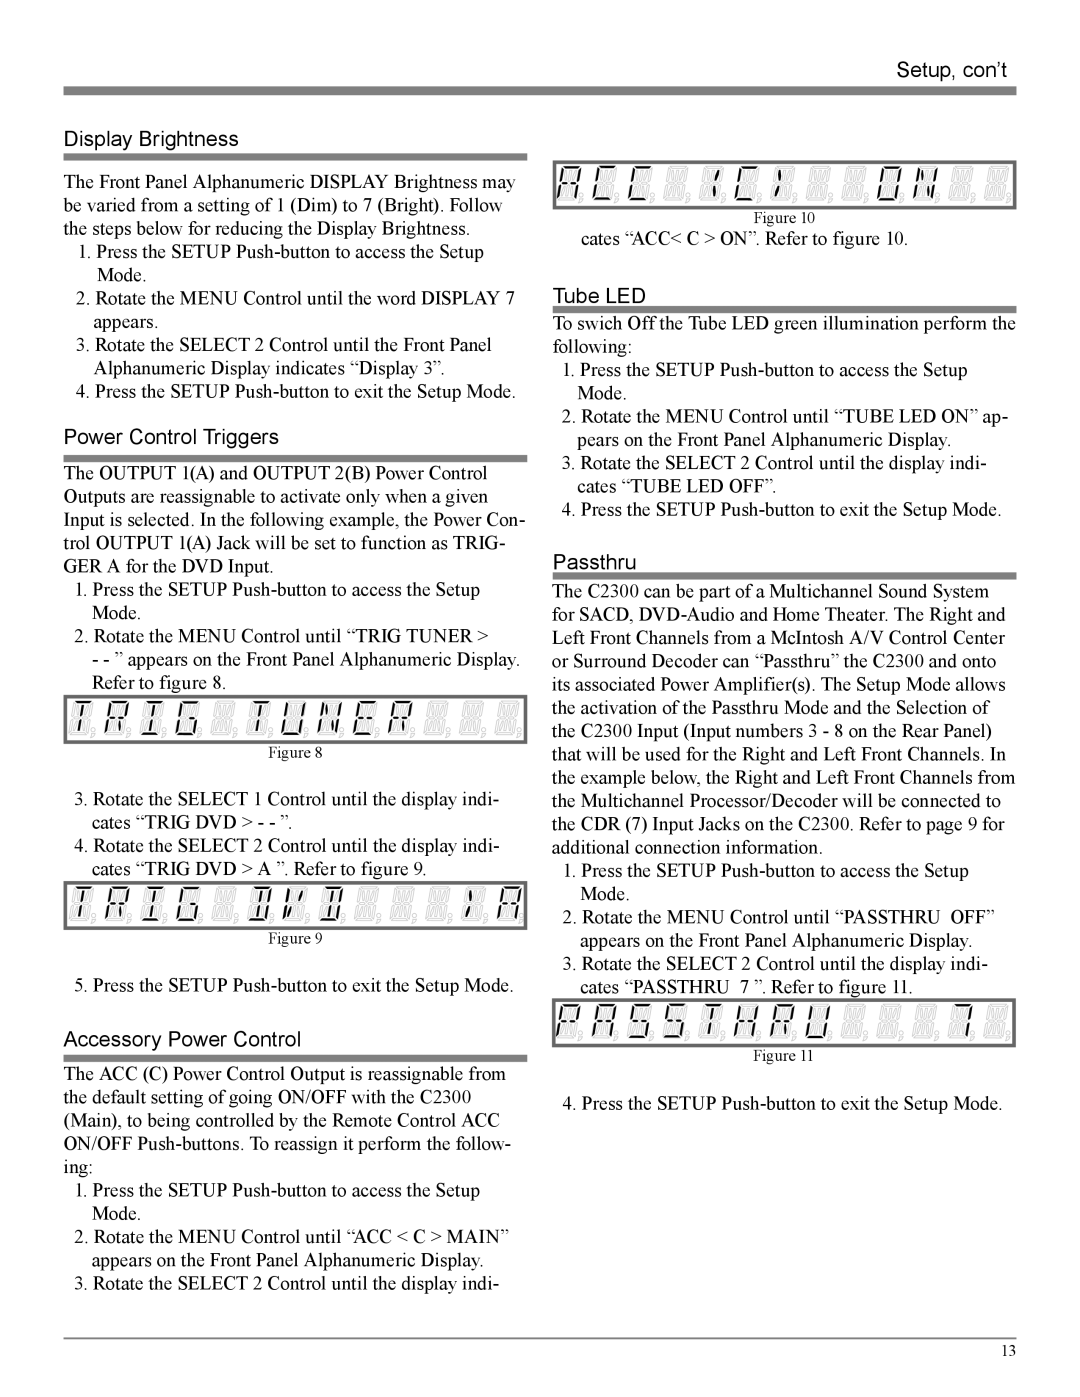
3.Rotate the SELECT 2 Control until the display indi-
Figure 10
cates “ACC< C > ON”. Refer to figure 10.
Tube LED
To swich Off the Tube LED green illumination perform the following:
1.Press the SETUP
2.Rotate the MENU Control until “TUBE LED ON” ap- pears on the Front Panel Alphanumeric Display.
3.Rotate the SELECT 2 Control until the display indi- cates “TUBE LED OFF”.
4.Press the SETUP
Passthru
The C2300 can be part of a Multichannel Sound System for SACD,
1.Press the SETUP
2.Rotate the MENU Control until “PASSTHRU OFF” appears on the Front Panel Alphanumeric Display.
3.Rotate the SELECT 2 Control until the display indi- cates “PASSTHRU 7 ”. Refer to figure 11.
Figure 11
4. Press the SETUP
13
