6. OEM Setup Information
This section provide additional information on configuring and using
6.1 ADAC Pegasys
6.1.1 NumaLink-3.0 Input Configuration (Pegasys Read)
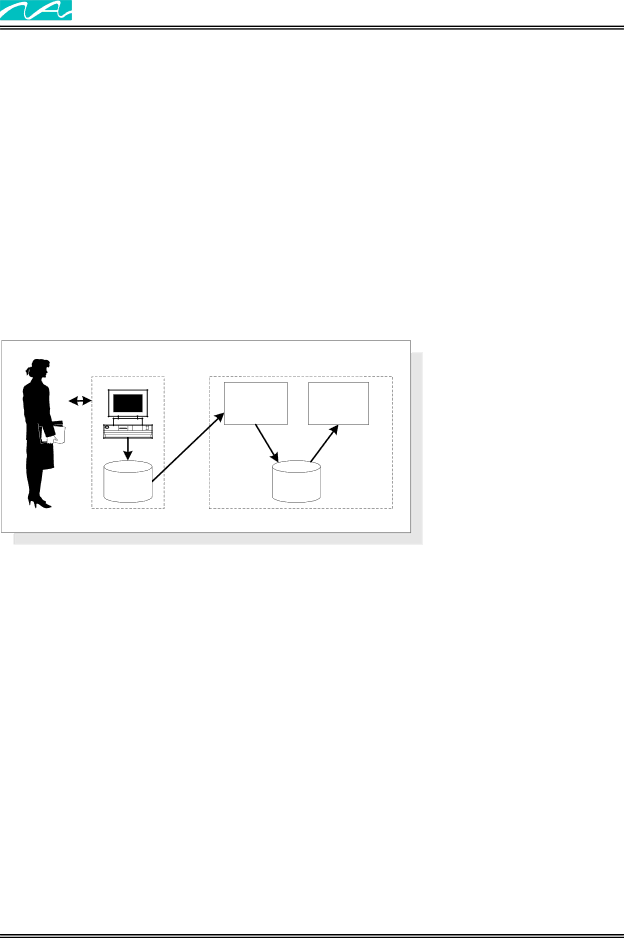
Figure 14 shows a typical configuration to deliver Pegasys files to NumaLink-3.0 for translation.
Figure 14 – NumaLink-3.0 Pegasys Read Configuration
ADAC Pegasys | Numa System | ||
| NumaPull | NumaLink | |
1 | 2 | 3 | |
2 | |||
|
| ||
local |
| local | |
disk |
| disk | |
|
| NL_UserMan_002 | |
1.Pegasys files are exported to a local directory on the Pegasys system. To export files on the ADAC Pegasys:
a.Right click on the ADAC desktop.
b.Right click on User Custom Menu.
c.Left click on “Transfer Native Pegasys Files”. This will open the patient selection utility.
d.Select the patients you wish to transfer and click the “Proceed” button.
2.Numa Pull transfers the files to a local directory on the
3.The appearance of Pegasys files in the input directory causes
6.1.2 NumaLink-3.0 Output Configuration (Pegasys Write)
Figure 15 shows a typical configuration to deliver files translated by NumaLink-3.0 to a Pegasys system.
Page 24 of 33
