00 Discovery version 8x22 #2 8/14/03 4:09 PM Page 3
2.Select an object that is at least 30 feet (10m) away.
3.Viewing with just your left eye, turn the Center Focus Knob (2, Fig. 1a) until the object you are viewing is focused.
4.Viewing with just your right eye, turn the Diopter Knob (1, Fig. 1a) until the object you are viewing is also in focus.
5.Objects can now be brought into focus by turning the Center Focus Knob.
III. How To Use Your Camera
CaptureView II performs best under good lighting conditions. It also takes some practice to get used to
Inserting Batteries
1.To remove the battery compartment lid (10, Fig. 1b), gently pull to the rear and upward.
2.Insert 2
Important Note: Download pictures to your PC before removing the batteries. Removing the batteries will erase your images. Also, be sure CaptureView II is off before changing the batteries.
Turn on the Camera
1. Press the Mode button (4, Fig. 1a) to turn on the camera.
Taking Still Pictures/Setting the Resolution Mode
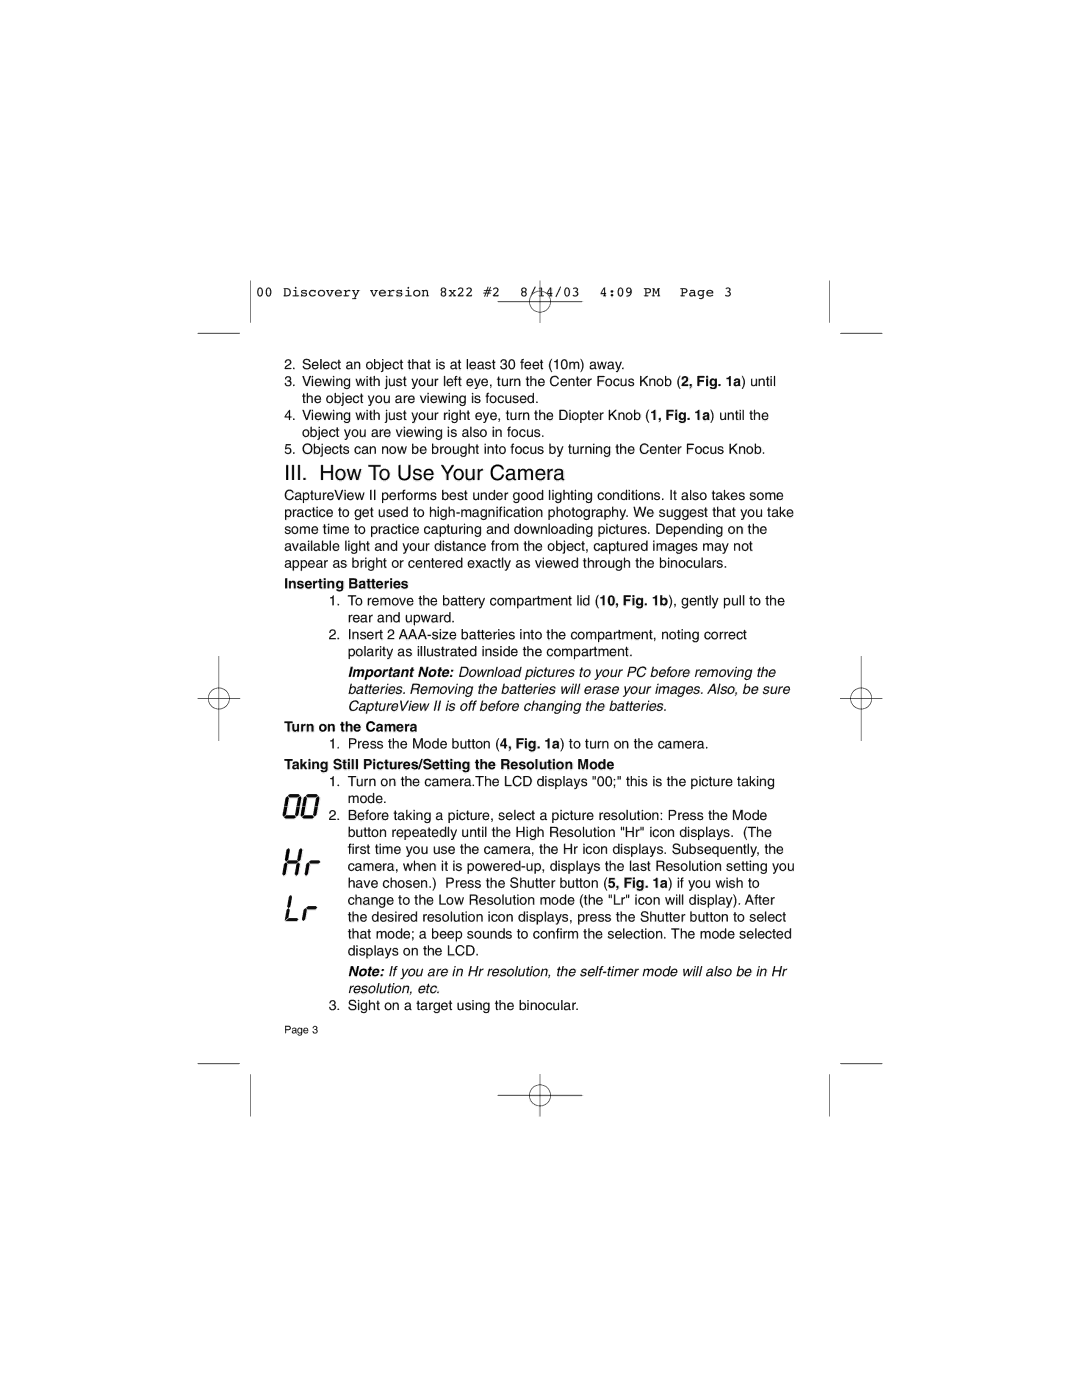
| 1. Turn on the camera.The LCD displays "00;" this is the picture taking |
| mode. |
| 2. Before taking a picture, select a picture resolution: Press the Mode |
| button repeatedly until the High Resolution "Hr" icon displays. (The |
| first time you use the camera, the Hr icon displays. Subsequently, the |
| camera, when it is |
| have chosen.) Press the Shutter button (5, Fig. 1a) if you wish to |
L | change to the Low Resolution mode (the "Lr" icon will display). After |
the desired resolution icon displays, press the Shutter button to select | |
| that mode; a beep sounds to confirm the selection. The mode selected |
| displays on the LCD. |
Note: If you are in Hr resolution, the
3. Sight on a target using the binocular.
Page 3
