Meade Instruments Corporation - Meade LX200 Instruction Manuals
Use the top row during Standard Time and the bottom row during Daylight Savings Time.
For example: In the Pacific Time Zone during Daylight Savings Time, the GMT time zone shift is +7 hours.
6.Use the number keys to enter the GMT time zone shift. Press ENTER when done; the display will go back to Display 8. If using the LX200 East of Greenwich U.K., enter a - (minus) GMT time zone shift by moving the blinking cursor backwards in the display with the W key, then press the NEXT key. The + (plus) sign will change to - (minus). Use the number keys to enter the GMT time zone shift.
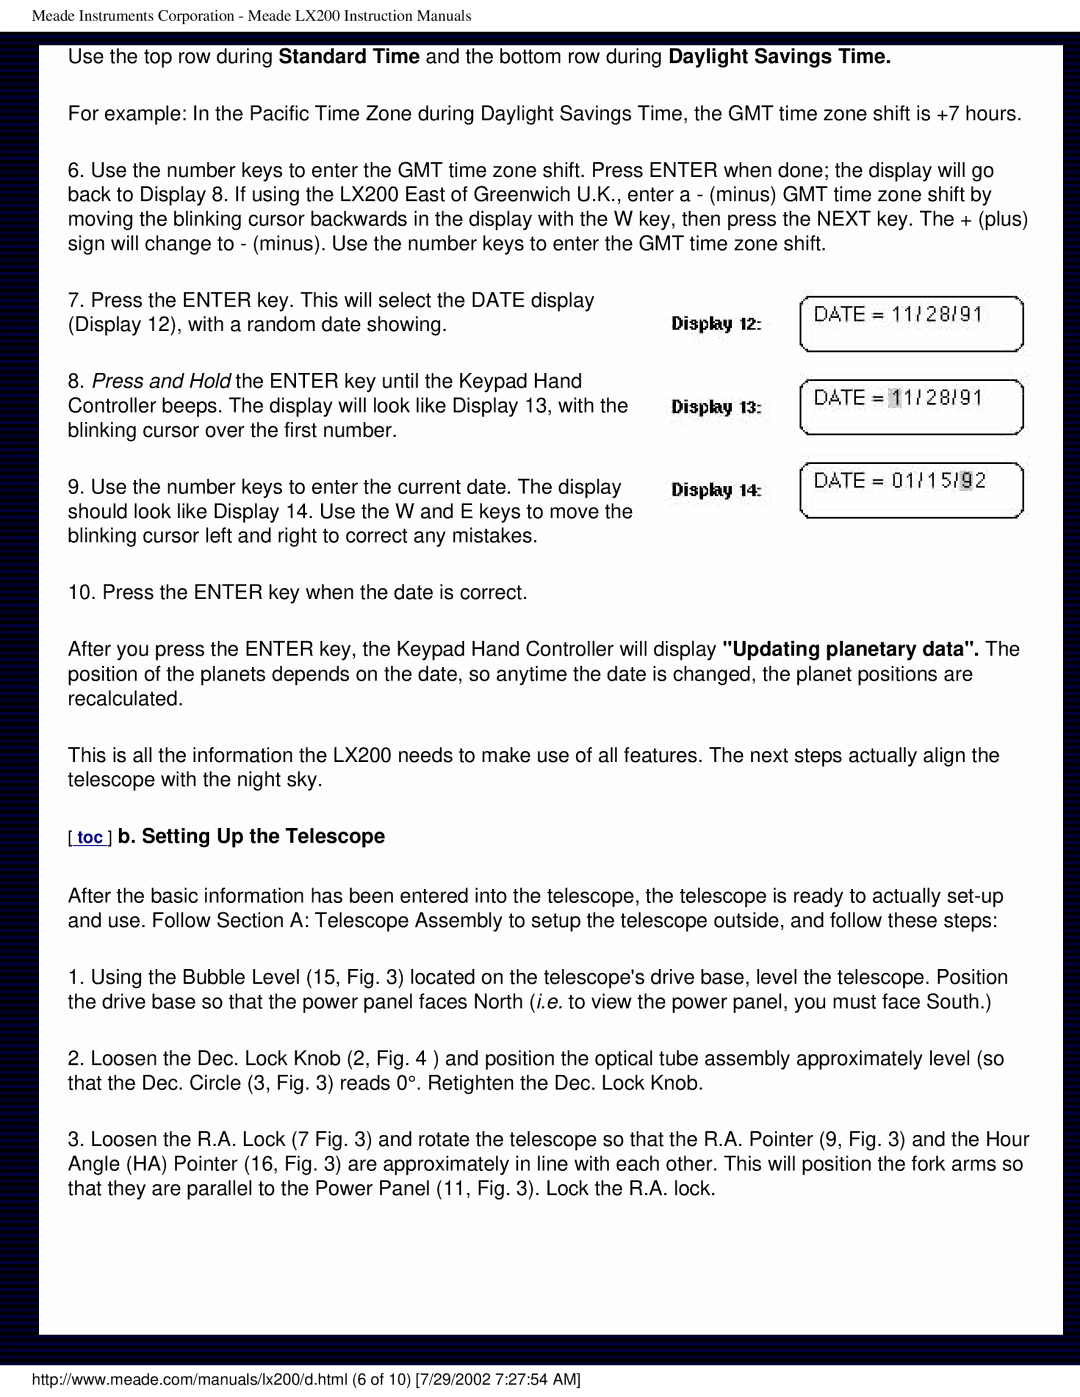
7.Press the ENTER key. This will select the DATE display
(Display 12), with a random date showing.
8.Press and Hold the ENTER key until the Keypad Hand Controller beeps. The display will look like Display 13, with the blinking cursor over the first number.
9.Use the number keys to enter the current date. The display should look like Display 14. Use the W and E keys to move the blinking cursor left and right to correct any mistakes.
10.Press the ENTER key when the date is correct.
After you press the ENTER key, the Keypad Hand Controller will display "Updating planetary data". The position of the planets depends on the date, so anytime the date is changed, the planet positions are recalculated.
This is all the information the LX200 needs to make use of all features. The next steps actually align the telescope with the night sky.
[ toc ] b. Setting Up the Telescope
After the basic information has been entered into the telescope, the telescope is ready to actually
1.Using the Bubble Level (15, Fig. 3) located on the telescope's drive base, level the telescope. Position the drive base so that the power panel faces North (i.e. to view the power panel, you must face South.)
2.Loosen the Dec. Lock Knob (2, Fig. 4 ) and position the optical tube assembly approximately level (so that the Dec. Circle (3, Fig. 3) reads 0°. Retighten the Dec. Lock Knob.
3.Loosen the R.A. Lock (7 Fig. 3) and rotate the telescope so that the R.A. Pointer (9, Fig. 3) and the Hour Angle (HA) Pointer (16, Fig. 3) are approximately in line with each other. This will position the fork arms so that they are parallel to the Power Panel (11, Fig. 3). Lock the R.A. lock.
http://www.meade.com/manuals/lx200/d.html (6 of 10) [7/29/2002 7:27:54 AM]