MVD4543 specifications
The Memorex MVD4543 is a versatile and user-friendly DVD player that combines functionality with modern technology, making it a popular choice among home entertainment enthusiasts. With its sleek design and robust feature set, the MVD4543 caters to a wide range of viewer preferences and requirements.One of the standout features of the Memorex MVD4543 is its ability to play a variety of disc formats, including DVD, DVD-R, DVD+R, CD, and CD-R. This broad compatibility allows users to enjoy their favorite movies, music, and personal recordings without the need for multiple devices. Furthermore, it can handle various video formats, including MPEG-4 and JPEG, enabling users to view high-quality images and videos from their own collections.
The MVD4543 is built with a strong emphasis on picture and sound quality. It offers progressive scan technology, which enhances the clarity and sharpness of the video output. This feature is particularly beneficial when viewing high-definition content, as it helps to eliminate flickering and provides a smoother viewing experience. Additionally, the device supports Dolby Digital and DTS digital surround sound, ensuring an immersive audio experience that complements the visual quality.
Connectivity is another critical aspect of the MVD4543. It comes equipped with various outputs, including composite, S-Video, and component video, allowing users to connect the player to different TVs and audio systems with ease. This flexibility ensures that it can fit seamlessly into any existing home entertainment setup. Furthermore, the unit includes a USB port, which provides the convenience of playing media directly from USB drives, making it easy to access and enjoy a vast array of content.
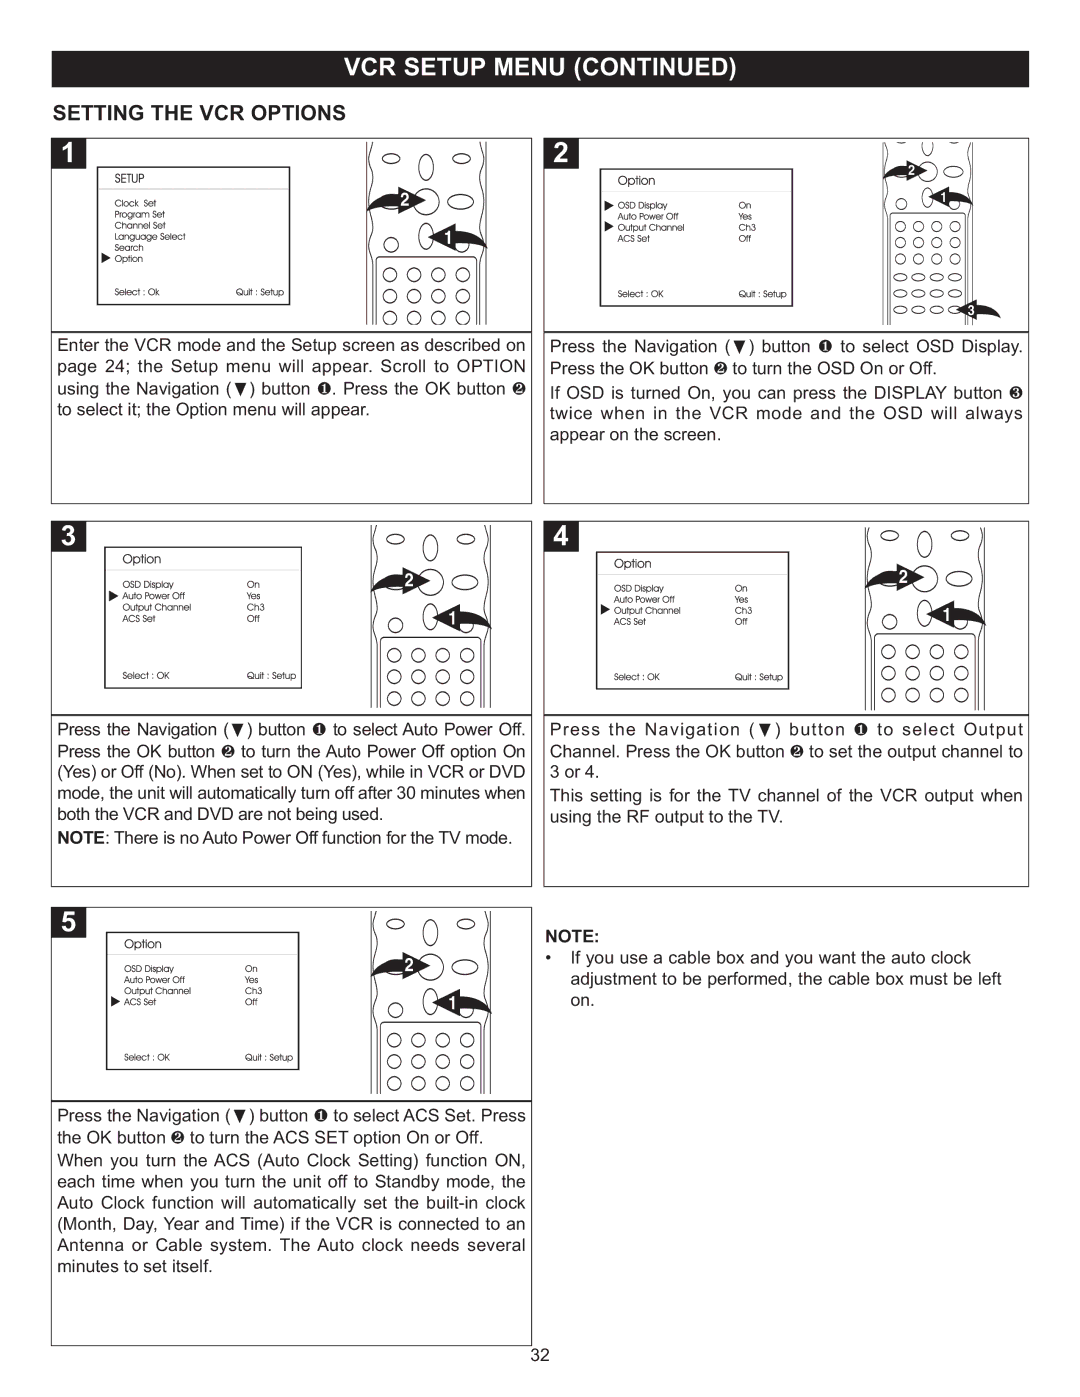
The design of the Memorex MVD4543 is both stylish and functional. Its compact dimensions make it easy to integrate into any entertainment space, while the front panel features a clear display and an intuitive control layout for easy navigation. The included remote control further enhances user convenience, offering quick access to essential functions such as play, pause, skip, and menu options.
In conclusion, the Memorex MVD4543 combines versatility, quality, and ease of use, making it an excellent choice for anyone seeking a reliable DVD player. With its wide range of format compatibility, advanced video and audio technologies, diverse connectivity options, and user-friendly design, it caters to the needs of modern viewers, providing an enhanced home viewing experience. Whether watching movies, enjoying music, or viewing personal photo slideshows, the MVD4543 stands out as a commendable option for entertainment in the home.

