SETTING THE VIDEO CHANNEL
To view playback of a recorded tape, or to watch a program selected by the VCR's channel selector, the TV must be set to channel 3 or 4 (video channel).
When a TV is connected with the 75 ohm coaxial cable only.
1 Press and hold the 3 or 4 button on the remote |
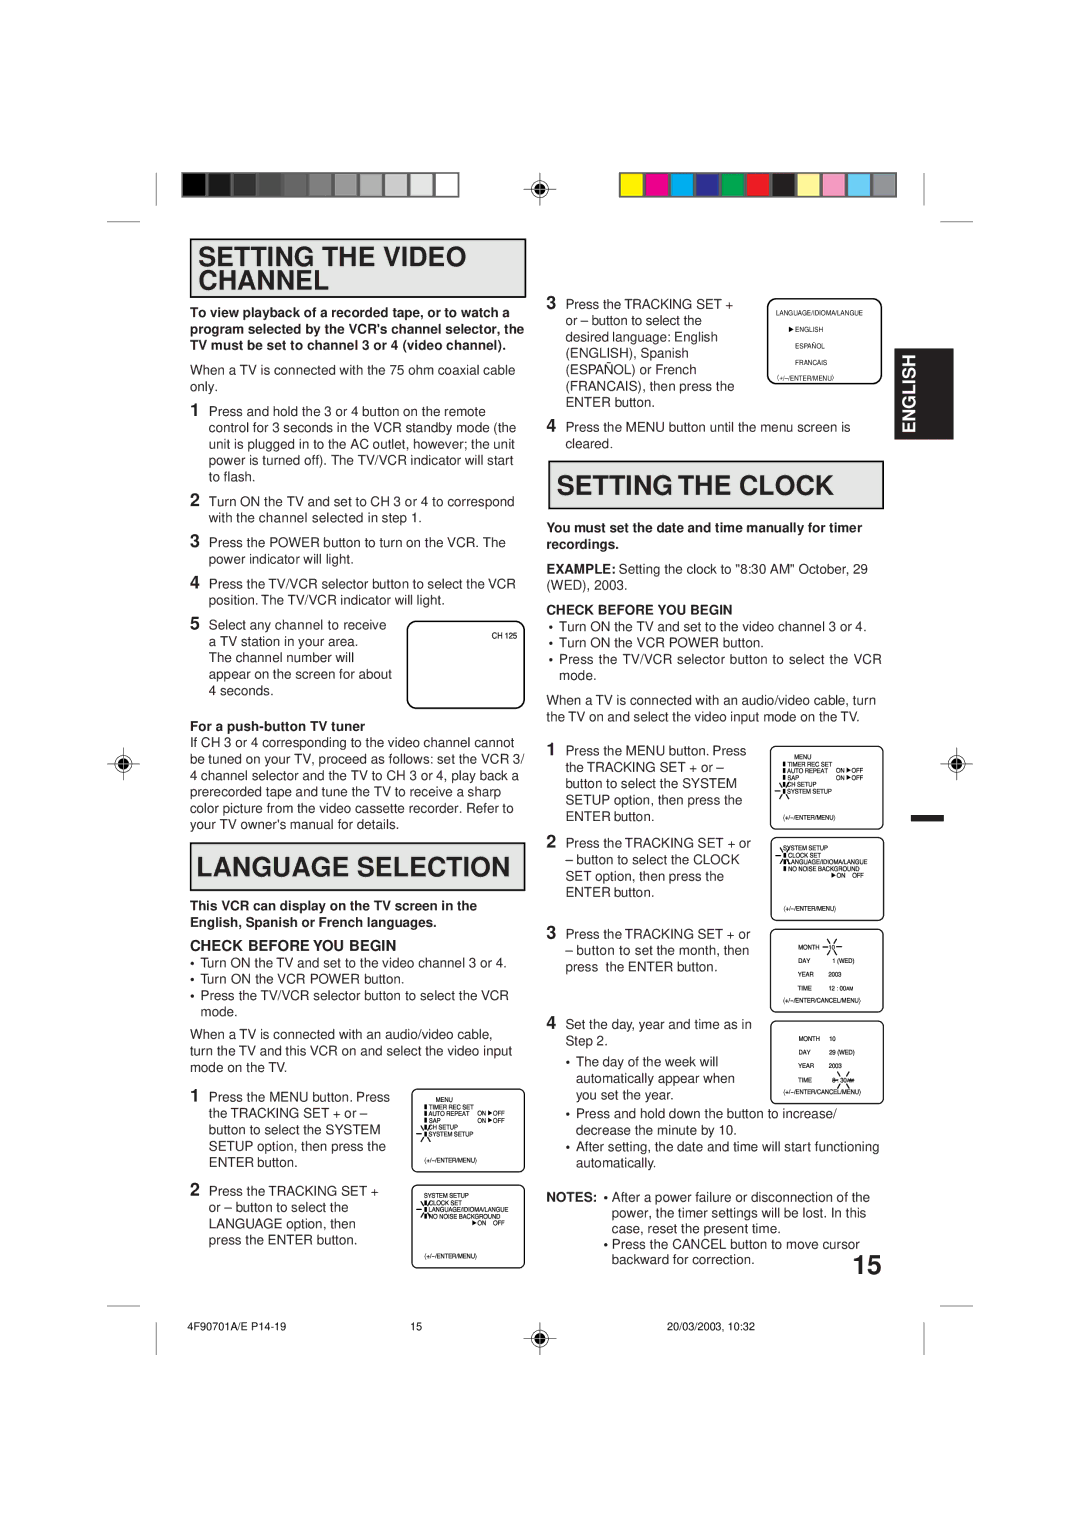
3Press the TRACKING SET + or – button to select the desired language: English (ENGLISH), Spanish (ESPAÑOL) or French (FRANCAIS), then press the ENTER button.
LANGUAGE/IDIOMA/LANGUE
![]() ENGLISH
ENGLISH
ESPAÑOL
FRANCAIS
ENGLISH
| control for 3 seconds in the VCR standby mode (the |
| unit is plugged in to the AC outlet, however; the unit |
| power is turned off). The TV/VCR indicator will start |
| to flash. |
2 | Turn ON the TV and set to CH 3 or 4 to correspond |
| with the channel selected in step 1. |
3 | Press the POWER button to turn on the VCR. The |
| power indicator will light. |
4 | Press the TV/VCR selector button to select the VCR |
| position. The TV/VCR indicator will light. |
5 | Select any channel to receive |
4Press the MENU button until the menu screen is cleared.
SETTING THE CLOCK
You must set the date and time manually for timer recordings.
EXAMPLE: Setting the clock to "8:30 AM" October, 29 (WED), 2003.
CHECK BEFORE YOU BEGIN
• Turn ON the TV and set to the video channel 3 or 4. |
a TV station in your area. The channel number will appear on the screen for about 4 seconds.
For a push-button TV tuner
CH 125
• Turn ON the VCR POWER button. |
• Press the TV/VCR selector button to select the VCR |
mode. |
When a TV is connected with an audio/video cable, turn the TV on and select the video input mode on the TV.
If CH 3 or 4 corresponding to the video channel cannot be tuned on your TV, proceed as follows: set the VCR 3/ 4 channel selector and the TV to CH 3 or 4, play back a prerecorded tape and tune the TV to receive a sharp color picture from the video cassette recorder. Refer to your TV owner's manual for details.
LANGUAGE SELECTION
This VCR can display on the TV screen in the English, Spanish or French languages.
CHECK BEFORE YOU BEGIN
•Turn ON the TV and set to the video channel 3 or 4.
•Turn ON the VCR POWER button.
•Press the TV/VCR selector button to select the VCR mode.
When a TV is connected with an audio/video cable, turn the TV and this VCR on and select the video input
1Press the MENU button. Press the TRACKING SET + or – button to select the SYSTEM SETUP option, then press the ENTER button.
2Press the TRACKING SET + or
–button to select the CLOCK SET option, then press the ENTER button.
3Press the TRACKING SET + or
–button to set the month, then press the ENTER button.
4Set the day, year and time as in Step 2.
MENU |
|
|
TIMER REC SET | ON | OFF |
AUTO REPEAT | ||
SAP | ON | OFF |
CH SETUP |
|
|
SYSTEM SETUP |
|
|
|
|
SYSTEM SETUP
![]() CLOCK SET
CLOCK SET
![]() LANGUAGE/IDIOMA/LANGUE
LANGUAGE/IDIOMA/LANGUE
![]() NO NOISE BACKGROUND
NO NOISE BACKGROUND ![]() ON OFF
ON OFF
MONTH 10
DAY | 1 (WED) |
YEAR 2003
TIME 12 : 00AM
MONTH 10
DAY | 29 (WED) |
mode on the TV.
• The day of the week will | YEAR | 2003 |
automatically appear when | TIME | 8 : 30AM |
1Press the MENU button. Press the TRACKING SET + or – button to select the SYSTEM SETUP option, then press the ENTER button.
2Press the TRACKING SET + or – button to select the LANGUAGE option, then press the ENTER button.
MENU |
|
|
TIMER REC SET | ON | OFF |
AUTO REPEAT | ||
SAP | ON | OFF |
CH SETUP |
|
|
SYSTEM SETUP |
|
|
|
|
SYSTEM SETUP
![]() CLOCK SET
CLOCK SET
![]() LANGUAGE/IDIOMA/LANGUE
LANGUAGE/IDIOMA/LANGUE
![]() NO NOISE BACKGROUND
NO NOISE BACKGROUND ![]() ON OFF
ON OFF
you set the year. | |
|
•Press and hold down the button to increase/ decrease the minute by 10.
•After setting, the date and time will start functioning automatically.
NOTES: •After a power failure or disconnection of the power, the timer settings will be lost. In this case, reset the present time.
•Press the CANCEL button to move cursor
backward for correction. | 15 |
|
4F90701A/E | 15 | 20/03/2003, 10:32 |