ONE-TOUCH TIMER RECORDING (OTR)
The
EXAMPLE:
CHECK BEFORE YOU BEGIN
•Turn ON the TV and set to the video channel 3 or 4.
•Turn ON the VCR POWER button.
•Press the TV/VCR selector button to select the VCR mode.
When a TV is connected with an audio/video cable, turn the TV and this VCR on, and select the video input mode on the TV.
SETTING THE TIMER RECORDING
Timer recording can be programmed
EXAMPLE: Program a timer recording for the 26th day, channel 125 (CATV), 11:00 - 11:30 PM on timer program number 1 (Tape speed: SLP).
CHECK BEFORE YOU BEGIN
• Turn on the TV and set to the video channel 3 or 4. |
• Press the TV/VCR selector button to select the VCR |
mode. |
• Load a video cassette with the erase prevention tab |
intact. The VCR will automatically turn on. |
1 | Load a cassette tape with the |
| erase prevention tab intact. |
2 | Press the SPEED selector |
| button to select the desired |
| tape speed SP or SLP. |
• Check that the clock and date are correct (see page 15). |
When a TV is connected with an audio/video cable, turn the TV and this VCR on and select the video input mode on the TV.
The counter and SP or SLP |
will appear on the screen for |
about 4 seconds. |
3 Press the direct channel |
selection buttons or the |
CHANNEL or button to |
select the channel to be |
recorded. |
The channel number will |
appear on the screen for about |
4 seconds. |
4 Press the REC/OTR button to |
begin recording. Press the |
button again to stop recording |
after 30 minutes. Each addi- |
tional press of the REC/OTR |
button will increase recording |
time as shown in the chart |
below, up to a maximum of 6 |
hours. The OTR and recording |
time will appear on screen for |
about 4 seconds. |
00 : 00 : 00 SP
CH 125
OTR 0 : 30
CH 125
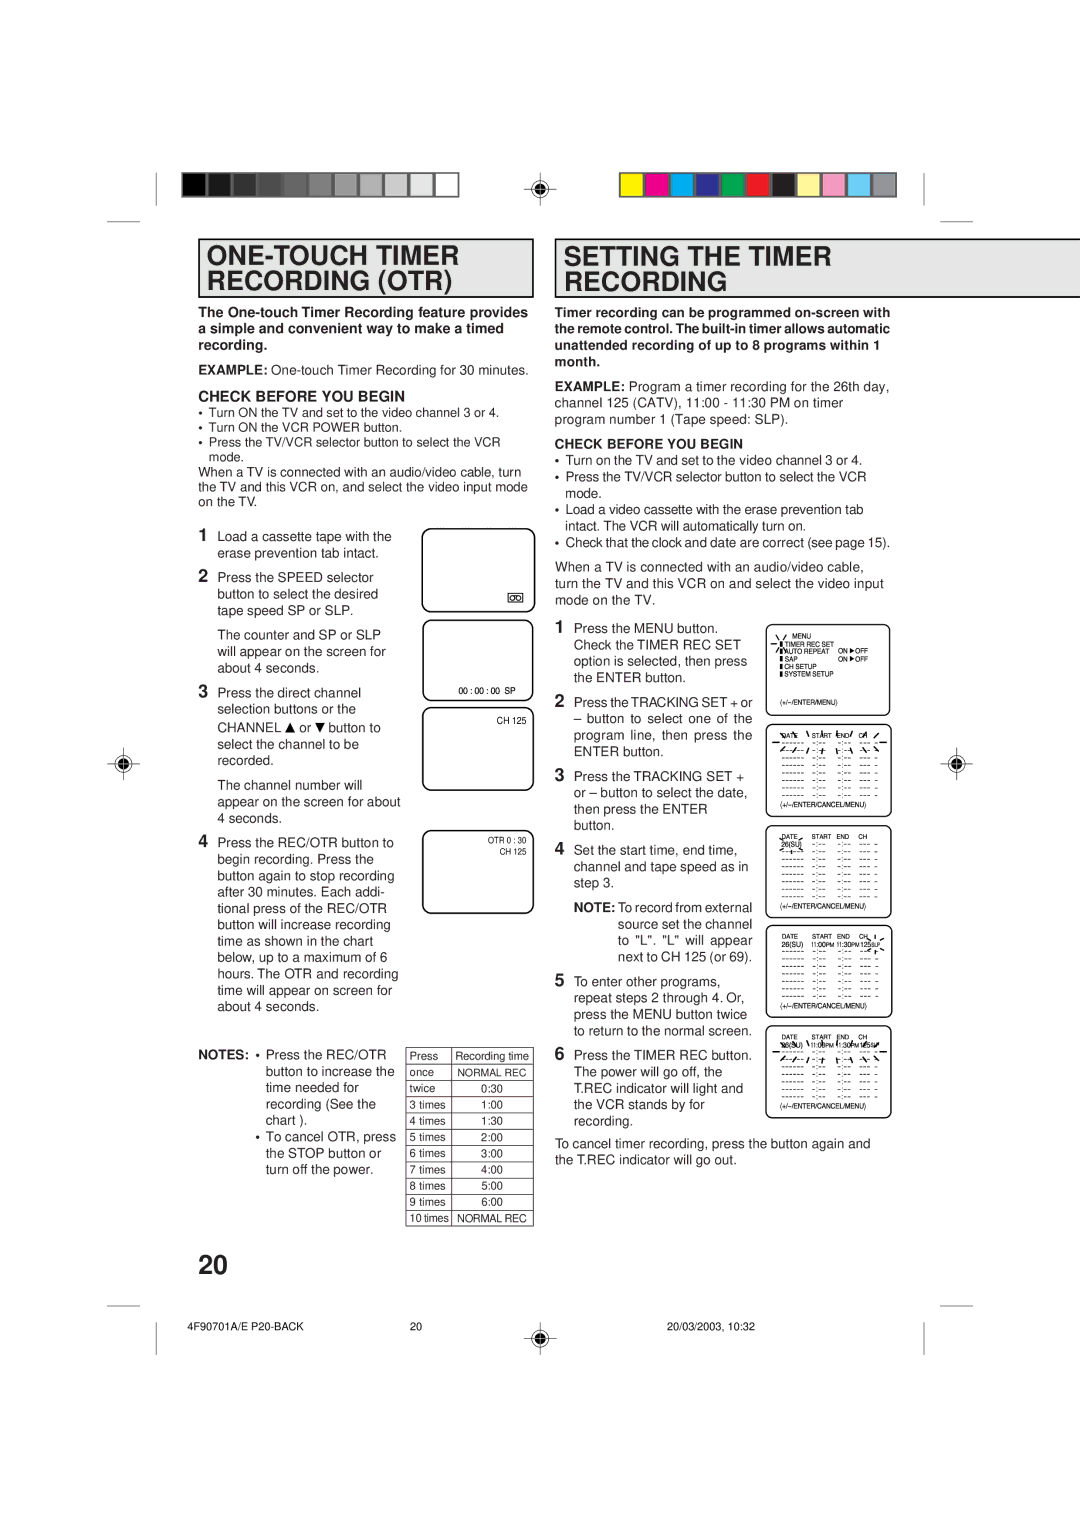
1 | Press the MENU button. |
| Check the TIMER REC SET |
| option is selected, then press |
| the ENTER button. |
2 | Press the TRACKING SET + or |
| – button to select one of the |
| program line, then press the |
| ENTER button. |
3 | Press the TRACKING SET + |
| or – button to select the date, |
| then press the ENTER |
| button. |
4 | Set the start time, end time, |
| channel and tape speed as in |
| step 3. |
| NOTE: To record from external |
| source set the channel |
| to "L". "L" will appear |
| next to CH 125 (or 69). |
5 | To enter other programs, |
| repeat steps 2 through 4. Or, |
| press the MENU button twice |
| to return to the normal screen. |
MENU |
|
|
|
TIMER REC SET | ON | OFF | |
AUTO REPEAT | |||
SAP |
| ON | OFF |
CH SETUP |
|
| |
SYSTEM SETUP |
|
| |
| |||
DATE | START | END | CH– |
DATE START END CH 26(SU)
DATE START END CH 26(SU) 11:00PM 11:30PM125SLP
DATE START END CH 26(SU) 11:00PM 11:30PM125SLP
NOTES: • Press the REC/OTR button to increase the time needed for recording (See the chart ).
Press | Recording time |
once | NORMAL REC |
twice | 0:30 |
3 times | 1:00 |
4 times | 1:30 |
6 Press the TIMER REC button. |
The power will go off, the |
T.REC indicator will light and |
the VCR stands by for |
recording. |
•To cancel OTR, press the STOP button or turn off the power.
5 times | 2:00 |
6 times | 3:00 |
|
|
7 times | 4:00 |
|
|
8 times | 5:00 |
|
|
9 times | 6:00 |
|
|
10 times | NORMAL REC |
To cancel timer recording, press the button again and the T.REC indicator will go out.
20
4F90701A/E | 20 | 20/03/2003, 10:32 |