C-40 specifications
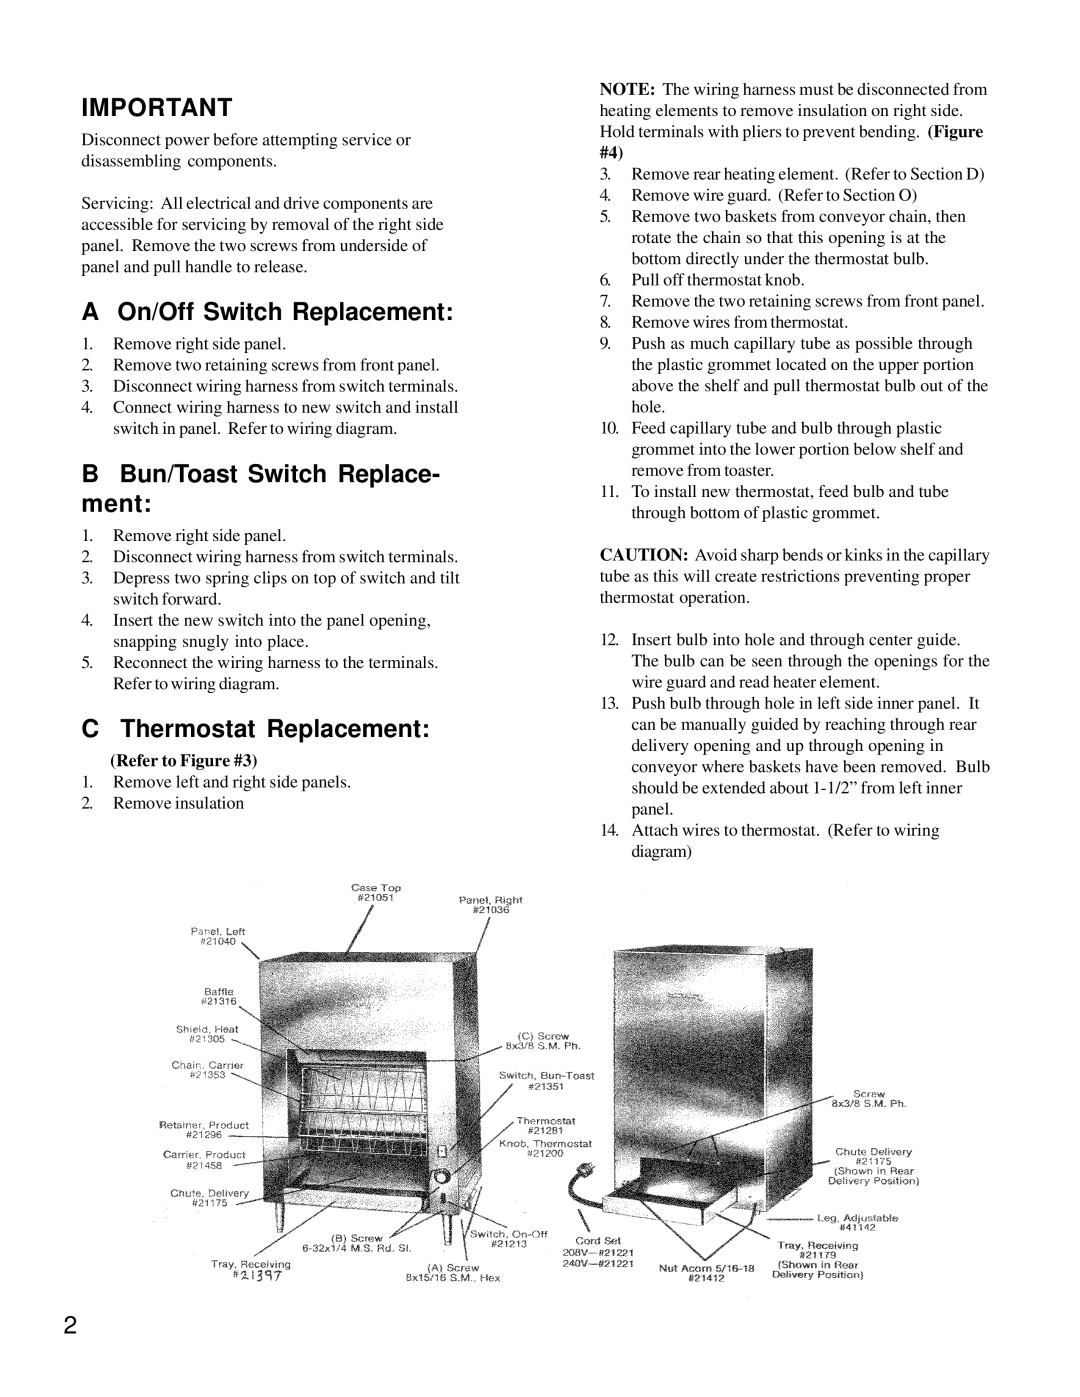
The Merco Savory C-40 is a state-of-the-art cooking and holding unit designed for commercial kitchens looking to elevate their food service operations. Engineered for versatility and efficiency, the C-40 integrates advanced technologies that cater specifically to the needs of busy kitchens, ensuring that meals are cooked and held at optimal quality for customers.One of the main features of the Merco Savory C-40 is its advanced cooking system, which utilizes a combination of convection and direct heat to deliver superior cooking results. This dual method not only ensures even cooking but also enables chefs to achieve the perfect texture and flavor across a diverse range of menu items, from roasted meats to baked goods.
The C-40 boasts an impressive capacity, allowing operators to cook and hold multiple dishes simultaneously. Its expansive cooking chamber is designed to accommodate various pan sizes, making it perfect for high-demand environments. With the ability to cook large quantities at once, it streamlines kitchen operations and reduces overall cooking times.
In addition to its cooking capabilities, the Merco Savory C-40 features an innovative holding system that maintains optimal temperatures and humidity levels. This technology is ideal for keeping cooked foods at serving temperatures for extended periods without compromising quality. The precise temperature controls allow chefs to set the desired holding temperature, ensuring food remains fresh and ready to serve whenever needed.
Another key characteristic of the C-40 is its user-friendly interface. The digital controls provide instant access to cooking settings, timers, and temperature adjustments. This enhances operational efficiency and minimizes the learning curve for kitchen staff, making it easy for everyone to utilize the unit effectively.
Durability is also a hallmark of the Merco Savory C-40. Constructed from high-quality stainless steel, it is built to withstand the rigors of a commercial kitchen environment. The robust design ensures longevity while also simplifying cleaning and maintenance, vital for busy culinary operations.
Overall, the Merco Savory C-40 combines functionality, advanced technologies, and a focus on food quality, making it an essential addition for any professional kitchen aiming to enhance service and streamline their cooking processes. Its blend of innovative features and user-friendly design empowers chefs to deliver exceptional meals consistently, benefiting both the kitchen staff and the customers they serve.

