16
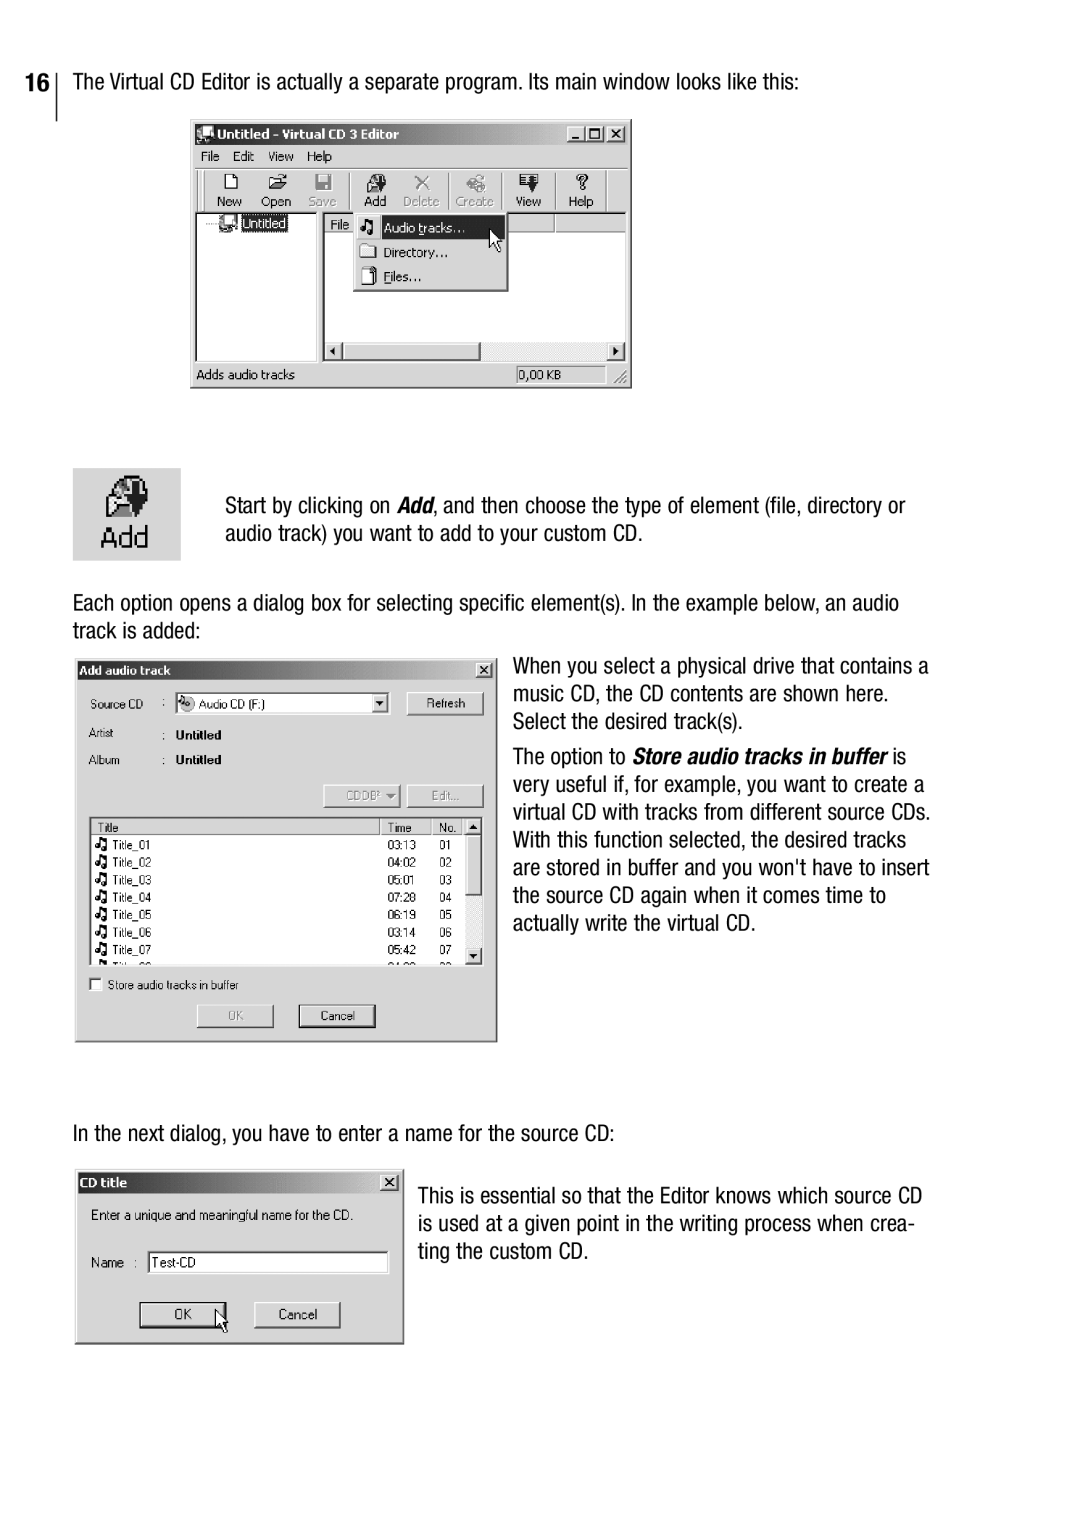
The Virtual CD Editor is actually a separate program. Its main window looks like this:
Start by clicking on Add, and then choose the type of element (file, directory or audio track) you want to add to your custom CD.
Each option opens a dialog box for selecting specific element(s). In the example below, an audio track is added:
When you select a physical drive that contains a music CD, the CD contents are shown here. Select the desired track(s).
The option to Store audio tracks in buffer is very useful if, for example, you want to create a virtual CD with tracks from different source CDs. With this function selected, the desired tracks are stored in buffer and you won't have to insert the source CD again when it comes time to actually write the virtual CD.
In the next dialog, you have to enter a name for the source CD:
This is essential so that the Editor knows which source CD is used at a given point in the writing process when crea- ting the custom CD.