3 Installing the Switch
6.Select the Master unit in the stack by pressing in the Master button on only one of the switches. Only one switch in the stack can operate as the Master, all other units operate in slave mode. If more than one switch in the stack is selected as Master, or if no switches are selected, the stack will not function.
Connecting to a Power Source
To connect a switch to a power source:
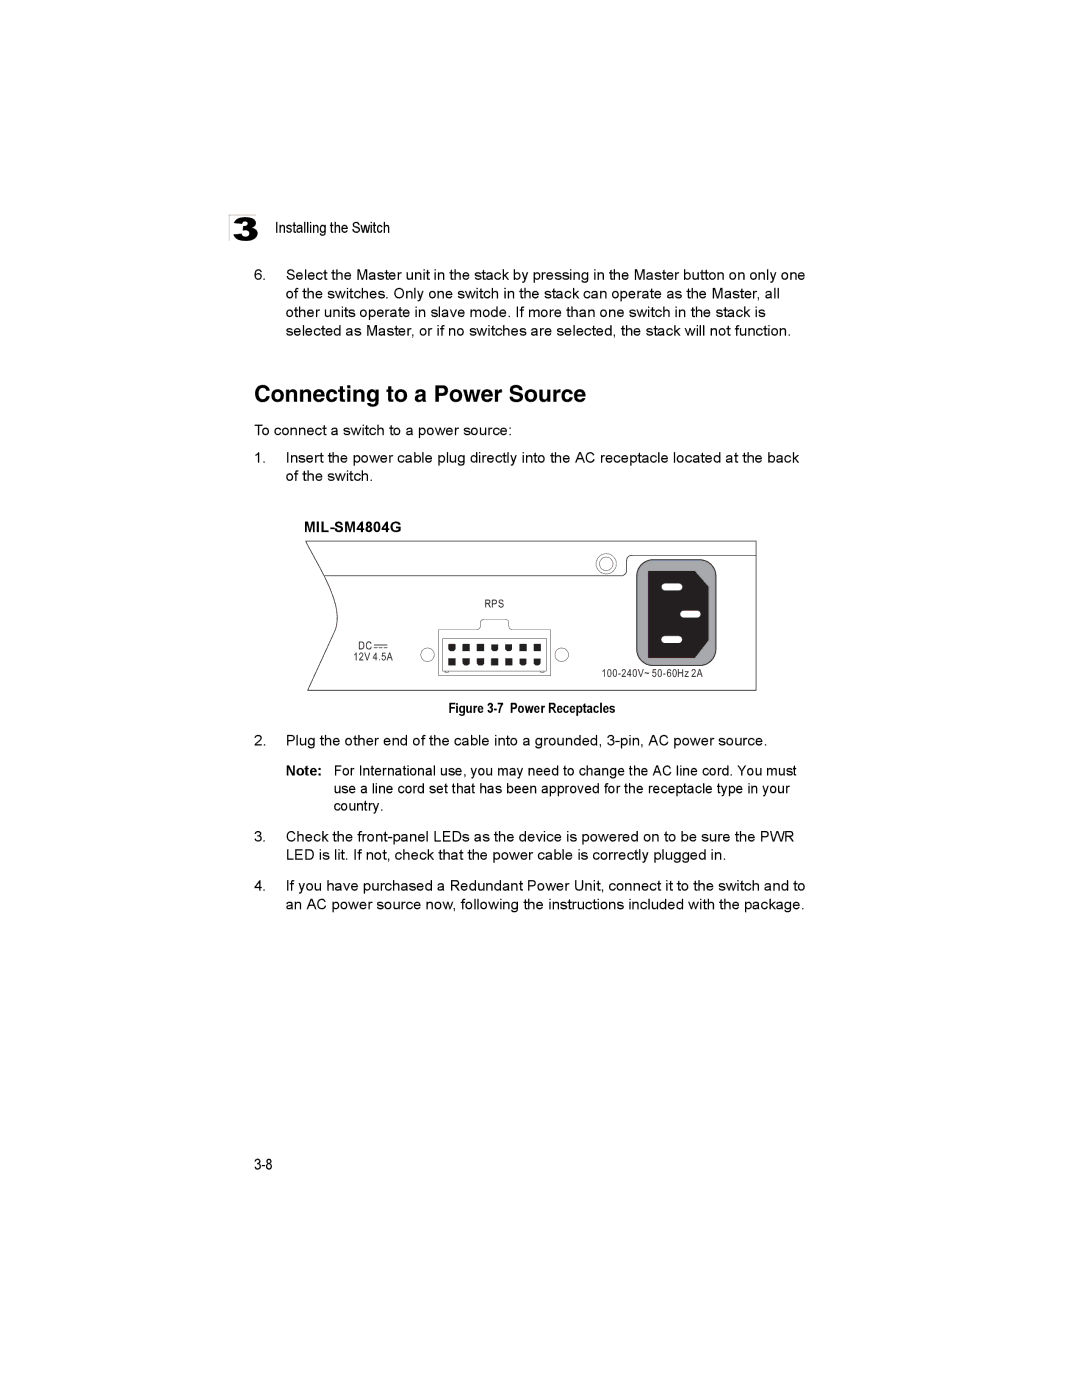
1.Insert the power cable plug directly into the AC receptacle located at the back of the switch.
MIL-SM4804G
RPS
DC ![]()
12V 4.5A
Figure 3-7 Power Receptacles
2.Plug the other end of the cable into a grounded,
Note: For International use, you may need to change the AC line cord. You must use a line cord set that has been approved for the receptacle type in your country.
3.Check the
4.If you have purchased a Redundant Power Unit, connect it to the switch and to an AC power source now, following the instructions included with the package.