PKA-A-GA specifications
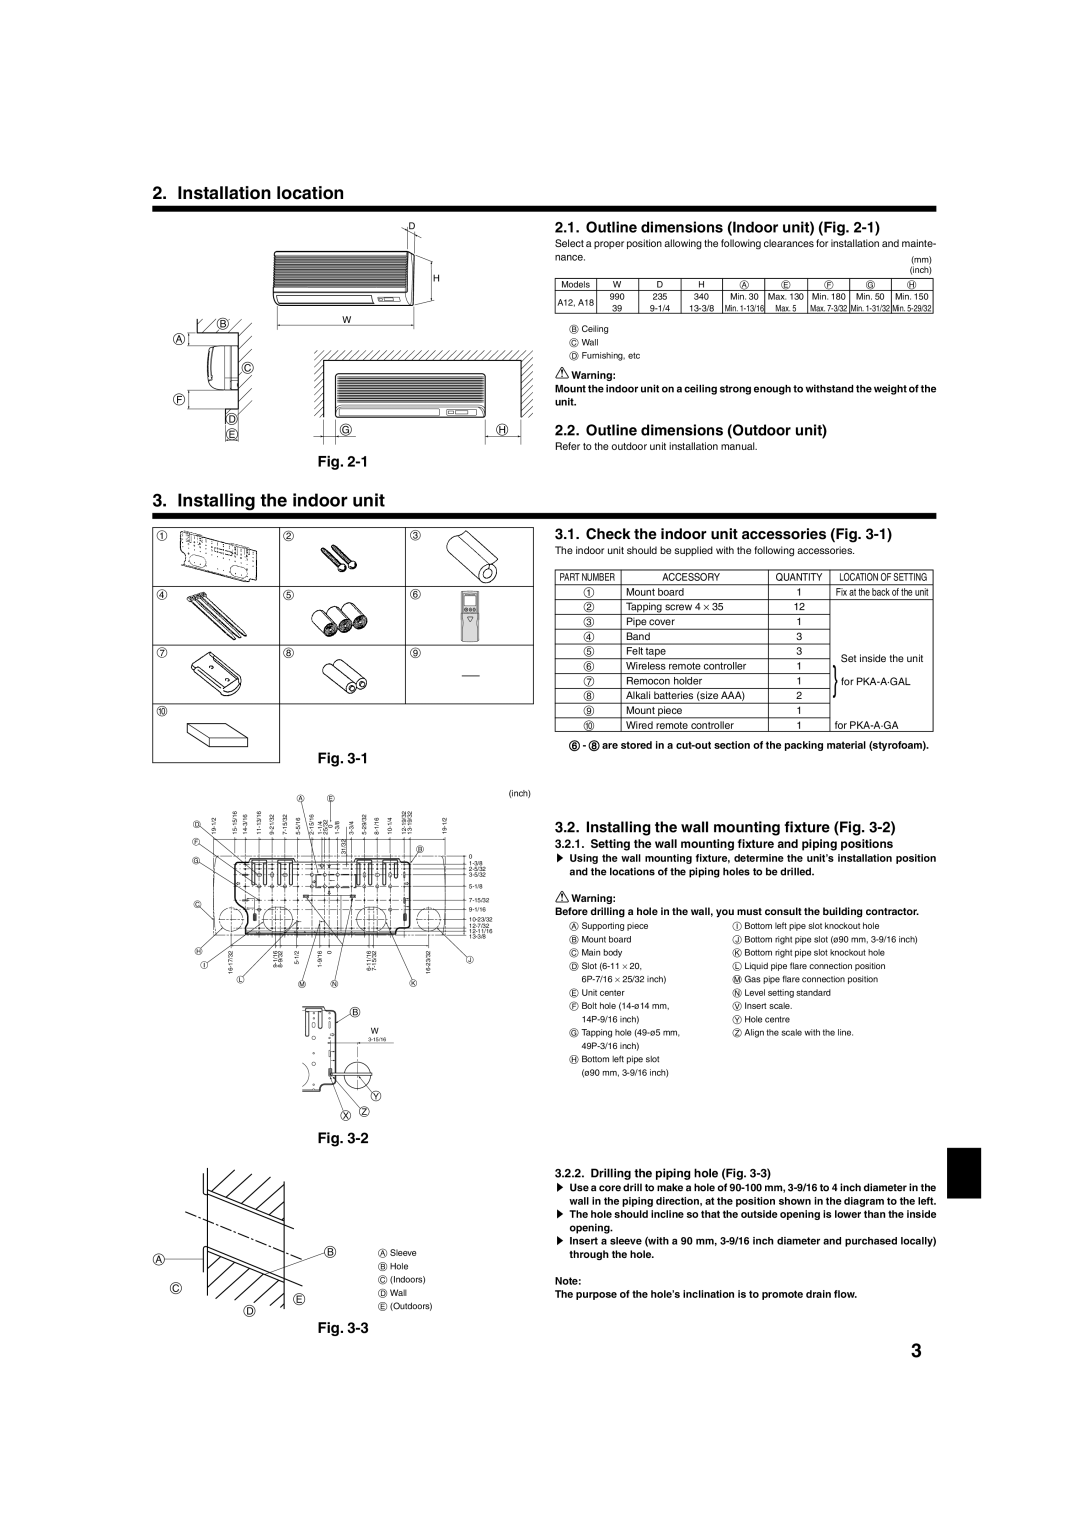
Mitsubishi Electronics has long been a key player in the realm of air conditioning and climate control technologies, offering a range of innovative solutions that cater to both residential and commercial needs. Among their impressive lineup, the Mitsubishi PKA-A-GA stands out as a noteworthy model known for its advanced features, efficiency, and reliability.The Mitsubishi PKA-A-GA is a wall-mounted air conditioning unit specifically designed for easy installation and optimal performance. One of its main features is the sleek and modern design, which allows it to blend seamlessly with various interior settings. Its compact form factor saves space while maximizing cooling efficiency.
This model utilizes cutting-edge inverter technology, which significantly enhances energy efficiency. By adjusting the compressor speed according to the cooling demand, the PKA-A-GA maintains a consistent temperature while reducing energy consumption. This not only lowers utility bills but also contributes to a more sustainable operation, making the unit eco-friendly.
A remarkable characteristic of the PKA-A-GA is its advanced air filtration system. Equipped with a high-performance filter, the unit effectively removes allergens, dust, and other particulates from the indoor air, ensuring a cleaner and healthier environment. Additionally, the unit features a self-cleaning function, which helps maintain the filter's efficiency by reducing the buildup of dust and other particles.
Another compelling aspect of the Mitsubishi PKA-A-GA is its whisper-quiet operation. The unit is designed to minimize noise, making it ideal for bedrooms, offices, and other spaces where tranquility is essential. This is particularly beneficial for users who require a calm atmosphere for work or relaxation.
Furthermore, the PKA-A-GA is compatible with smart controls, allowing users to operate and monitor their air conditioning system remotely via smartphones or tablets. This feature adds convenience and lets users optimize their energy consumption even when they're away from home.
Lastly, the durability of the Mitsubishi PKA-A-GA is noteworthy. Built with high-quality materials and robust components, this air conditioning unit is designed to withstand the rigors of daily use while providing reliable performance over the years.
Overall, the Mitsubishi PKA-A-GA is an exceptional air conditioning solution, blending efficiency, smart technology, and user-friendly features into a compact design. Whether for residential or commercial applications, it promises to deliver comfort and satisfaction in an ever-evolving climate.

