
Cordless hand blender specifications
The Morphy Richards Cordless Hand Blender is a versatile kitchen appliance designed to simplify food preparation while providing the convenience of cordless operation. This innovative hand blender is specifically built to eliminate the hassle of tangled cords and limited mobility, allowing users to blend, purée, and emulsify effortlessly anywhere in their kitchen.One of the standout features of this hand blender is its powerful motor, which delivers impressive blending performance. With various speed settings, users can switch between gentle mixing and high-speed blending, accommodating a wide range of tasks from whipping cream to making smooth purées. The ergonomic design of the blender ensures comfortable handling, allowing users to blend with precision and control.
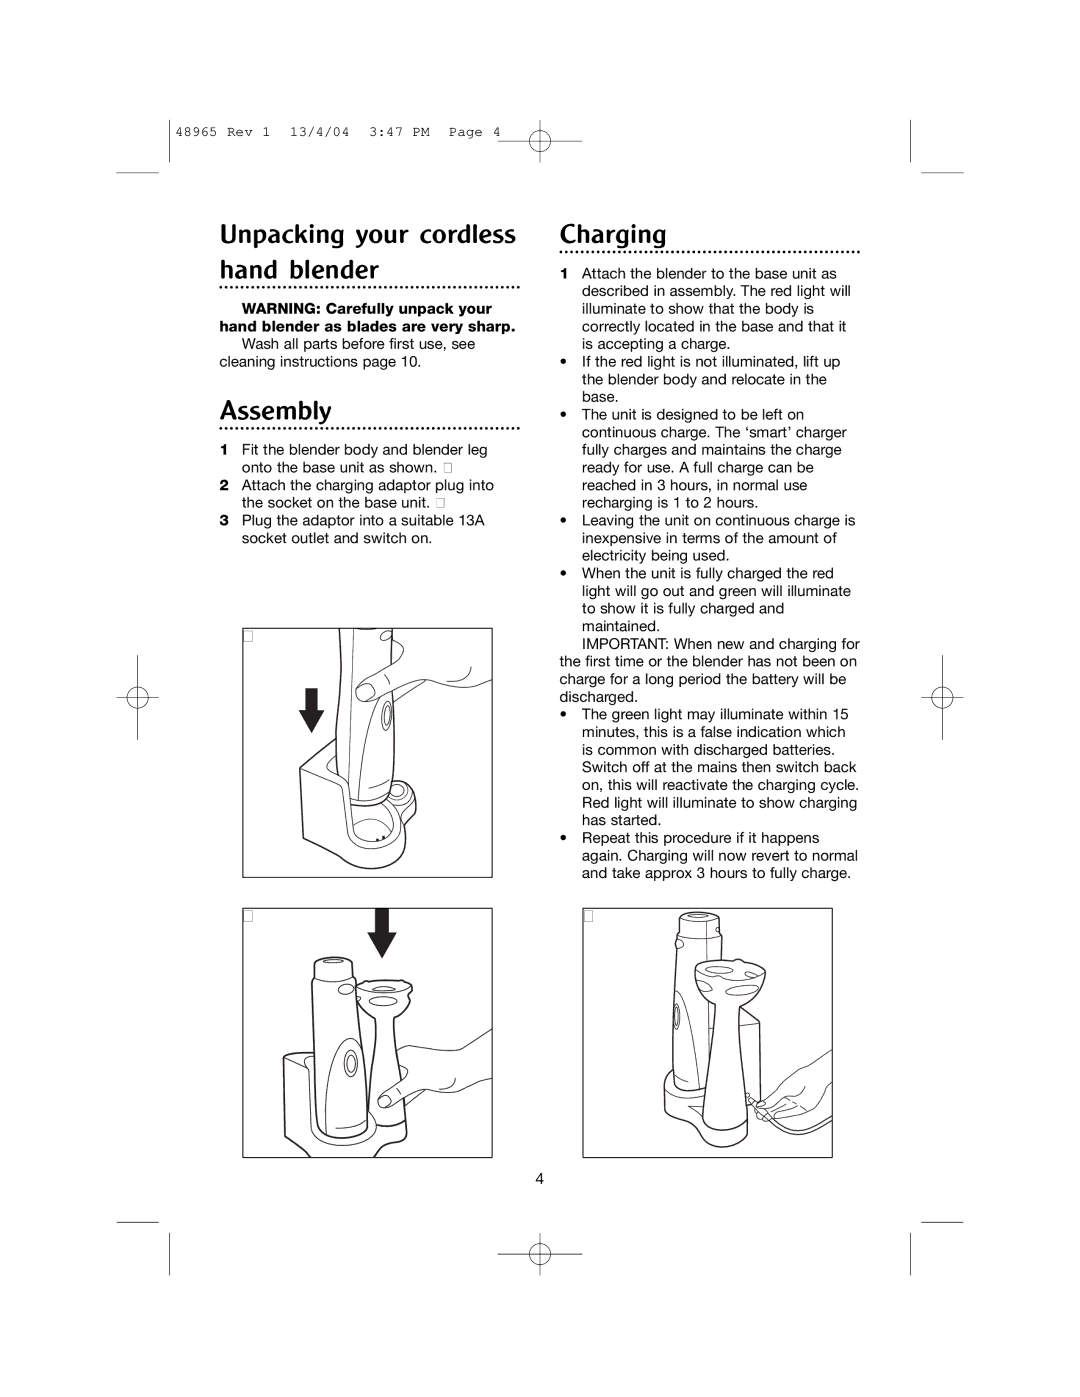
The Morphy Richards Cordless Hand Blender comes equipped with rechargeable lithium-ion batteries, providing up to 20 minutes of sustained blending time on a single charge. The charging base is compact and easy to store, and the quick recharge feature enables users to power up the blender within a few hours, making it ready for the next cooking adventure.
Another significant aspect of this hand blender is its unique blade system. The stainless steel blades are designed for superior cutting efficiency, ensuring food is blended evenly and without lumps. Additionally, the blending shaft is detachable, making cleanup a breeze. Users can simply remove the blending shaft and wash it in warm soapy water or place it in the dishwasher.
Morphy Richards also emphasizes safety with its cordless design. The blender features a safety lock mechanism that prevents accidental activation while handling or cleaning. This ensures a worry-free blending experience, especially in households with children.
Furthermore, the hand blender is lightweight and compact, making it easy to store when not in use. Its sleek design and modern aesthetics complement any kitchen décor.
In summary, the Morphy Richards Cordless Hand Blender combines powerful performance, cordless convenience, and user-friendly features. Ideal for blending soups, smoothies, baby food, and more, it’s a practical addition to any kitchen, providing efficiency and ease while enhancing the culinary experience. With its innovative technology and thoughtful design, the Morphy Richards Cordless Hand Blender stands out as a must-have tool for aspiring chefs and home cooks alike.