2 | Installation |
Step 2 - Device Time
This screen allows you to set the time zone and to enable Daylight Savings Time (when applicable) for your location.
•Select the appropriate time zone for your location from the drop down box.
•Check the box called “Auto Adjust for Daylight Savings Time” if you live in a region that observes Daylight Savings Time (this box is checked by default).
•Click Next.
Step 3 - WiMAX Security
The WiMAX Security tab will contain your authentication method. Check with your service provider to determine if they require a user name and password for authentication purposes.
•If the Authentication Method is
-Enter the Realm information supplied by your service provider.
-Click the Apply button when finished.
•If the Authentication Method is
-Enter the User name and Password as supplied by your service provider.
-Enter the Realm information as provided by your service provider.
-Click the Apply button when finished.
Congratulations! You have now completed the setup of your WiMAX connection.
Click OK on the Congratulations! dialog box.
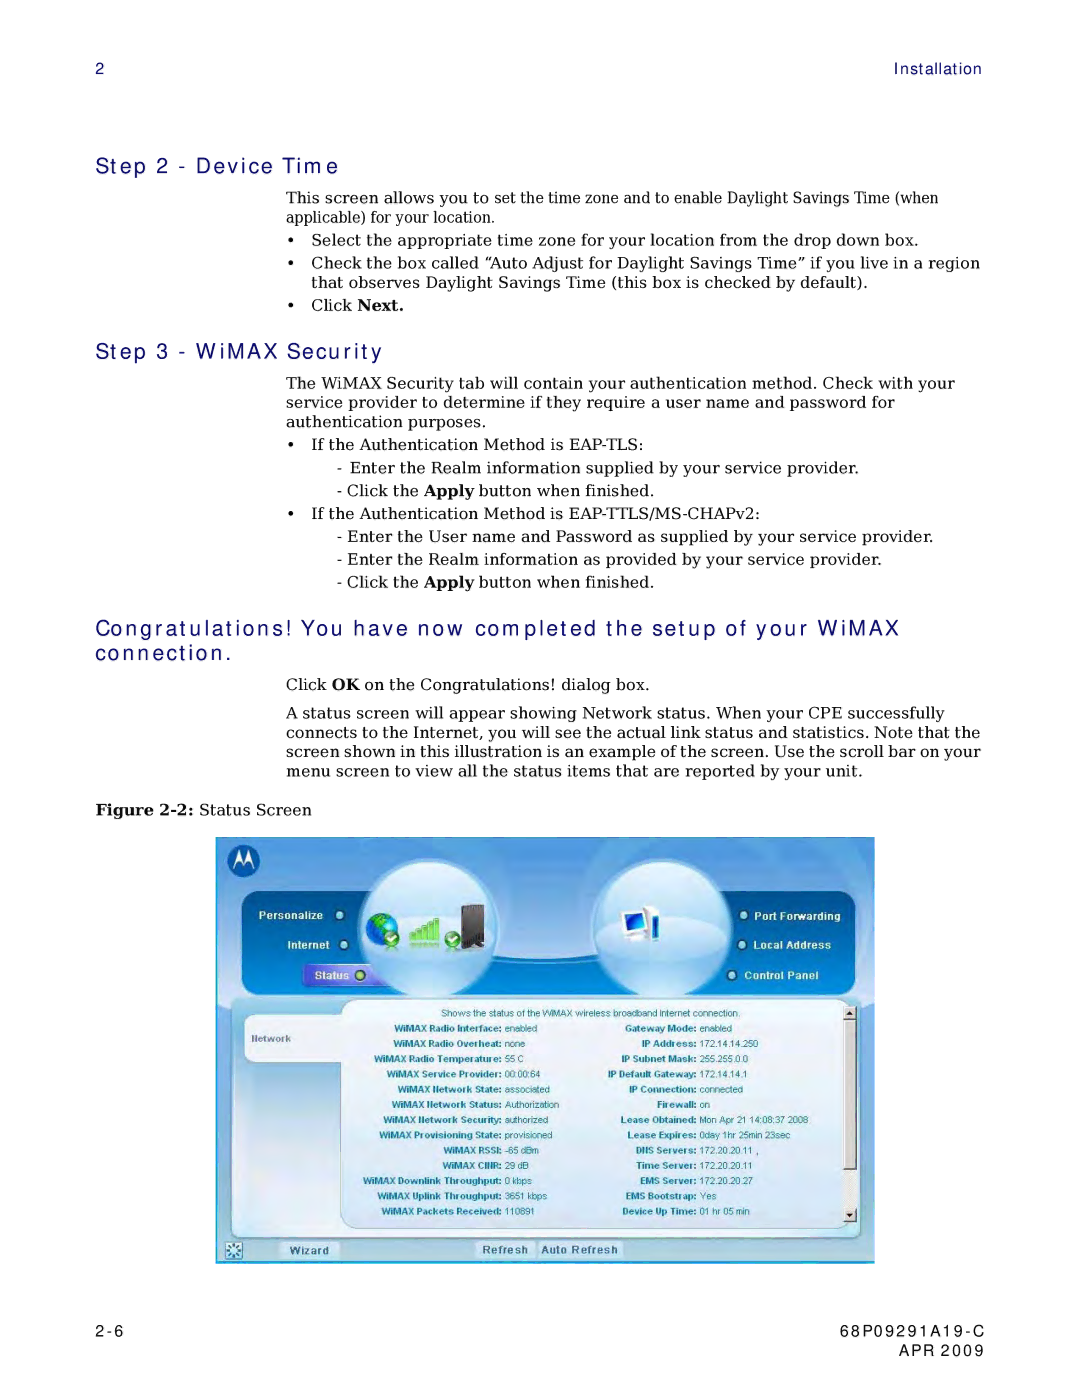
A status screen will appear showing Network status. When your CPE successfully connects to the Internet, you will see the actual link status and statistics. Note that the screen shown in this illustration is an example of the screen. Use the scroll bar on your menu screen to view all the status items that are reported by your unit.
Figure 2-2: Status Screen
| |
| APR 2009 |
