Section 5: Maintenance
WARNING Before inspecting, cleaning or servicing the unit, shut off engine, wait for all parts to come to a complete stop, disconnect spark plug wire and move wire away from spark plug. Remove ignition key on elec- tric start models. Failure to follow these instructions can result in serious personal injury or property damage.
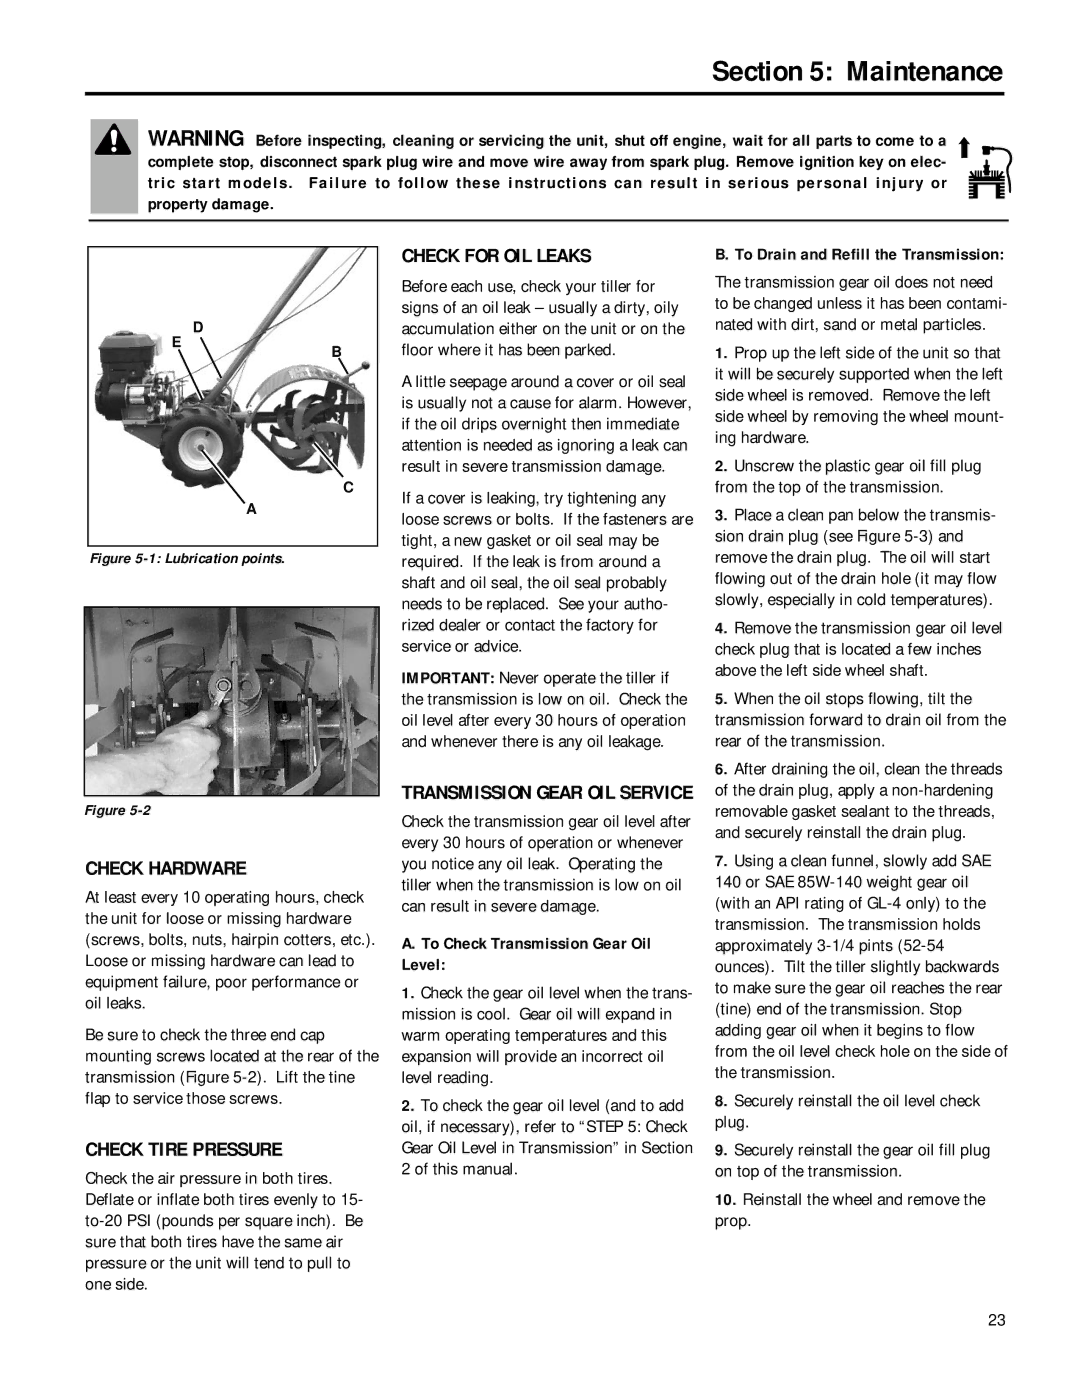
D
EB
C
A
Figure 5-1: Lubrication points.
Figure
CHECK HARDWARE
At least every 10 operating hours, check the unit for loose or missing hardware (screws, bolts, nuts, hairpin cotters, etc.). Loose or missing hardware can lead to equipment failure, poor performance or oil leaks.
Be sure to check the three end cap mounting screws located at the rear of the transmission (Figure
CHECK TIRE PRESSURE
Check the air pressure in both tires. Deflate or inflate both tires evenly to 15-
CHECK FOR OIL LEAKS
Before each use, check your tiller for signs of an oil leak – usually a dirty, oily accumulation either on the unit or on the floor where it has been parked.
A little seepage around a cover or oil seal is usually not a cause for alarm. However, if the oil drips overnight then immediate attention is needed as ignoring a leak can result in severe transmission damage.
If a cover is leaking, try tightening any loose screws or bolts. If the fasteners are tight, a new gasket or oil seal may be required. If the leak is from around a shaft and oil seal, the oil seal probably needs to be replaced. See your autho- rized dealer or contact the factory for service or advice.
IMPORTANT: Never operate the tiller if the transmission is low on oil. Check the oil level after every 30 hours of operation and whenever there is any oil leakage.
TRANSMISSION GEAR OIL SERVICE
Check the transmission gear oil level after every 30 hours of operation or whenever you notice any oil leak. Operating the tiller when the transmission is low on oil can result in severe damage.
A. To Check Transmission Gear Oil Level:
1.Check the gear oil level when the trans- mission is cool. Gear oil will expand in warm operating temperatures and this expansion will provide an incorrect oil level reading.
2.To check the gear oil level (and to add oil, if necessary), refer to “STEP 5: Check Gear Oil Level in Transmission” in Section
2of this manual.
B. To Drain and Refill the Transmission:
The transmission gear oil does not need to be changed unless it has been contami- nated with dirt, sand or metal particles.
1.Prop up the left side of the unit so that it will be securely supported when the left side wheel is removed. Remove the left side wheel by removing the wheel mount- ing hardware.
2.Unscrew the plastic gear oil fill plug from the top of the transmission.
3.Place a clean pan below the transmis- sion drain plug (see Figure
4.Remove the transmission gear oil level check plug that is located a few inches above the left side wheel shaft.
5.When the oil stops flowing, tilt the transmission forward to drain oil from the rear of the transmission.
6.After draining the oil, clean the threads of the drain plug, apply a
7.Using a clean funnel, slowly add SAE
140or SAE
8.Securely reinstall the oil level check plug.
9.Securely reinstall the gear oil fill plug on top of the transmission.
10.Reinstall the wheel and remove the prop.
23