CA4HC specifications
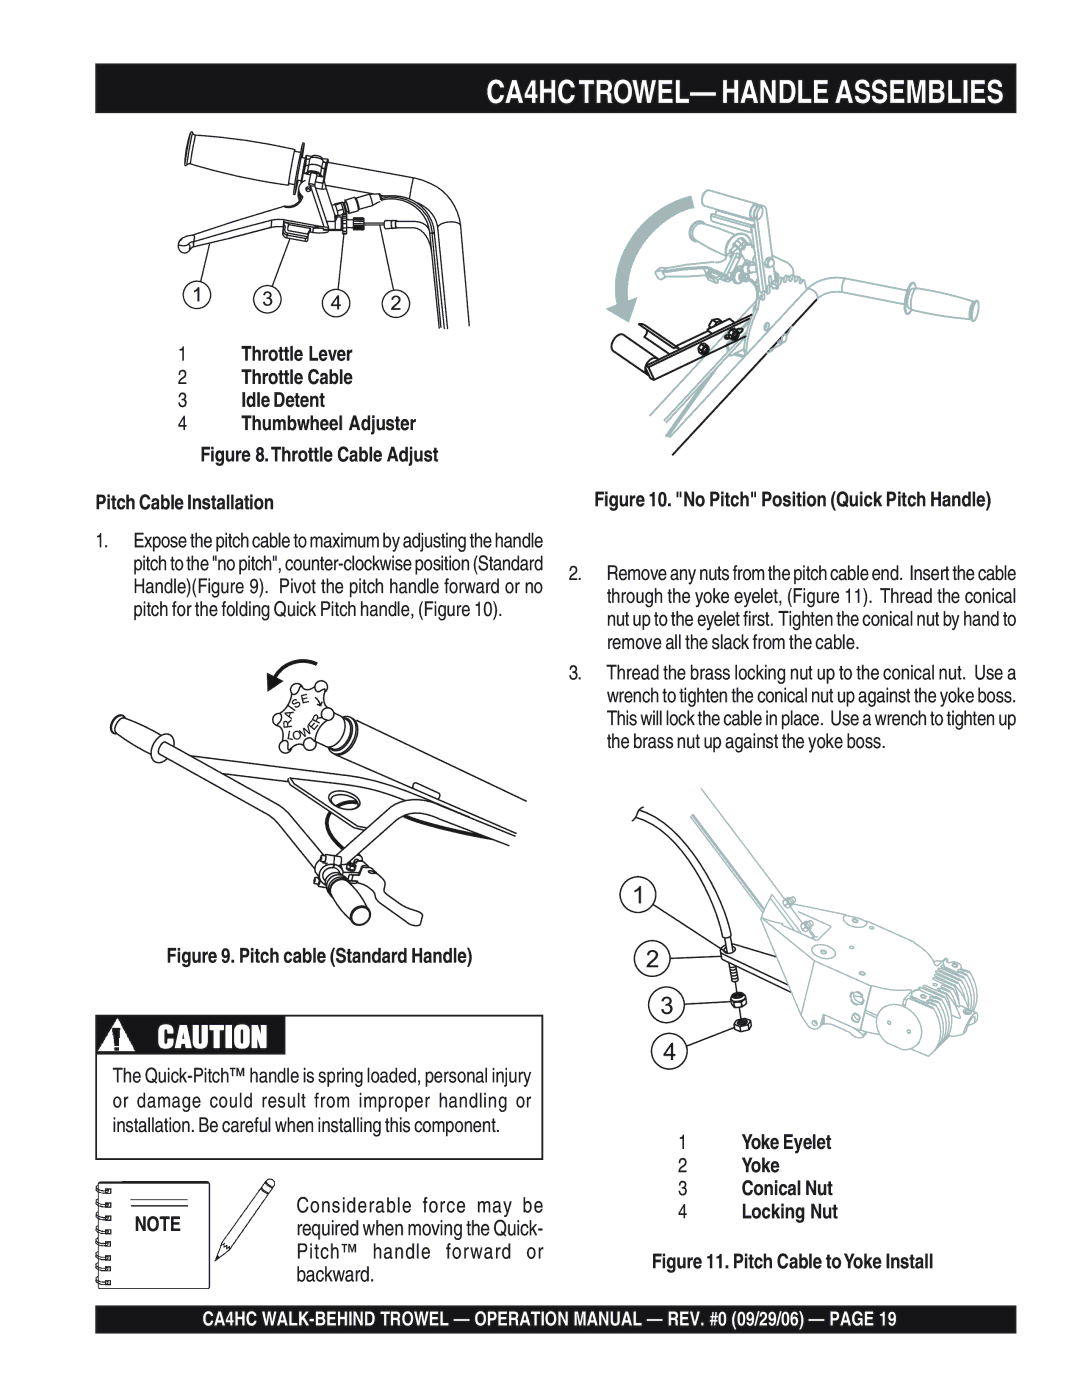
The Multiquip CA4HC is an advanced concrete mixer that combines efficiency and versatility, making it a preferred choice for both professionals and DIY enthusiasts. This robust machine is engineered to handle a variety of mixing tasks seamlessly, allowing users to tackle projects of varying sizes effectively.One of the standout features of the CA4HC is its 4-cubic-foot capacity. This size strikes an ideal balance, enabling users to mix enough concrete for substantial jobs while retaining portability. The unit is equipped with a powerful Honda engine that ensures reliable performance, allowing users to achieve high-quality mixes consistently.
Technology-wise, the CA4HC incorporates a direct drive system that eliminates the need for belts and pulleys, thus reducing maintenance and enhancing durability. This design not only improves the mixer’s lifespan but also results in a quieter operation, creating a more pleasant working environment. The electric start feature adds convenience, enabling users to start the mixer effortlessly with minimal effort.
Another notable characteristic of the CA4HC is its heavy-duty construction. The mixer features a solid steel frame that provides stability and resistance to the rigors of everyday use. The drum itself is made from robust materials that resist wear and tear, ensuring longevity and reliability over time. Additionally, the drum’s design allows for easy pouring, reducing spills and improving efficiency during concrete pouring tasks.
Portability is a key attribute of the Multiquip CA4HC. The mixer comes with pneumatic tires that allow for easy transportation over different terrains. Its compact design makes it easy to store when not in use, saving valuable space in garages or job sites.
Safety has also been prioritized in the design of the CA4HC. The mixer is equipped with safety guards to protect users from moving parts, reducing the risk of accidents during operation. Its intuitive controls ensure that even those new to concrete mixing can operate it with confidence.
In summary, the Multiquip CA4HC is a powerful, versatile, and user-friendly concrete mixer designed to meet the needs of various projects. With its durable construction, efficient engineering, and integrated safety features, it stands out as a reliable tool for achieving consistent mixing results. Whether for construction professionals or home improvement enthusiasts, the CA4HC offers a combination of performance and practicality that is hard to beat.

