29

Caution! During unpacking and assembly we recommended you wear work gloves and safety glasses for your protection. Although we make every effort to make the assembly process as problem free and safe as possible, it is characteristic of fabricated steel parts that the edges and corners might be sharp and could cause cuts if handled incorrectly.

ATTENTION! Lors du déballage et de l’assemblage, nous vous conseillons de porter des gants de travail et des lunettes de sécurité pour votre protection. Malgré tous nos efforts pour assurer que l’assemblage soit aussi sécuritaire et sans problème que possible, il se peut que les bords et les coins des pièces usinées en acier soient coupants et qu’ils causent des coupures si les pièces ne sont pas manipulées correctement.

Getting Started

1.Remove all cart panels, hardware, and grill head from carton. Raise lid and remove any components packed inside. Use the parts list to ensure all necessary parts are included.

2.Do not destroy packaging until the grill has been fully assembled and operates to your satisfaction.

3.Assemble the grill where it is to be used, lay down cardboard or a towel to protect parts from being lost or damaged while assembling.

4.Most stainless steel parts are supplied with a protective plastic coating that must be removed prior to us- ing grill.

5.Follow all instructions in the order that they are laid out in this manual.

6.Two people are required to lift the grill head onto the assembled cart.

If you have any questions about assembly or grill operation, or if there are damaged or missing parts please call our Customer Care Department at 1-866-820-8686 between 9 AM and 5 PM (Eastern Standard Time).

Pour Commencer

1.Retirez tous les panneaux, le matériel et le gril du carton d’emballage. Soulevez le couvercle et enlevez les composants qui se trouvent à l’intérieur. Servez-vous de la liste de pièces pour vous assurer que toutes les pièces nécessaires sont incluses.

2.Ne détruisez pas l’emballage jusqu’à ce que le gril ait été complètement assemblé et qu’il fonctionne à votre satisfaction.

3.Assemblez le gril là où il sera utilisé et posez un carton ou une serviette afin d’éviter de perdre ou d’endommager les pièces lors de l’assemblage.

4.La plupart des pièces en acier inoxydable possèdent un revêtement de plastique protecteur qui doit être enlevé avant d’utiliser le gril.

5.Suivez toutes les instructions dans l’ordre donné dans ce manuel.

6.Deux personnes sont requises pour soulever la cuve de gril et la placer sur le chariot assemblé.

Si vous avez des questions à propos de l’assemblage ou du fonctionnement du gril, ou si des pièces sont man- quantes ou endommagées, veuillez appeler notre département du Service aux Consommateurs au 1-866-820- 8686 entre 9 h et 17 h (heure normale de l’Est).

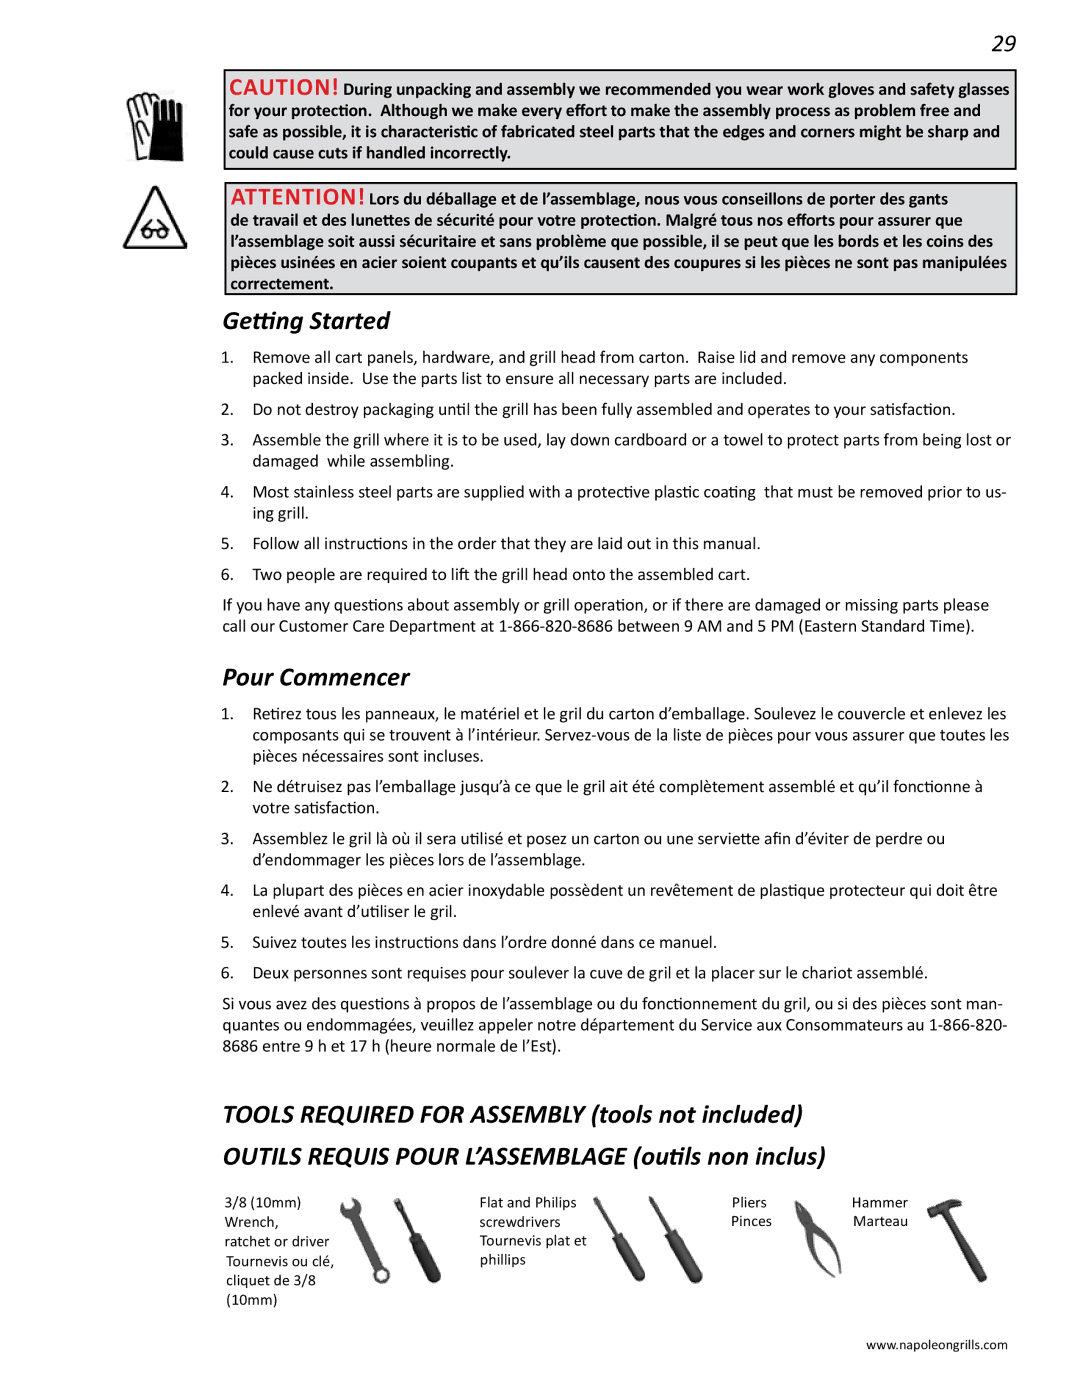
TOOLS REQUIRED FOR ASSEMBLY (tools not included) OUTILS REQUIS POUR L’ASSEMBLAGE (outils non inclus)

3/8 (10mm)

Flat and Philips

Pliers

Hammer

Wrench,

screwdrivers

Pinces

Marteau

ratchet or driver

Tournevis plat et


Tournevis ou clé,

phillips


cliquet de 3/8


(10mm)


www.napoleongrills.com

Page 14
Image 14
Napoleon Grills PRESTIGE II 600 manual Getting Started, Pour Commencer

PRESTIGE II 600 specifications

The Napoleon Grills PRESTIGE II 600 is a leading-edge gas grill that embodies high performance, stylish design, and remarkable cooking versatility. An ideal choice for outdoor cooking enthusiasts, this grill features a host of characteristics that enhance both the grilling experience and the quality of the food prepared.

One of the standout features of the PRESTIGE II 600 is its impressive cooking space. With a total of 720 square inches of cooking area, this grill allows ample room to prepare meals for gatherings, family barbecues, or entertaining friends. The grill is equipped with four main burners that deliver a total of 48,000 BTUs of heat, ensuring that food cooks evenly and efficiently.

The innovative infrared side and rear burners are notable technologies that set this grill apart. The ceramic infrared side burner is perfect for searing steaks, delivering high and consistent heat to lock in juices and flavor. The rear infrared burner transforms the grill into a functional rotisserie, allowing for perfectly cooked meats that are tender and flavorful. The rotisserie kit, often included with the grill, helps create meals that wow your diners.

The Napoleon PRESTIGE II 600 is constructed with high-quality, stainless steel materials that ensure durability and longevity. The elegant finish not only provides a modern aesthetic but also resists rust and corrosion, so your grill looks good even after years of use. The grills feature a unique design with the Wave cooking grids that facilitate even heat distribution while also creating attractive grill marks.

Additionally, the grill is equipped with advanced technology, including the Accu-Probe temperature gauge that allows for precise cooking control. This feature ensures you can achieve the exact doneness desired for your meats. Moreover, the integrated lighting system in the grill provides excellent visibility, enhancing your cooking experience even during nighttime grilling sessions.

Another characteristic of the PRESTIGE II 600 is its convenient storage solutions. The grill features enclosed cabinet space for storing propane tanks and grilling accessories, keeping everything organized and within reach.

The Napoleon Grills PRESTIGE II 600 is more than just a grilling appliance; it’s a versatile outdoor cooking tool that combines functionality with curated design, making it a premier choice for any outdoor cooking enthusiast.