GS752TXS Smart Switch Hardware Installation Guide
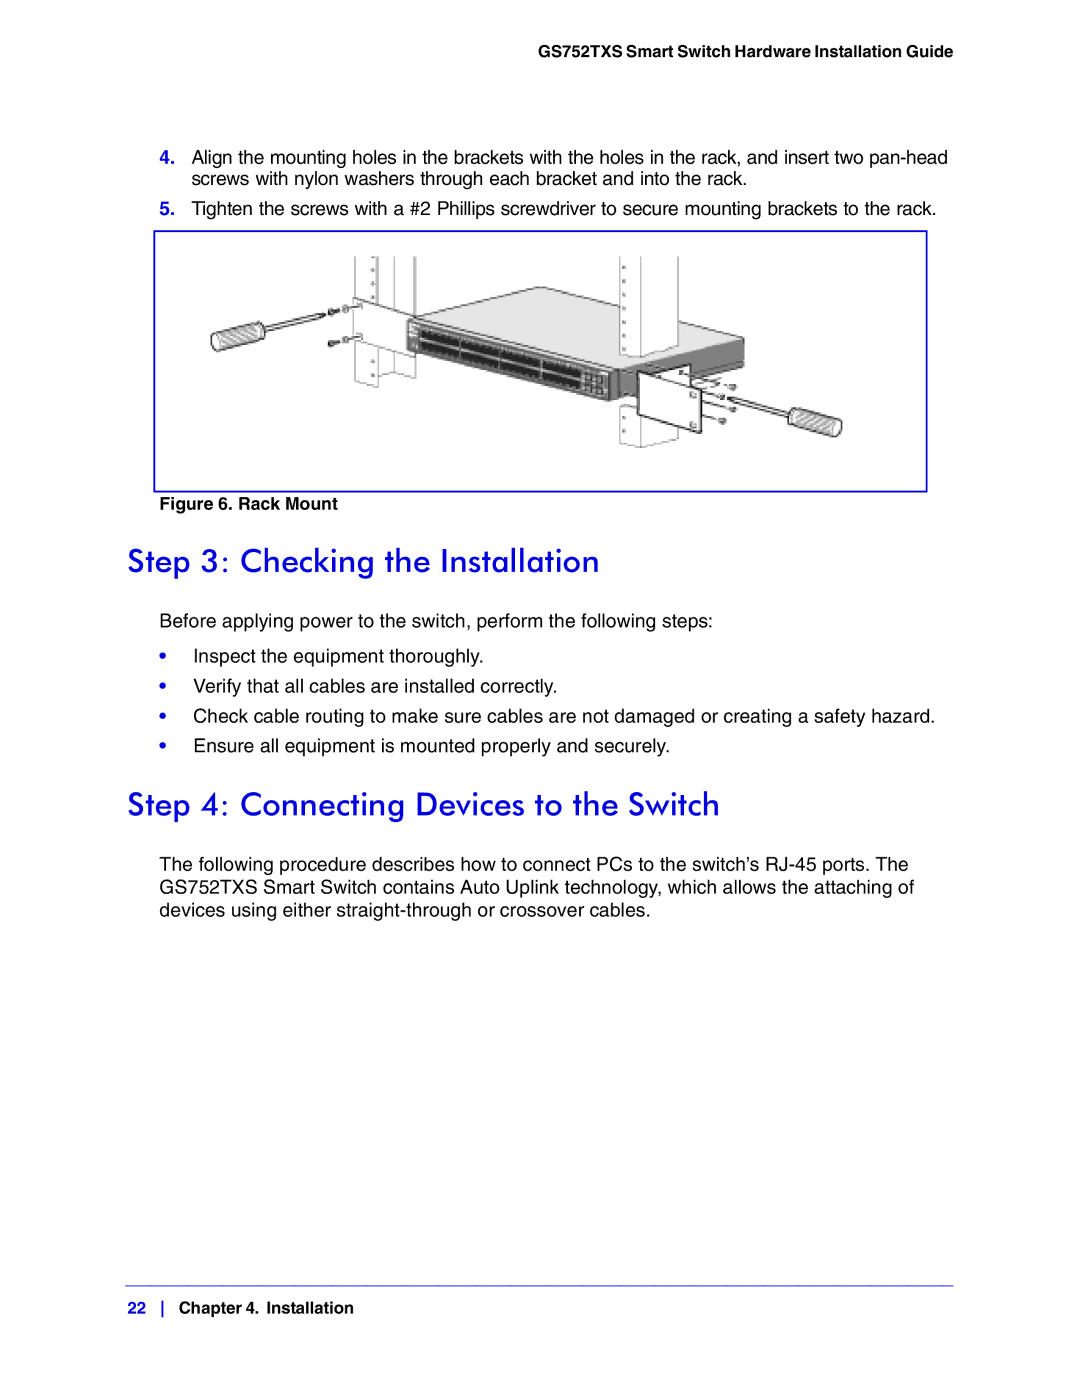
4.Align the mounting holes in the brackets with the holes in the rack, and insert two
5.Tighten the screws with a #2 Phillips screwdriver to secure mounting brackets to the rack.
Figure 6. Rack Mount
Step 3: Checking the Installation
Before applying power to the switch, perform the following steps:
•Inspect the equipment thoroughly.
•Verify that all cables are installed correctly.
•Check cable routing to make sure cables are not damaged or creating a safety hazard.
•Ensure all equipment is mounted properly and securely.
Step 4: Connecting Devices to the Switch
The following procedure describes how to connect PCs to the switch’s
22 Chapter 4. Installation