Menu/Features of Custom Setting—continued
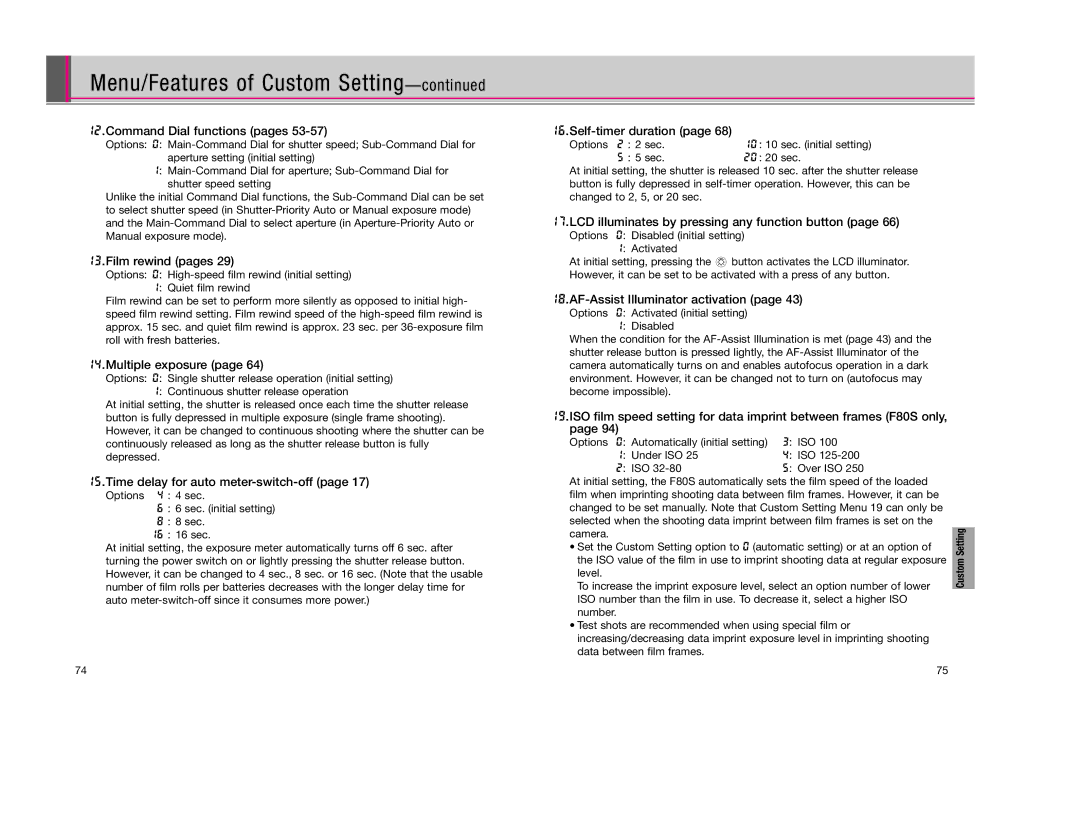
12.Command Dial functions (pages 53-57)
Options: 0:
1:
Unlike the initial Command Dial functions, the
13.Film rewind (pages 29)
Options: 0:
Film rewind can be set to perform more silently as opposed to initial high- speed film rewind setting. Film rewind speed of the
14.Multiple exposure (page 64)
Options: 0: Single shutter release operation (initial setting)
1: Continuous shutter release operation
At initial setting, the shutter is released once each time the shutter release button is fully depressed in multiple exposure (single frame shooting). However, it can be changed to continuous shooting where the shutter can be continuously released as long as the shutter release button is fully depressed.
15.Time delay for auto meter-switch-off (page 17)
Options 4 : 4 sec.
6: 6 sec. (initial setting)
8 : 8 sec.
16: 16 sec.
At initial setting, the exposure meter automatically turns off 6 sec. after turning the power switch on or lightly pressing the shutter release button. However, it can be changed to 4 sec., 8 sec. or 16 sec. (Note that the usable number of film rolls per batteries decreases with the longer delay time for auto
74
16.Self-timer duration (page 68)
Options 2 : 2 sec. | 10 | : 10 sec. (initial setting) |
5 : 5 sec. | 20 | : 20 sec. |
At initial setting, the shutter is released 10 sec. after the shutter release button is fully depressed in
17.LCD illuminates by pressing any function button (page 66)
Options 0: Disabled (initial setting) 1: Activated
At initial setting, pressing the Πbutton activates the LCD illuminator. However, it can be set to be activated with a press of any button.
18.AF-Assist Illuminator activation (page 43)
Options 0: Activated (initial setting) 1: Disabled
When the condition for the
19.ISO film speed setting for data imprint between frames (F80S only, page 94)
Options 0: Automatically (initial setting) | 3: ISO 100 |
1: Under ISO 25 | 4: ISO |
2: ISO | 5: Over ISO 250 |
At initial setting, the F80S automatically sets the film speed of the loaded film when imprinting shooting data between film frames. However, it can be changed to be set manually. Note that Custom Setting Menu 19 can only be selected when the shooting data imprint between film frames is set on the camera.
•Set the Custom Setting option to 0 (automatic setting) or at an option of the ISO value of the film in use to imprint shooting data at regular exposure level.
To increase the imprint exposure level, select an option number of lower ISO number than the film in use. To decrease it, select a higher ISO number.
•Test shots are recommended when using special film or increasing/decreasing data imprint exposure level in imprinting shooting data between film frames.
75
Custom Setting
