Using the Battery Pack

Attaching the Battery Pack

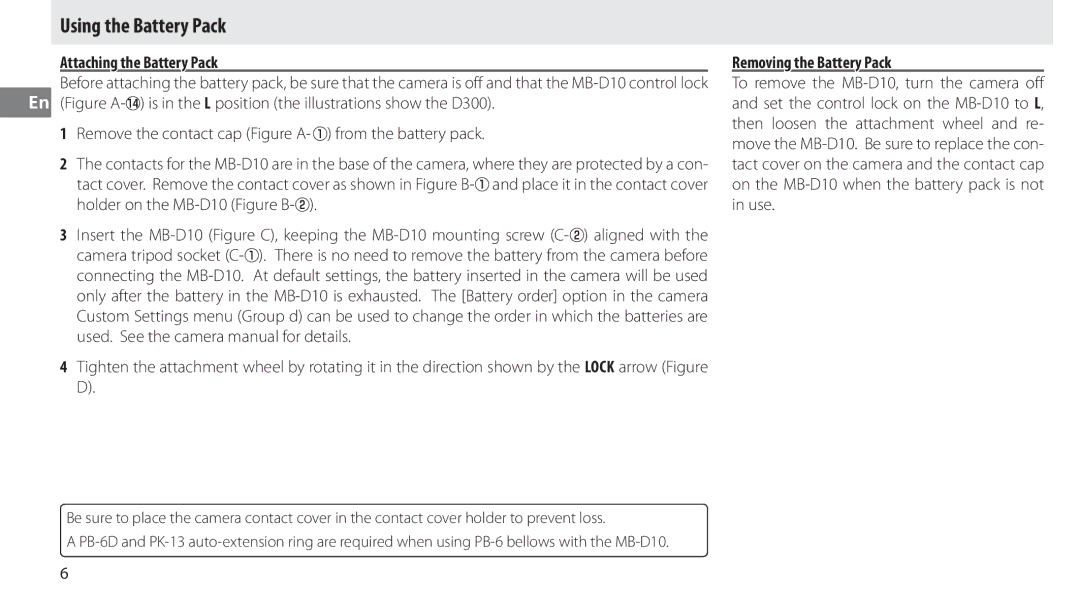
Before attaching the battery pack, be sure that the camera is off and that the MB-D10 control lock En (Figure A-) is in the L position (the illustrations show the D300).

1Remove the contact cap (Figure A-) from the battery pack.

2The contacts for the MB-D10 are in the base of the camera, where they are protected by a con-

tact cover. Remove the contact cover as shown in Figure B-and place it in the contact cover holder on the MB-D10 (Figure B-).

3Insert the MB-D10 (Figure C), keeping the MB-D10 mounting screw (C-) aligned with the camera tripod socket (C-). There is no need to remove the battery from the camera before connecting the MB-D10. At default settings, the battery inserted in the camera will be used only after the battery in the MB-D10 is exhausted. The [Battery order] option in the camera Custom Settings menu (Group d) can be used to change the order in which the batteries are used. See the camera manual for details.

4Tighten the attachment wheel by rotating it in the direction shown by the LOCK arrow (Figure D).

Be sure to place the camera contact cover in the contact cover holder to prevent loss.

A PB-6D and PK-13 auto-extension ring are required when using PB-6 bellows with the MB-D10.

Removing the Battery Pack

To remove the MB-D10, turn the camera off and set the control lock on the MB-D10 to L, then loosen the attachment wheel and re- move the MB-D10. Be sure to replace the con- tact cover on the camera and the contact cap on the MB-D10 when the battery pack is not in use.

6

Page 22
Image 22
Nikon MB-D10 user manual Using the Battery Pack, Attaching the Battery Pack, Removing the Battery Pack