CONNECTING AND INSTALLING THE SPEAKER (CONTINUED)
IMPORTANT: WHEN INSTALLING THE SPEAKERS IN THE CEILING, OR IF THE INSTALLATION IS IN AN EARTHQUAKE ZONE, WE RECOMMEND USING THE ENCLOSED SHEET METAL SCREWS TO SECURE THE BAFFLE TO THE FRAME AS FOLLOWS:
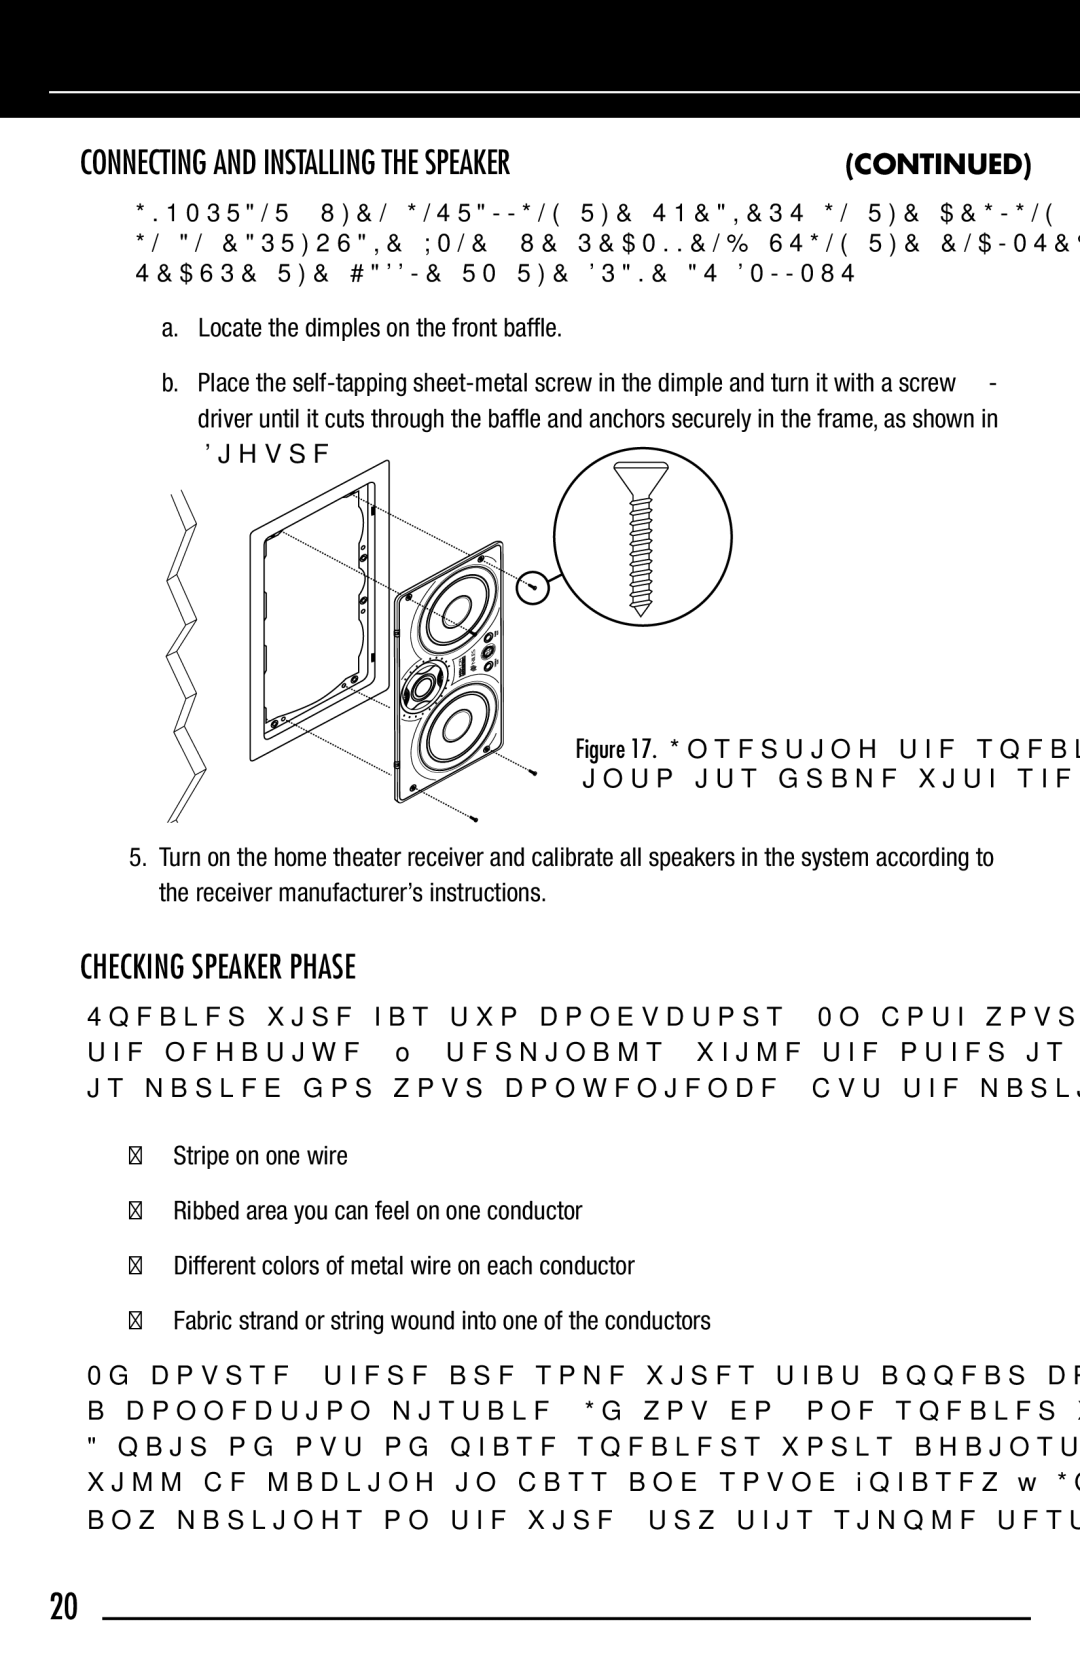
a.Locate the dimples on the front baffle.
b.Place the
Figure 17. Inserting the speaker baffle into its frame with sheet-metal screws.
5.Turn on the home theater receiver and calibrate all speakers in the system according to the receiver manufacturer’s instructions.
CHECKING SPEAKER PHASE
Speaker wire has two conductors. On both your speaker and amplifier, one conductor is attached to the negative
•Stripe on one wire
•Ribbed area you can feel on one conductor
•Different colors of metal wire on each conductor
•Fabric strand or string wound into one of the conductors
Of course, there are some wires that appear completely identical. So be careful, or you might make a connection mistake. If you do, one speaker will be playing
20