MX 521 H specifications
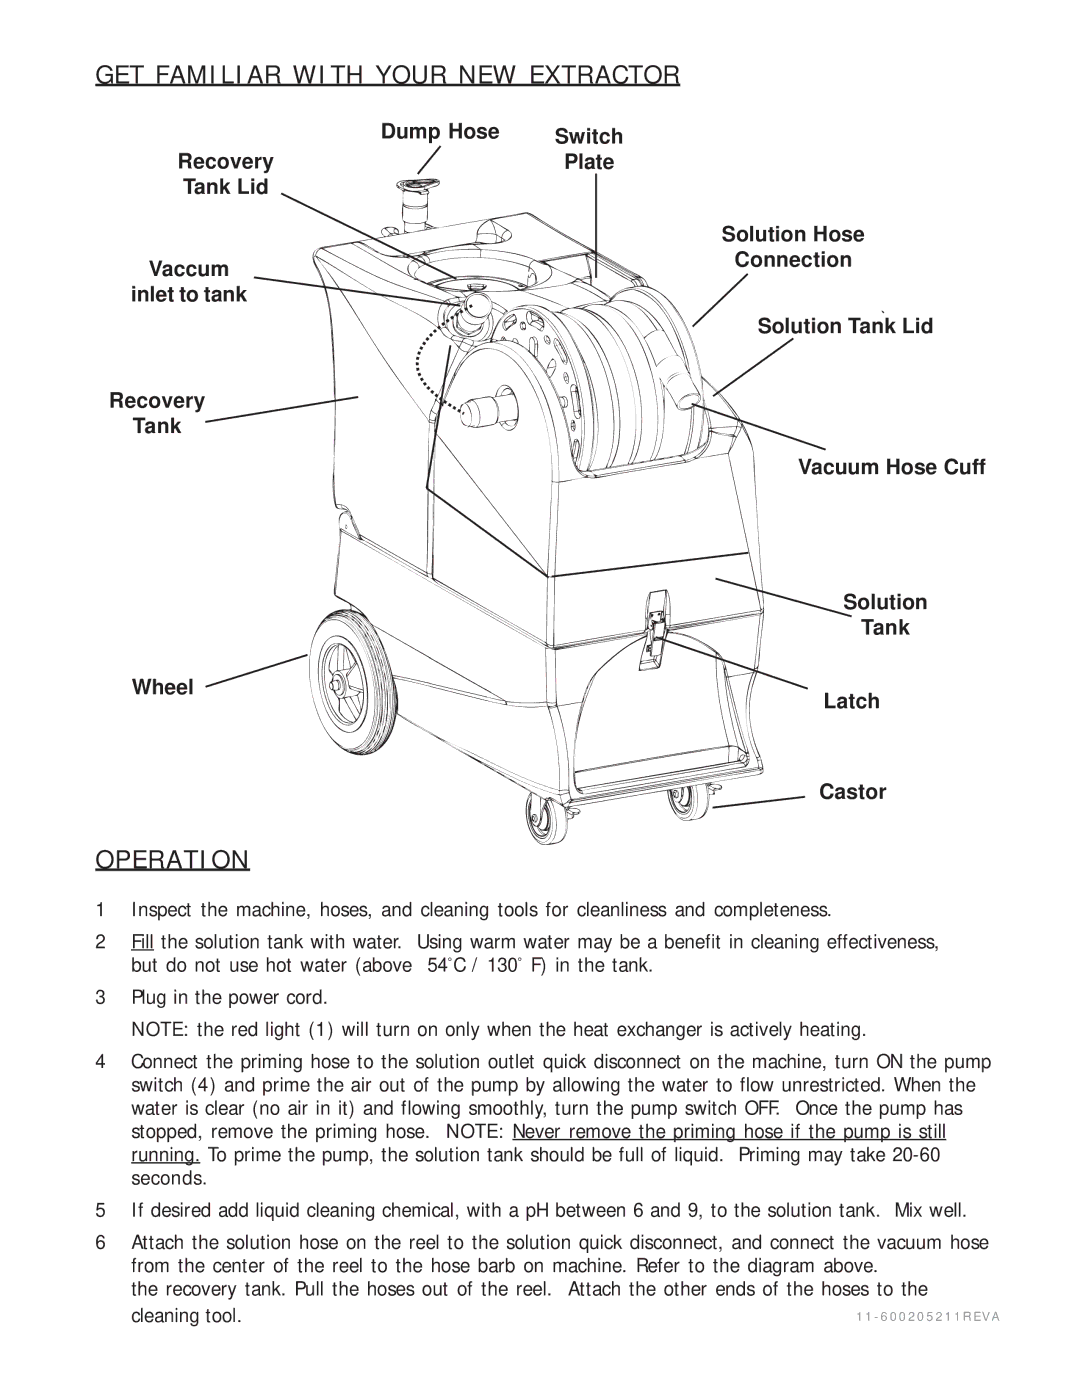
The Nilfisk-ALTO MX 521 H is a high-performance industrial vacuum cleaner designed to tackle challenging cleaning tasks across a variety of sectors. Renowned for its robust construction and exceptional suction capabilities, the MX 521 H is a perfect solution for both coarse and fine debris collection, making it indispensable for factories, workshops, and construction sites.One of the standout features of the MX 521 H is its powerful 2.2 kW motor, which delivers a consistent airflow and ensures efficient dust removal. This industrial vacuum cleaner has a capacity of 50 liters, allowing users to complete large cleaning jobs without frequently stopping to empty the tank. The durable plastic construction further enhances the machine's lifespan, while its design allows for easy handling and mobility, thanks to its integrated wheels.
The MX 521 H boasts advanced filtration technologies that enhance its cleaning efficiency. It comes equipped with a HEPA filter, which effectively captures tiny particles and allergens, ensuring cleaner air in the working environment. This feature is particularly advantageous for sensitive areas like hospitals and laboratories where air quality is critical. Additionally, the vacuum is fitted with a dust bag that is easy to replace, facilitating quick maintenance.
Ergonomics play a vital role in the MX 521 H's design. The control panel is intuitively positioned for easy access during operation, while the ergonomic handle provides comfort even during extended use. The vacuum is also designed with a low profile, enabling it to access hard-to-reach areas, enhancing its versatility on the job site.
Another key characteristic of the Nilfisk-ALTO MX 521 H is its versatility. It excels in both wet and dry applications, allowing operators to switch between different cleaning tasks effortlessly. This feature is particularly useful in environments where spills or wet debris are common, ensuring that the vacuum can handle a variety of situations without the need for additional equipment.
In summary, the Nilfisk-ALTO MX 521 H is an industrial vacuum cleaner that combines power, efficiency, and ease of use. With its robust motor, high-capacity tank, advanced filtration technology, and ergonomic design, it is expertly suited for demanding industrial cleaning applications. The MX 521 H stands out as an excellent investment for any business seeking effective cleaning solutions in challenging environments.

