Manuals
/
Nokia
/
Photography
/
Camcorder
Nokia
6108
manual
English
Models:
6108
1
1
59
59
Download
59 pages
16.95 Kb
1
2
3
4
5
6
7
8
Page 1
Image 1
English
Page 1
Page 2
Page 1
Image 1
Page 1
Page 2
Contents
English
FCC Compliance Statement
Welcome
Table of Contents
Copying Files to Your PC
Using PC Camera
AppendixA
AppendixB
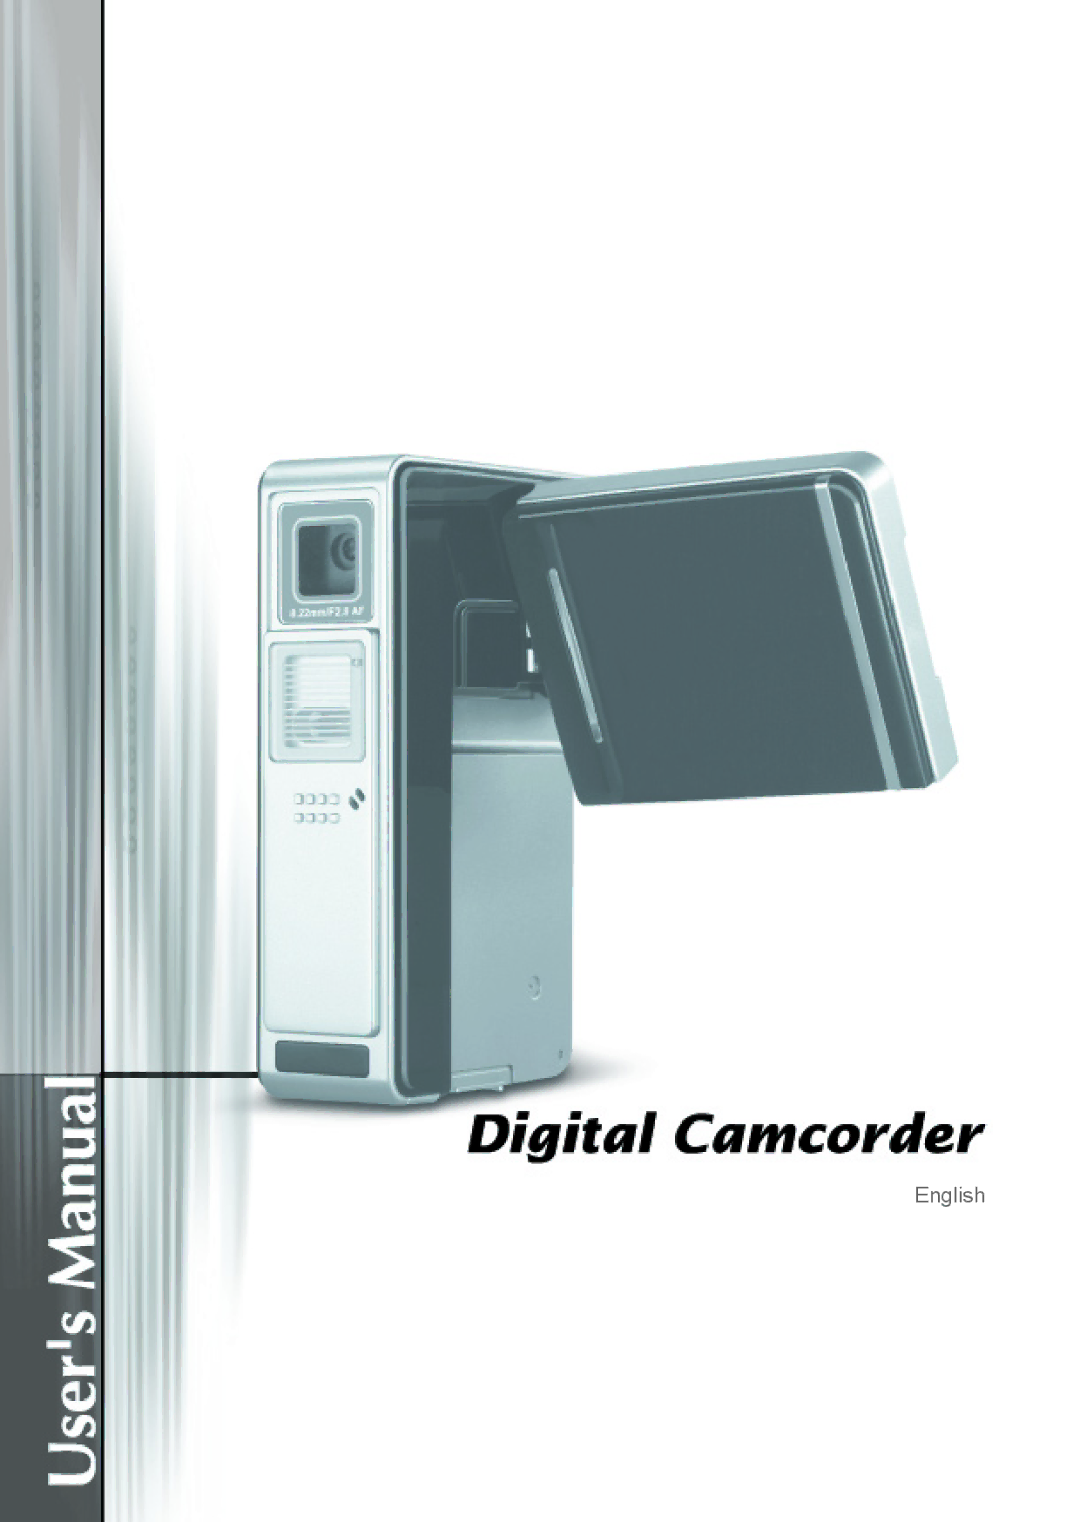
Knowing the camcorder parts
Getting Started
Open the battery compartment cover
Loading the battery
Install the battery
Replace the cover
Connect the power cable or USB cable to your camcorder
Charging the battery
Battery is being charged
Insert a memory card
Inserting a memory card optional
Thread the thin strap loop Through the hook
Using the strap optional
Thread the strap body through Loop
Turning off the camcorder
Turning on/off your camcorder
Flipping the LCD panel
DV/DSC mode
Reading LCD indicators
Playback mode
MP3 mode
Voice Recorder mode
Setting clock
Setting clock and language
Setting language
Recording a video clip
Taking a still picture
Set the strobe and selftimer if necessary
Set the zoom as appropriate
Press the Shutter button fully down to take a still picture
Recording a voice clip
Power on the camcorder and switch to Voice Recorder mode
Operations in playback mode
Power on the camcorder and switch to Playback mode
Playing back your recordings
Identify file type
Playing MP3 music
Switch the camcorder to Disk mode
Copy MP3 files to the camcorder
Connect the camcorder to your PC
Power on the camcorder and switch to MP3 mode
Playing music in MP3 mode
Operations in MP3 mode
Sorting MP3 files
Viewing the display on a TV
AV Mode
Menu illustration
Menu operation
Power-on → Press the Menu/OK button
Menu items in DV/DSC mode
DSC items
When enabled, you will be prompted to add
Normal Take pictures in natural color Effect
Menu items in Playback mode
Menu items in MP3 mode
PCM
Menu items in Voice Recorder mode
USB
Menu items in Settings mode
Language Set the OSD on screen display language
Menu items in Settings mode
Start the installation
Installing the driver to your PC
Insert the driver CD
Install codecs
Install the driver
Install Direct X 9.0c or above
Restart the computer
Connect the other end USB cable to the camcorder
Connecting the camcorder to your PC
For Windows XP users
Copying files to the PC
For Windows 2000/ME/98SE users
Copying files to the PC
Viewing/Playing files on your PC
File location
Starting the application
Switch the camcorder to PC Cam mode
Launch the PC Camera program
AppendixA
Troubleshooting
AppendixA
Install Direct X 9.0c or
System Message
Flicker Settings
Storage Capacity
Battery Life
Battery Life Indicator
System requirements
Instruction for ArcSoft MediaConverter
Video
Supported file formats
Converting files
Select media
Select destination
AppendixB
Step
Convert
Now you can use the Playback
Specifications
AppendixC
System Requirements
AppendixD
Top
Page
Image
Contents