4 | Begin exercising and adjust the resistance of | The left LED dis- |
|
|
|
|
|
|
| |||||||||
| ||||||||||||||||||
the pedals as desired |
|
|
|
|
|
|
| |||||||||||
|
|
|
|
|
|
|
|
|
|
| cise, the left display |
| ||||||
| As you exercise, |
|
|
|
|
|
|
| will show the dis- |
| ||||||||
|
|
|
|
|
|
|
|
|
|
|
|
|
|
|
|
| ||
|
|
|
|
|
|
|
|
|
|
|
|
|
|
|
|
| ||
| change the resis- |
|
|
|
|
|
|
| tance you have |
|
|
|
|
| ||||
|
|
|
|
|
|
|
|
|
|
|
|
| ||||||
|
|
| ||||||||||||||||
|
|
| ||||||||||||||||
| tance of the ped- |
|
|
|
|
|
|
| traveled, your cur- |
| ||||||||
|
| |||||||||||||||||
| als by pressing |
|
|
|
|
|
|
| rent speed, the elapsed time, and the current | |||||||||
| the RESISTANCE |
|
|
|
|
|
|
|
|
| resistance level. The display will change from one | |||||||
| buttons. There |
|
|
|
|
|
|
| number to the other every six seconds, as shown | |||||||||
|
|
|
|
|
|
|
| |||||||||||
| are ten resistance | by the indicators around the display. Note: When a | ||||||||||||||||
| levels; level 1 is the easiest. Note: After a | preset program is selected, the left display will | ||||||||||||||||
| RESISTANCE button is pressed, it will take a | show the time remaining in the program instead of | ||||||||||||||||
| moment for the pedals to reach the selected | the elapsed time. | ||||||||||||||||
| resistance level. |
|
|
|
|
|
|
|
| |||||||||
Note: If you stop exercising for six seconds or
5 Adjust the angle of the ramp as desiredlonger, the console will pause and the left LED display will begin to flash.
| To vary your exer- |
| Note: Speed and distance can be shown in | |
| cise, change the |
| ||
| angle of the ramp |
| either miles or kilometers. To select the | |
| by pressing the |
| desired unit of measurement, refer to page 18. | |
| RAMP ANGLE |
| The right LED dis- |
|
| buttons. There |
|
| |
| are five angles |
|
| |
| that simulate skiing, walking, cycling, and climb- |
| cise, the right dis- |
|
| ing. Note: After a RAMP ANGLE button is |
| play will show the |
|
| pressed, it will take a moment for the ramp to |
| ramp angle and the |
|
| reach the selected angle. |
| approximate num- |
|
|
|
| ber of calories you |
|
6 | Watch your progress with the program display, |
| have burned. The display will change from one | |
the training zone display, and the LED displays |
| number to the other every six seconds, as shown | ||
|
|
| by the indicators below the display. This display | |
| The program |
| will also show your heart rate when the pulse sen- | |
|
|
| sor is used (see step 7). | |
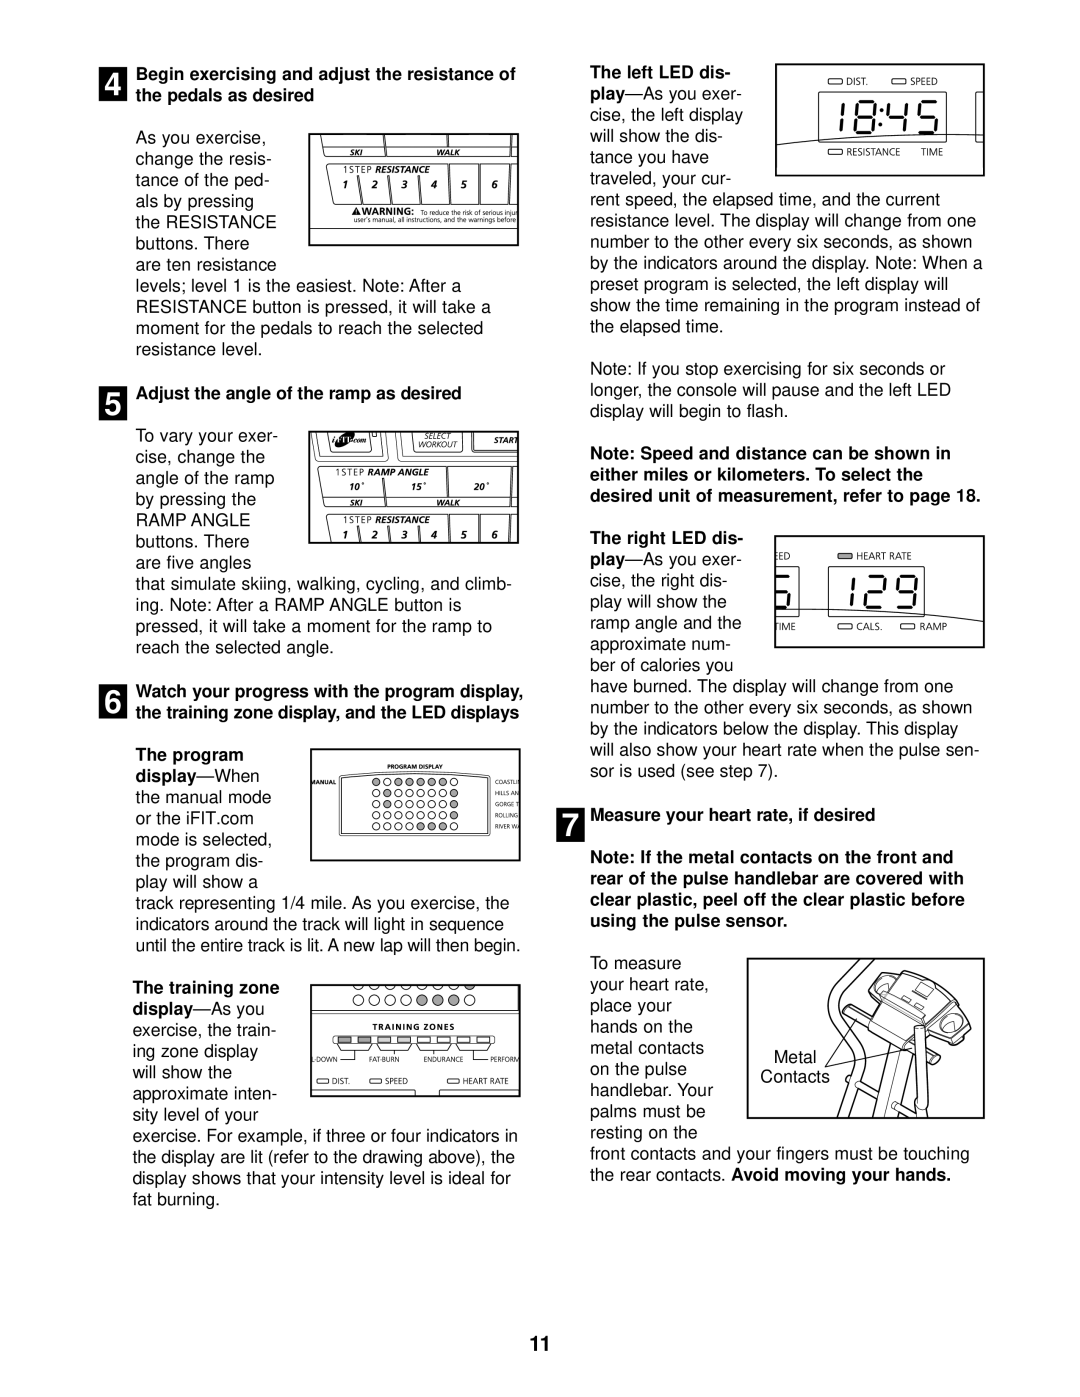
| the manual mode | 7 | Measure your heart rate, if desired | |
| or the iFIT.com | |||
| mode is selected, |
|
| |
|
| Note: If the metal contacts on the front and | ||
| the program dis- |
| ||
| play will show a |
| rear of the pulse handlebar are covered with | |
| track representing 1/4 mile. As you exercise, the |
| clear plastic, peel off the clear plastic before | |
| indicators around the track will light in sequence |
| using the pulse sensor. | |
| until the entire track is lit. A new lap will then begin. |
| To measure |
|
|
|
|
| |
| The training zone |
| your heart rate, |
|
|
|
| place your |
|
| exercise, the train- |
| hands on the |
|
| ing zone display |
| metal contacts | Metal |
| will show the |
| on the pulse | |
|
| Contacts | ||
| approximate inten- |
| handlebar. Your |
|
| sity level of your |
| palms must be |
|
| exercise. For example, if three or four indicators in |
| resting on the |
|
| the display are lit (refer to the drawing above), the |
| front contacts and your fingers must be touching | |
| display shows that your intensity level is ideal for |
| the rear contacts. Avoid moving your hands. | |
fat burning.
11