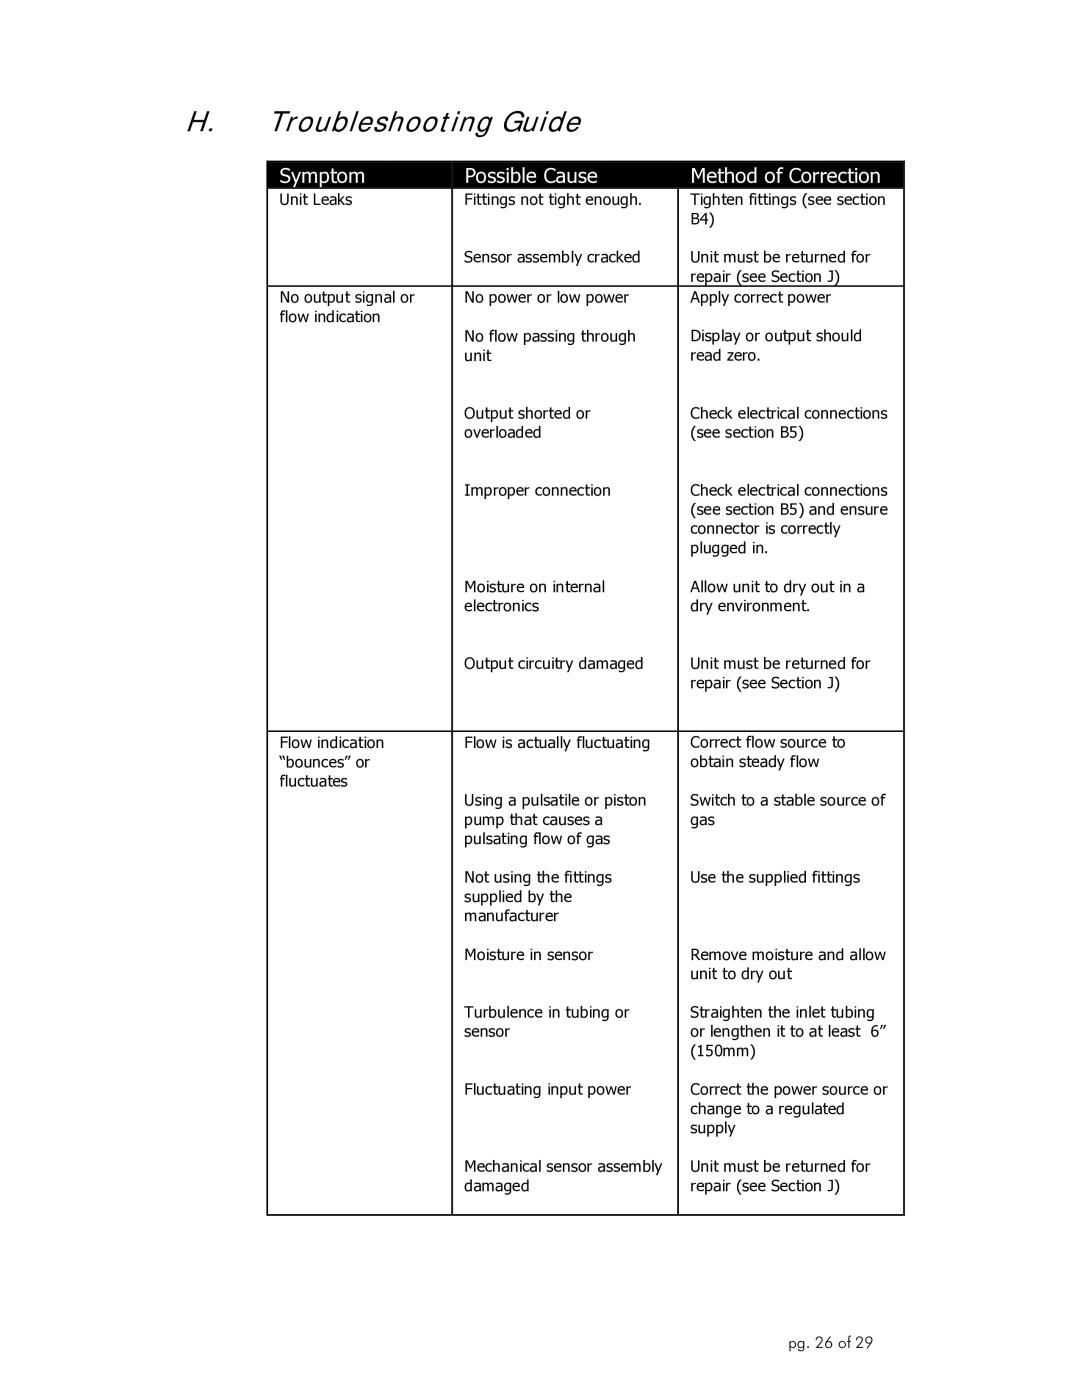
H.Troubleshooting Guide
Symptom | Possible Cause | Method of Correction |
Unit Leaks | Fittings not tight enough. | Tighten fittings (see section |
|
| B4) |
| Sensor assembly cracked | Unit must be returned for |
|
| repair (see Section J) |
No output signal or | No power or low power | Apply correct power |
flow indication | No flow passing through | Display or output should |
| ||
| unit | read zero. |
| Output shorted or | Check electrical connections |
| overloaded | (see section B5) |
| Improper connection | Check electrical connections |
|
| (see section B5) and ensure |
|
| connector is correctly |
|
| plugged in. |
| Moisture on internal | Allow unit to dry out in a |
| electronics | dry environment. |
| Output circuitry damaged | Unit must be returned for |
|
| repair (see Section J) |
|
|
|
Flow indication | Flow is actually fluctuating | Correct flow source to |
“bounces” or |
| obtain steady flow |
fluctuates | Using a pulsatile or piston | Switch to a stable source of |
| ||
| pump that causes a | gas |
| pulsating flow of gas |
|
| Not using the fittings | Use the supplied fittings |
| supplied by the |
|
| manufacturer |
|
| Moisture in sensor | Remove moisture and allow |
|
| unit to dry out |
| Turbulence in tubing or | Straighten the inlet tubing |
| sensor | or lengthen it to at least 6” |
|
| (150mm) |
| Fluctuating input power | Correct the power source or |
|
| change to a regulated |
|
| supply |
| Mechanical sensor assembly | Unit must be returned for |
| damaged | repair (see Section J) |
|
|
|
pg. 26 of 29
