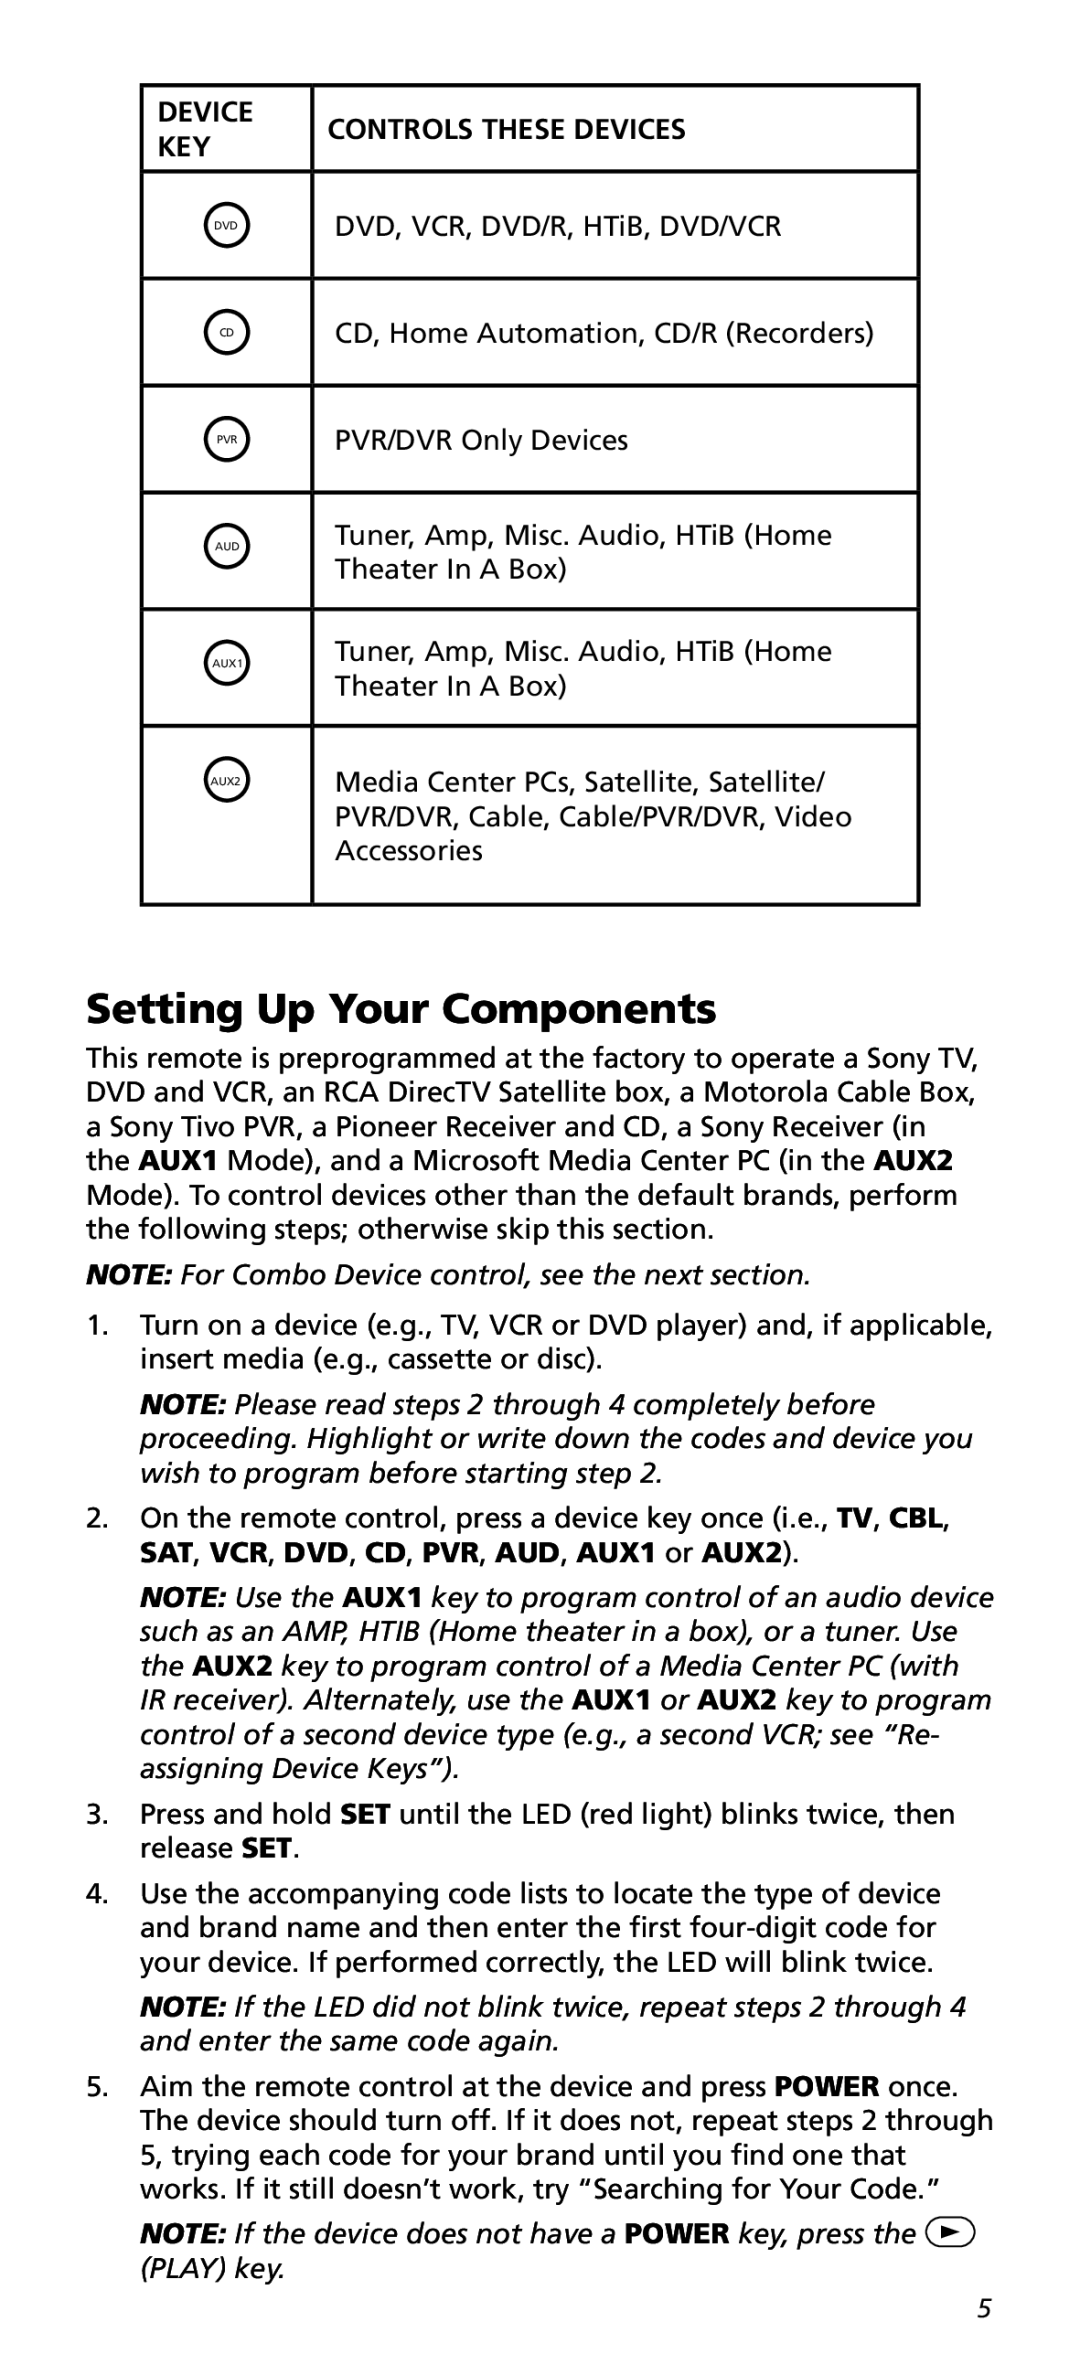
DEVICE | CONTROLS THESE DEVICES | |
KEY | ||
| ||
|
| |
DVD | DVD, VCR, DVD/R, HTiB, DVD/VCR | |
|
| |
CD | CD, Home Automation, CD/R (Recorders) | |
|
| |
PVR | PVR/DVR Only Devices | |
|
| |
AUD | Tuner, Amp, Misc. Audio, HTiB (Home | |
| Theater In A Box) | |
|
| |
AUX1 | Tuner, Amp, Misc. Audio, HTiB (Home | |
| Theater In A Box) | |
|
| |
AUX2 | Media Center PCs, Satellite, Satellite/ | |
| PVR/DVR, Cable, Cable/PVR/DVR, Video | |
| Accessories | |
|
|
Setting Up Your Components
This remote is preprogrammed at the factory to operate a Sony TV, DVD and VCR, an RCA DirecTV Satellite box, a Motorola Cable Box, a Sony Tivo PVR, a Pioneer Receiver and CD, a Sony Receiver (in the AUX1 Mode), and a Microsoft Media Center PC (in the AUX2 Mode). To control devices other than the default brands, perform the following steps; otherwise skip this section.
NOTE: For Combo Device control, see the next section.
1.Turn on a device (e.g., TV, VCR or DVD player) and, if applicable, insert media (e.g., cassette or disc).
NOTE: Please read steps 2 through 4 completely before proceeding. Highlight or write down the codes and device you wish to program before starting step 2.
2.On the remote control, press a device key once (i.e., TV, CBL, SAT, VCR, DVD, CD, PVR, AUD, AUX1 or AUX2).
NOTE: Use the AUX1 key to program control of an audio device such as an AMP, HTIB (Home theater in a box), or a tuner. Use the AUX2 key to program control of a Media Center PC (with IR receiver). Alternately, use the AUX1 or AUX2 key to program control of a second device type (e.g., a second VCR; see “Re- assigning Device Keys”).
3.Press and hold SET until the LED (red light) blinks twice, then release SET.
4.Use the accompanying code lists to locate the type of device and brand name and then enter the first
NOTE: If the LED did not blink twice, repeat steps 2 through 4 and enter the same code again.
5.Aim the remote control at the device and press POWER once. The device should turn off. If it does not, repeat steps 2 through 5, trying each code for your brand until you find one that works. If it still doesn’t work, try “Searching for Your Code.”
NOTE: If the device does not have a POWER key, press the ![]() (PLAY) key.
(PLAY) key.
5
