FUNCTION SETUP
5Press [RETURN] to go back to the previous screen, or press [SETUP] to exit.
Disable
Deactivate all the network connection and settings.
1Follow steps 1 to 4 in “Connection Test” on page 45.
2Use [K / L] to select “Disable”, then press [ENTER].
3Press [RETURN] to go back to the previous screen, or press [SETUP] to exit.
Note
•The network connection can be reactivated by setting the network connection to “Enable(Easy)” or “Enable(Custom)”.
5Disc tray will open automatically.
•Insert the disc for software upgrade and then press [OPEN/CLOSE A].
6After completing loading disc, confirmation message will appear. Select “Yes” and press [ENTER] to start upgrading.
•It may take a while to complete the upgrading. (Please wait until “100%” appears on the front panel display.)
7After the disc upgrade finishes, this unit will restart and eject the disc.
Note
•Please do not unplug the AC power code while executing the “Disc Upgrade”.
•All settings will remain the same even if you upgrade the firmware version.
Software Upgrade
Current Version
You can confirm the current software version.
1Follow steps 1 to 3 in “Connection Test” on page 45.
2Use [K / L] to select “Software Upgrade”, then press [ENTER].
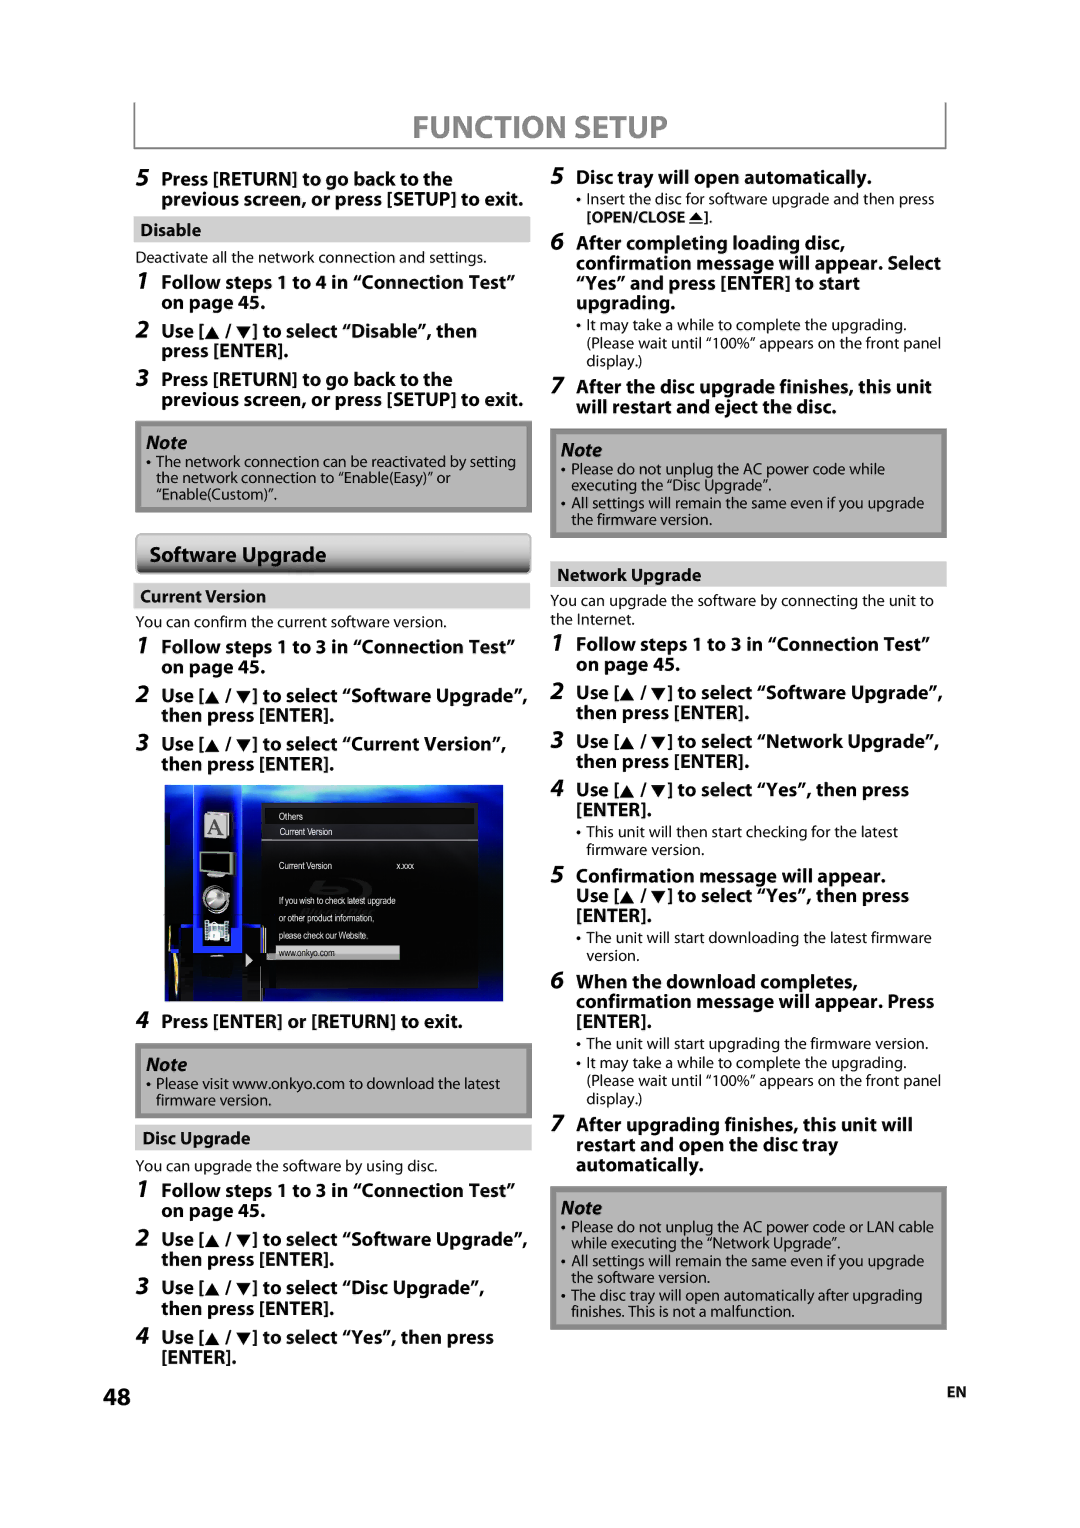
3Use [K / L] to select “Current Version”, then press [ENTER].
Others
Current Version
Current Version | x.xxx |
If you wish to check latest upgrade or other product information, please check our Website. ![]() www.onkyo.com
www.onkyo.com
4Press [ENTER] or [RETURN] to exit.
Note
•Please visit www.onkyo.com to download the latest firmware version.
Disc Upgrade
You can upgrade the software by using disc.
1Follow steps 1 to 3 in “Connection Test” on page 45.
2Use [K / L] to select “Software Upgrade”, then press [ENTER].
3Use [K / L] to select “Disc Upgrade”, then press [ENTER].
4Use [K / L] to select “Yes”, then press [ENTER].
Network Upgrade
You can upgrade the software by connecting the unit to the Internet.
1Follow steps 1 to 3 in “Connection Test” on page 45.
2Use [K / L] to select “Software Upgrade”, then press [ENTER].
3Use [K / L] to select “Network Upgrade”, then press [ENTER].
4Use [K / L] to select “Yes”, then press [ENTER].
•This unit will then start checking for the latest firmware version.
5Confirmation message will appear. Use [K / L] to select “Yes”, then press [ENTER].
•The unit will start downloading the latest firmware version.
6When the download completes, confirmation message will appear. Press [ENTER].
•The unit will start upgrading the firmware version.
•It may take a while to complete the upgrading. (Please wait until “100%” appears on the front panel display.)
7After upgrading finishes, this unit will restart and open the disc tray automatically.
Note
•Please do not unplug the AC power code or LAN cable while executing the “Network Upgrade”.
•All settings will remain the same even if you upgrade the software version.
•The disc tray will open automatically after upgrading finishes. This is not a malfunction.
48 | EN |