Getting Started
Using the on-screen displays
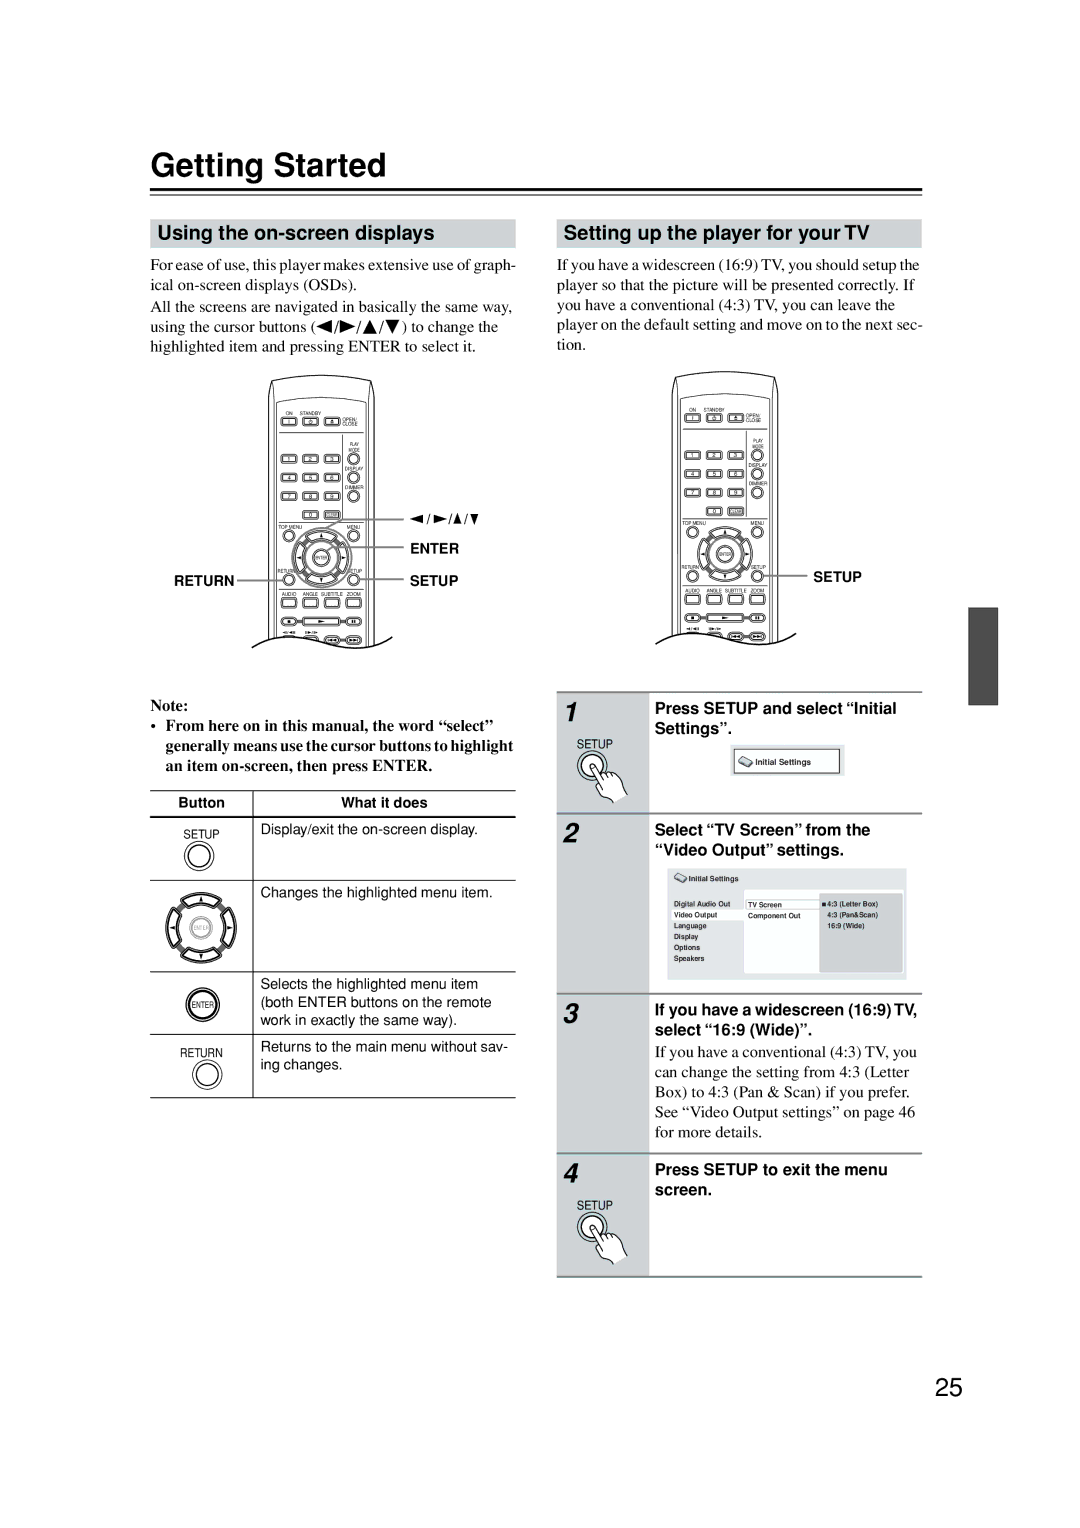
For ease of use, this player makes extensive use of graph- ical
All the screens are navigated in basically the same way, using the cursor buttons (![]() /
/![]() /
/![]() / ) to change the highlighted item and pressing ENTER to select it.
/ ) to change the highlighted item and pressing ENTER to select it.
ON | STANDBY |
|
|
| |
|
|
| OPEN/ |
|
|
|
|
| CLOSE |
|
|
|
|
| PLAY |
|
|
|
|
| MODE |
|
|
1 | 2 | 3 |
|
|
|
|
|
| DISPLAY |
|
|
4 | 5 | 6 |
|
|
|
|
|
| DIMMER |
|
|
7 | 8 | 9 |
|
|
|
| 0 | CLEAR | / | / | / |
|
|
| |||
TOP MENU |
| MENU |
|
| |
|
| ENTER | ENTER |
| |
|
|
|
|
| |
RETURN |
|
| SETUP |
|
|
RETURN ![]()
![]()
![]()
![]() SETUP
SETUP
AUDIO ANGLE SUBTITLE ZOOM
Note:
•From here on in this manual, the word “select” generally means use the cursor buttons to highlight an item
Button | What it does | |
SETUP | Display/exit the | |
| ||
| Changes the highlighted menu item. | |
ENTER |
| |
| Selects the highlighted menu item | |
ENTER | (both ENTER buttons on the remote | |
| work in exactly the same way). | |
RETURN | Returns to the main menu without sav- | |
ing changes. | ||
|
Setting up the player for your TV
If you have a widescreen (16:9) TV, you should setup the player so that the picture will be presented correctly. If you have a conventional (4:3) TV, you can leave the player on the default setting and move on to the next sec- tion.
ON STANDBY
OPEN/
CLOSE
PLAY
MODE
1 2 3
DISPLAY
4 5 6
DIMMER
7 8 9
0CLEAR
TOP MENU | MENU |
| ENTER |
RETURN | SETUP |
SETUP
AUDIO ANGLE SUBTITLE ZOOM
1Press SETUP and select “Initial
Settings”.
SETUP
![]() Initial Settings
Initial Settings
2Select “TV Screen” from the “Video Output” settings.
| Initial Settings |
|
|
|
| Digital Audio Out |
| 4:3 (Letter Box) |
|
| TV Screen |
| ||
| Video Output | Component Out | 4:3 (Pan&Scan) |
|
| Language |
| 16:9 (Wide) |
|
| Display |
|
|
|
| Options |
|
|
|
| Speakers |
|
|
|
|
|
|
|
|
|
|
|
|
|
3If you have a widescreen (16:9) TV, select “16:9 (Wide)”.
If you have a conventional (4:3) TV, you can change the setting from 4:3 (Letter Box) to 4:3 (Pan & Scan) if you prefer. See “Video Output settings” on page 46 for more details.
4Press SETUP to exit the menu
screen.
SETUP
25