First Time Setup
Assigning Digital Inputs to Input Sources
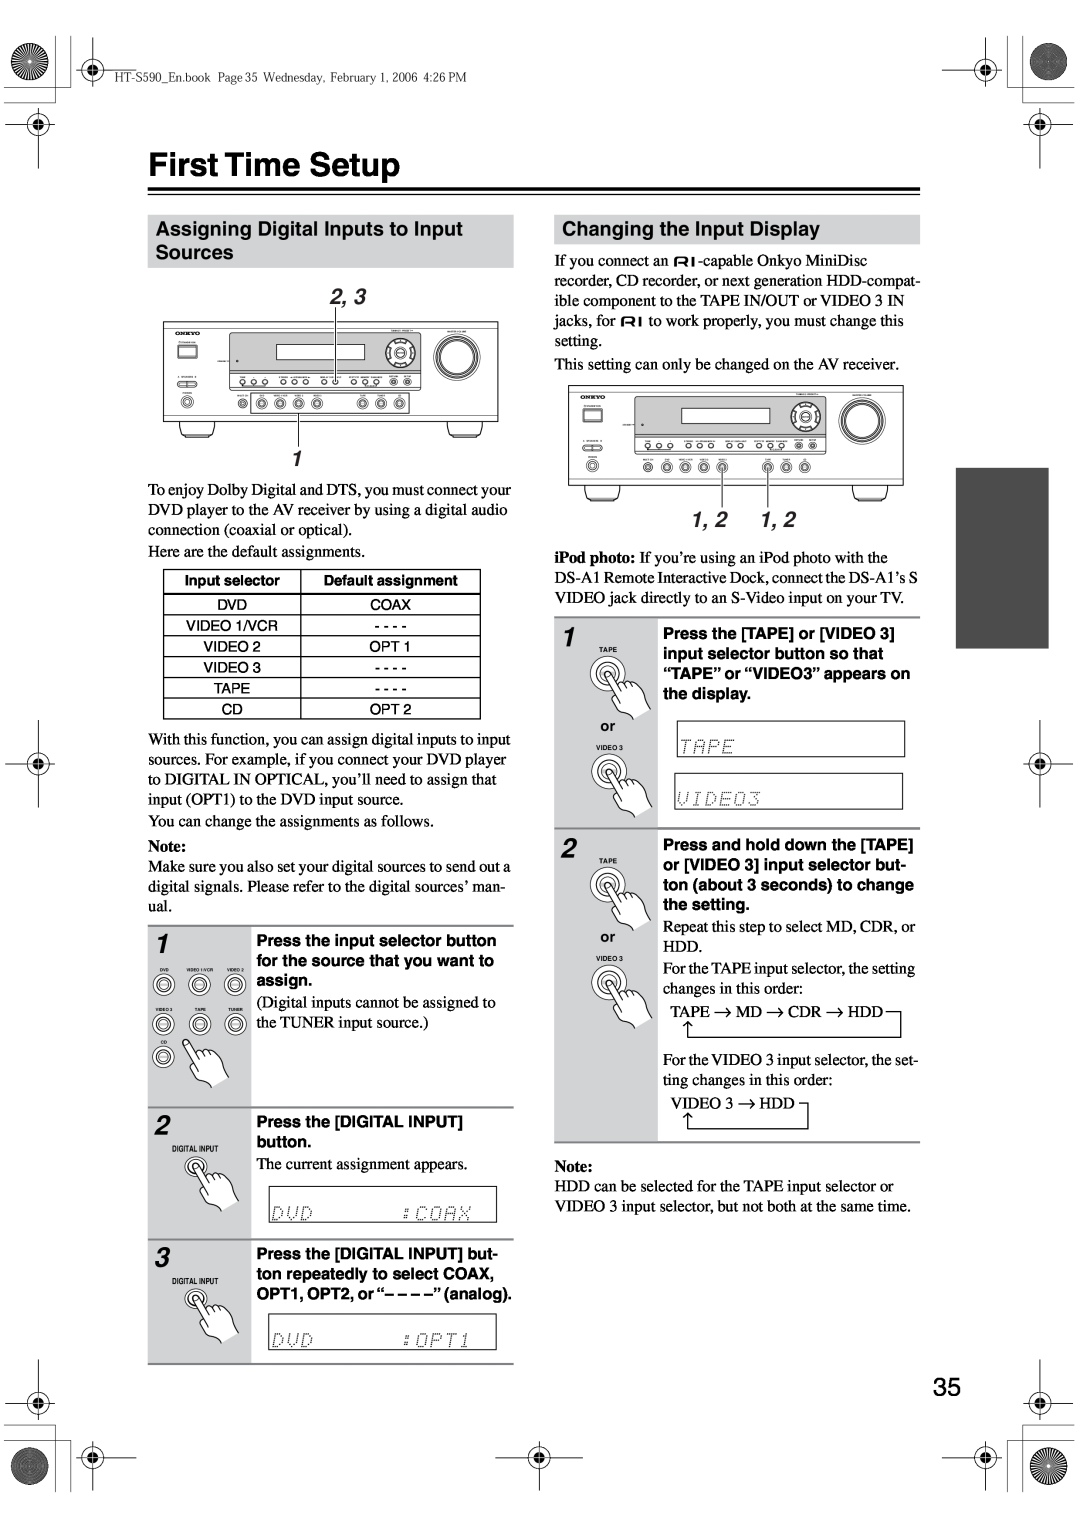
2, 3
|
|
|
|
|
|
|
| TUNING | / PRESET | MASTER VOLUME |
STANDBY/ON |
|
|
|
|
|
|
|
|
|
|
|
|
|
|
|
|
|
| ENTER |
| |
| STANDBY |
|
|
|
|
|
|
|
|
|
A SPEAKERS B | TONE | + | STEREO | LISTENING MODE | DISPLAY DIGITAL INPUT | RT/PTY/TP MEMORY TUNING MODE | RETURN | SETUP |
| |
|
|
|
|
|
|
| CLEAR |
|
|
|
PHONES |
|
|
|
|
|
|
|
|
|
|
| MULTl CH | DVD | VIDEO 1/VCR | VIDEO 2 | VIDEO 3 | TAPE | TUNER | CD |
| |
1
To enjoy Dolby Digital and DTS, you must connect your DVD player to the AV receiver by using a digital audio connection (coaxial or optical).
Here are the default assignments.
Input selector | Default assignment |
|
|
DVD | COAX |
VIDEO 1/VCR | - - - - |
VIDEO 2 | OPT 1 |
VIDEO 3 | - - - - |
TAPE | - - - - |
CD | OPT 2 |
With this function, you can assign digital inputs to input sources. For example, if you connect your DVD player to DIGITAL IN OPTICAL, you’ll need to assign that input (OPT1) to the DVD input source.
You can change the assignments as follows.
Note:
Make sure you also set your digital sources to send out a digital signals. Please refer to the digital sources’ man- ual.
1 |
| Press the input selector button |
|
| |
|
| for the source that you want to |
DVD | VIDEO 1/VCR | VIDEO 2 |
|
| assign. |
VIDEO 3 | TAPE | TUNER (Digital inputs cannot be assigned to |
|
| the TUNER input source.) |
CD |
|
|
2 |
| Press the [DIGITAL INPUT] |
|
| |
| DIGITAL INPUT | button. |
|
| |
|
| The current assignment appears. |
3 |
| Press the [DIGITAL INPUT] but- | ||
|
| |||
| DIGITAL INPUT | ton repeatedly to select COAX, | ||
| OPT1, OPT2, or “– – – | |||
|
| |||
|
|
|
|
|
|
|
|
|
|
|
|
|
|
|
Changing the Input Display
If you connect an ![]()
jacks, for ![]() to work properly, you must change this setting.
to work properly, you must change this setting.
This setting can only be changed on the AV receiver.
|
|
|
|
|
|
|
| TUNING | / PRESET | MASTER VOLUME |
STANDBY/ON |
|
|
|
|
|
|
|
|
|
|
|
|
|
|
|
|
|
| ENTER |
| |
| STANDBY |
|
|
|
|
|
|
|
|
|
A SPEAKERS B | TONE | + | STEREO | LISTENING MODE | DISPLAY DIGITAL INPUT | RT/PTY/TP MEMORY TUNING MODE | RETURN | SETUP |
| |
|
|
|
|
|
|
| CLEAR |
|
|
|
PHONES |
|
|
|
|
|
|
|
|
|
|
| MULTl CH | DVD | VIDEO 1/VCR | VIDEO 2 | VIDEO 3 | TAPE | TUNER | CD |
| |
1, 2 | 1, 2 |
iPod photo: If you’re using an iPod photo with the
1 |
| Press the [TAPE] or [VIDEO 3] |
TAPE | input selector button so that | |
|
| |
|
| “TAPE” or “VIDEO3” appears on |
|
| the display. |
| or |
|
| VIDEO 3 |
|
2 |
| Press and hold down the [TAPE] | |||||
TAPE | or [VIDEO 3] input selector but- | ||||||
|
| ||||||
|
| ton (about 3 seconds) to change | |||||
|
| the setting. | |||||
| or | Repeat this step to select MD, CDR, or | |||||
| HDD. | ||||||
| VIDEO 3 | ||||||
| For the TAPE input selector, the setting | ||||||
|
| ||||||
|
| changes in this order: | |||||
|
| TAPE → MD → CDR → HDD |
|
| |||
|
|
|
| ||||
|
| → |
|
|
|
|
|
|
| For the VIDEO 3 input selector, the set- | |||||
|
| ting changes in this order: | |||||
|
| VIDEO 3 → HDD |
|
| |||
|
|
|
|
|
| ||
|
| → |
|
|
| ||
|
|
|
|
|
|
|
|
Note:
HDD can be selected for the TAPE input selector or VIDEO 3 input selector, but not both at the same time.
35