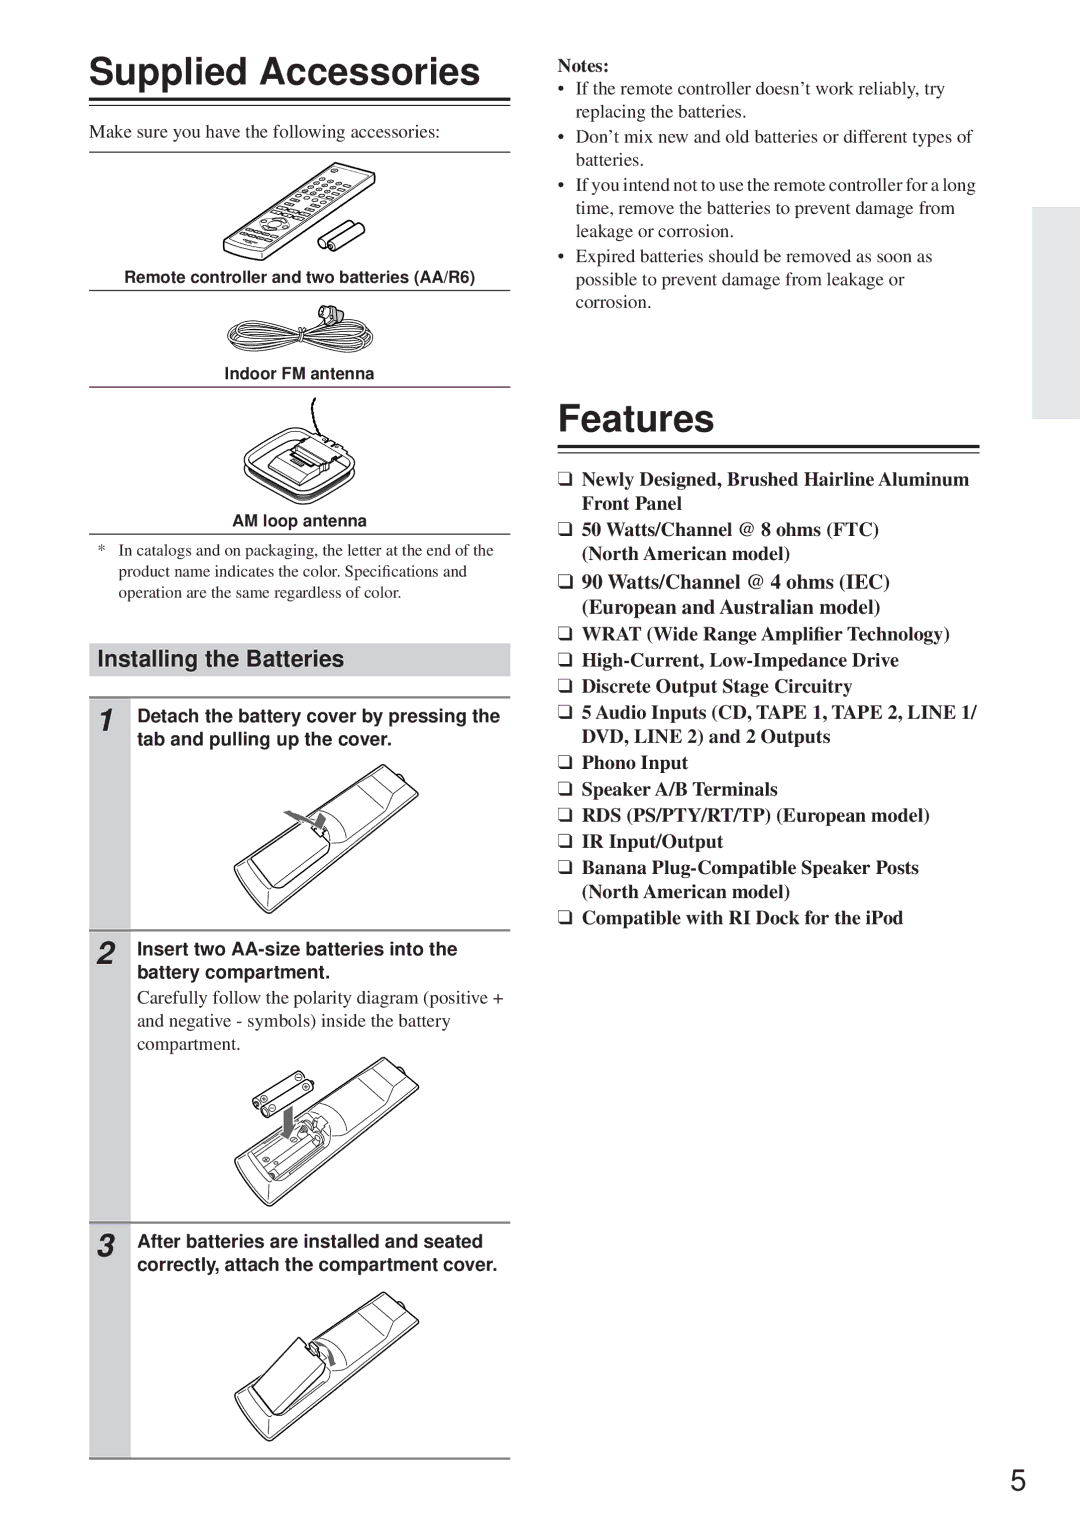
TX-8255 specifications
The Onkyo TX-8255 is a versatile stereo receiver that combines classic design with modern audio technologies, catering to both audiophiles and casual listeners alike. Known for its rich sound quality and thoughtful features, the TX-8255 serves as an ideal hub for a home audio system.At the heart of the TX-8255 are its 2-channel outputs, delivering a robust 100 watts per channel at 8 ohms. This power ensures that it can easily drive a range of speakers, allowing for a dynamic and immersive listening experience. The receiver supports multiple audio formats and provides a detailed soundstage, making it suitable for music, movies, and gaming.
One of the standout features of the TX-8255 is its comprehensive connectivity options. The receiver offers six line-level inputs, as well as a phono input for vinyl enthusiasts, allowing users to connect various audio sources such as CD players, turntables, and smartphones. In addition, two sets of speaker outputs facilitate a bi-wire setup or connection to two separate speaker systems.
The Onkyo TX-8255 also includes a tuner with AM and FM capabilities, enabling users to enjoy their favorite radio stations. The built-in presets make it easy to switch between favorite stations, while the high-quality tuner ensures clear reception even in areas with weak signals.
When it comes to audio technologies, the TX-8255 is equipped with Onkyo’s proprietary Wide Range Amplification Technology (WRAT). This innovative approach minimizes distortion and enhances the overall audio fidelity, ensuring that listeners experience music exactly as intended by the artist.
The design of the TX-8255 reflects a classic aesthetic, with a clean front panel and easy-to-use controls. The large rotary knobs and tactile buttons make operation intuitive, while the LED display provides clear information regarding the selected input and volume levels.
In addition to its performance capabilities, the TX-8255 is designed with energy efficiency in mind. The unit automatically enters a low-power standby mode after periods of inactivity, reducing energy consumption and minimizing its environmental impact.
Overall, the Onkyo TX-8255 epitomizes a balance between tradition and technological advancement, making it a top choice for anyone looking to enhance their audio experience while enjoying the simplicity and elegance of a classic stereo receiver. Whether you're an audiophile or simply enjoy quality sound, the TX-8255 is an excellent addition to any home audio setup.

