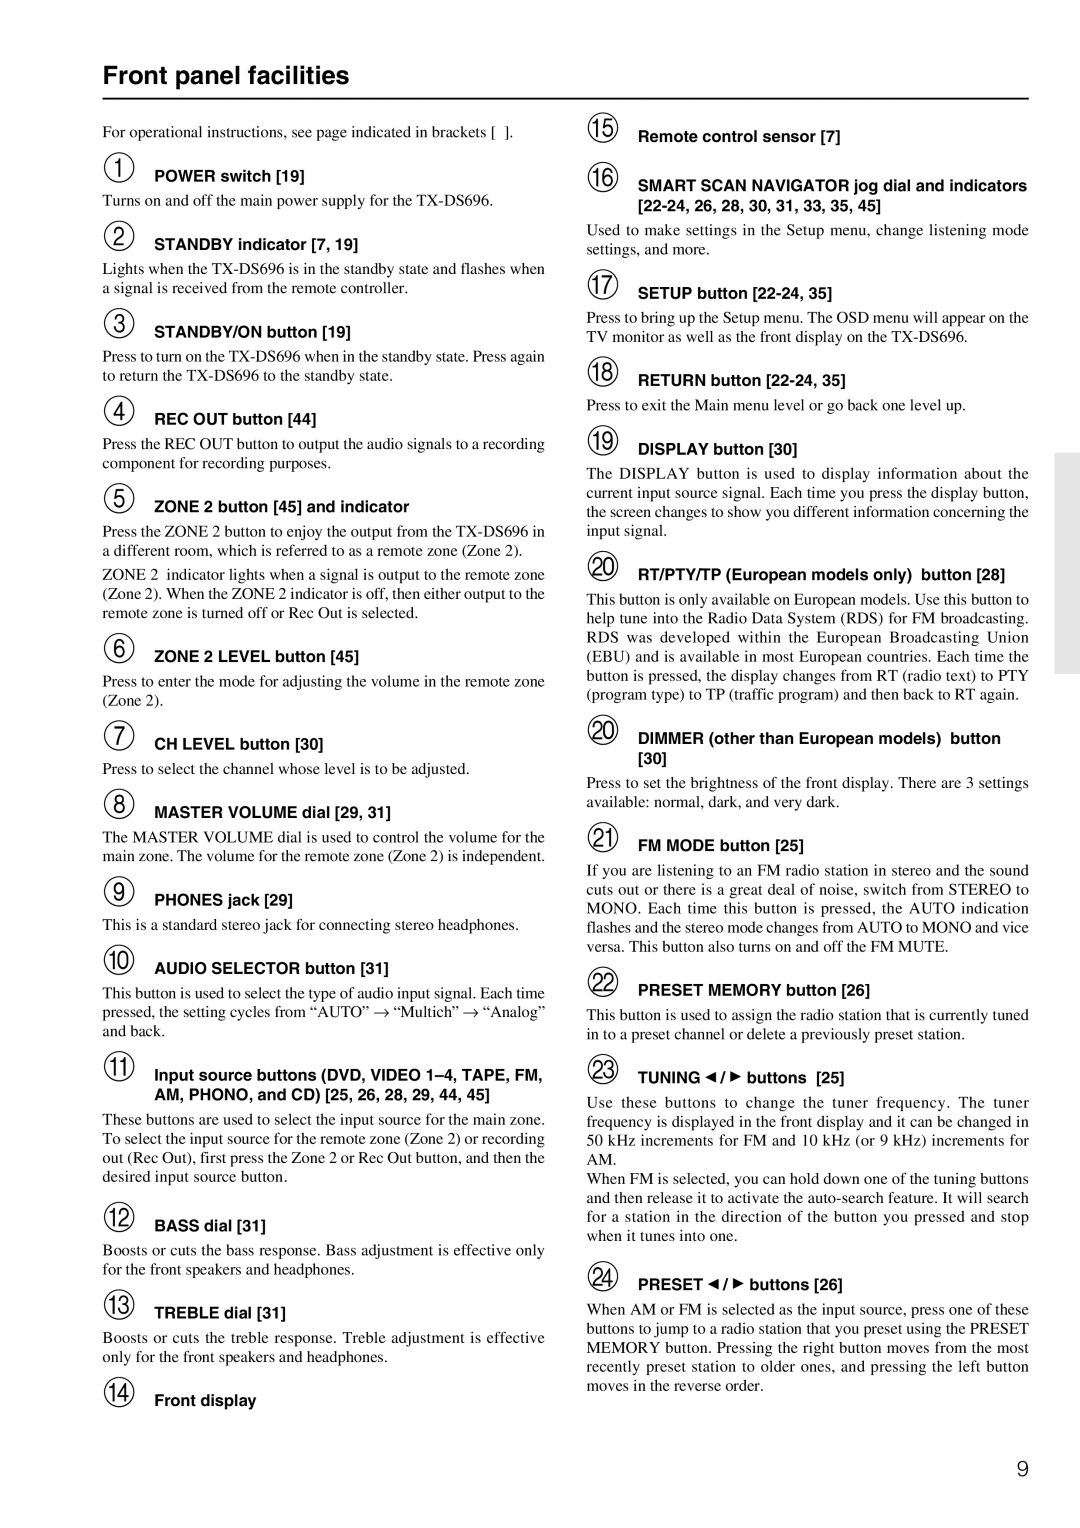
Front panel facilities

For operational instructions, see page indicated in brackets [ ].

POWER switch [19]

Turns on and off the main power supply for the TX-DS696.

STANDBY indicator [7, 19]

Lights when the TX-DS696 is in the standby state and flashes when a signal is received from the remote controller.

STANDBY/ON button [19]

Press to turn on the TX-DS696 when in the standby state. Press again to return the TX-DS696 to the standby state.

REC OUT button [44]

Press the REC OUT button to output the audio signals to a recording component for recording purposes.

ZONE 2 button [45] and indicator

Press the ZONE 2 button to enjoy the output from the TX-DS696 in a different room, which is referred to as a remote zone (Zone 2).

ZONE 2 indicator lights when a signal is output to the remote zone (Zone 2). When the ZONE 2 indicator is off, then either output to the remote zone is turned off or Rec Out is selected.

ZONE 2 LEVEL button [45]

Press to enter the mode for adjusting the volume in the remote zone (Zone 2).

CH LEVEL button [30]

Press to select the channel whose level is to be adjusted.

MASTER VOLUME dial [29, 31]

The MASTER VOLUME dial is used to control the volume for the main zone. The volume for the remote zone (Zone 2) is independent.

PHONES jack [29]

This is a standard stereo jack for connecting stereo headphones.

AUDIO SELECTOR button [31]

This button is used to select the type of audio input signal. Each time pressed, the setting cycles from “AUTO” “Multich” “Analog” and back.

Input source buttons (DVD, VIDEO 1–4, TAPE, FM, AM, PHONO, and CD) [25, 26, 28, 29, 44, 45]

These buttons are used to select the input source for the main zone. To select the input source for the remote zone (Zone 2) or recording out (Rec Out), first press the Zone 2 or Rec Out button, and then the desired input source button.

BASS dial [31]

Boosts or cuts the bass response. Bass adjustment is effective only for the front speakers and headphones.

TREBLE dial [31]

Boosts or cuts the treble response. Treble adjustment is effective only for the front speakers and headphones.

Front display

Remote control sensor [7]

SMART SCAN NAVIGATOR jog dial and indicators [22-24, 26, 28, 30, 31, 33, 35, 45]

Used to make settings in the Setup menu, change listening mode settings, and more.

SETUP button [22-24, 35]

Press to bring up the Setup menu. The OSD menu will appear on the TV monitor as well as the front display on the TX-DS696.

RETURN button [22-24, 35]

Press to exit the Main menu level or go back one level up.

DISPLAY button [30]

The DISPLAY button is used to display information about the current input source signal. Each time you press the display button, the screen changes to show you different information concerning the input signal.

RT/PTY/TP (European models only) button [28]

This button is only available on European models. Use this button to help tune into the Radio Data System (RDS) for FM broadcasting. RDS was developed within the European Broadcasting Union (EBU) and is available in most European countries. Each time the button is pressed, the display changes from RT (radio text) to PTY (program type) to TP (traffic program) and then back to RT again.

DIMMER (other than European models) button [30]

Press to set the brightness of the front display. There are 3 settings available: normal, dark, and very dark.

FM MODE button [25]

If you are listening to an FM radio station in stereo and the sound cuts out or there is a great deal of noise, switch from STEREO to MONO. Each time this button is pressed, the AUTO indication flashes and the stereo mode changes from AUTO to MONO and vice versa. This button also turns on and off the FM MUTE.

PRESET MEMORY button [26]

This button is used to assign the radio station that is currently tuned in to a preset channel or delete a previously preset station.

TUNING / buttons [25]

Use these buttons to change the tuner frequency. The tuner frequency is displayed in the front display and it can be changed in 50 kHz increments for FM and 10 kHz (or 9 kHz) increments for AM.

When FM is selected, you can hold down one of the tuning buttons and then release it to activate the auto-search feature. It will search for a station in the direction of the button you pressed and stop when it tunes into one.

PRESET / buttons [26]

When AM or FM is selected as the input source, press one of these buttons to jump to a radio station that you preset using the PRESET MEMORY button. Pressing the right button moves from the most recently preset station to older ones, and pressing the left button moves in the reverse order.

9

Page 9
Image 9
Onkyo TX-DS696 appendix Front panel facilities

TX-DS696 specifications

The Onkyo TX-DS696 is a powerful and versatile home theater receiver that has left a significant mark in the world of audio and video entertainment. Launched to cater to audiophiles and home cinema enthusiasts, this receiver is known for its robust performance, extensive connectivity options, and user-friendly features, making it a popular choice among consumers.

At the heart of the TX-DS696 is its impressive multichannel processing capabilities. Supporting Dolby Digital and DTS surround sound formats, it delivers immersive audio experiences that enhance the enjoyment of movies, music, and games. The 5.1 channel configuration allows for exceptional sound staging, giving users a truly cinematic experience right in their living rooms.

One of the standout features of the TX-DS696 is its advanced room calibration technology. The receiver analyzes the acoustic characteristics of the room and adjusts the speaker settings accordingly, optimizing sound quality for any space. This ensures that listeners can enjoy a balanced audio performance regardless of their room’s layout or size.

Connection options are plentiful, with multiple audio and video inputs that facilitate direct connections to various devices. The receiver includes several composite and S-Video inputs, along with digital optical and coaxial inputs, allowing users to connect DVD players, gaming consoles, and other multimedia devices easily. The support for component video ensures high-quality image transfer, making it an excellent choice for those who want to enjoy high-definition video.

In terms of power, the TX-DS696 boasts a robust amplifier section capable of delivering rich and dynamic sound across all channels. The built-in high-current amplification technology ensures that even demanding speakers are driven effortlessly, resulting in clean and distortion-free audio at all volume levels.

The user interface is intuitive, with an easy-to-read LCD display and a well-laid-out remote control that provides convenient access to all the receiver’s functions. Additionally, the Onkyo TX-DS696 is compatible with various external devices, allowing for custom configurations that cater to personal preferences.

Overall, the Onkyo TX-DS696 stands out as an exemplary home theater receiver that combines advanced technology, user-friendly features, and powerful performance. Whether you’re a dedicated home theater enthusiast or a casual listener, this receiver offers a rich audio experience that is hard to match. Its blend of performance, versatility, and value makes it a lasting favorite in the realm of home audio systems.