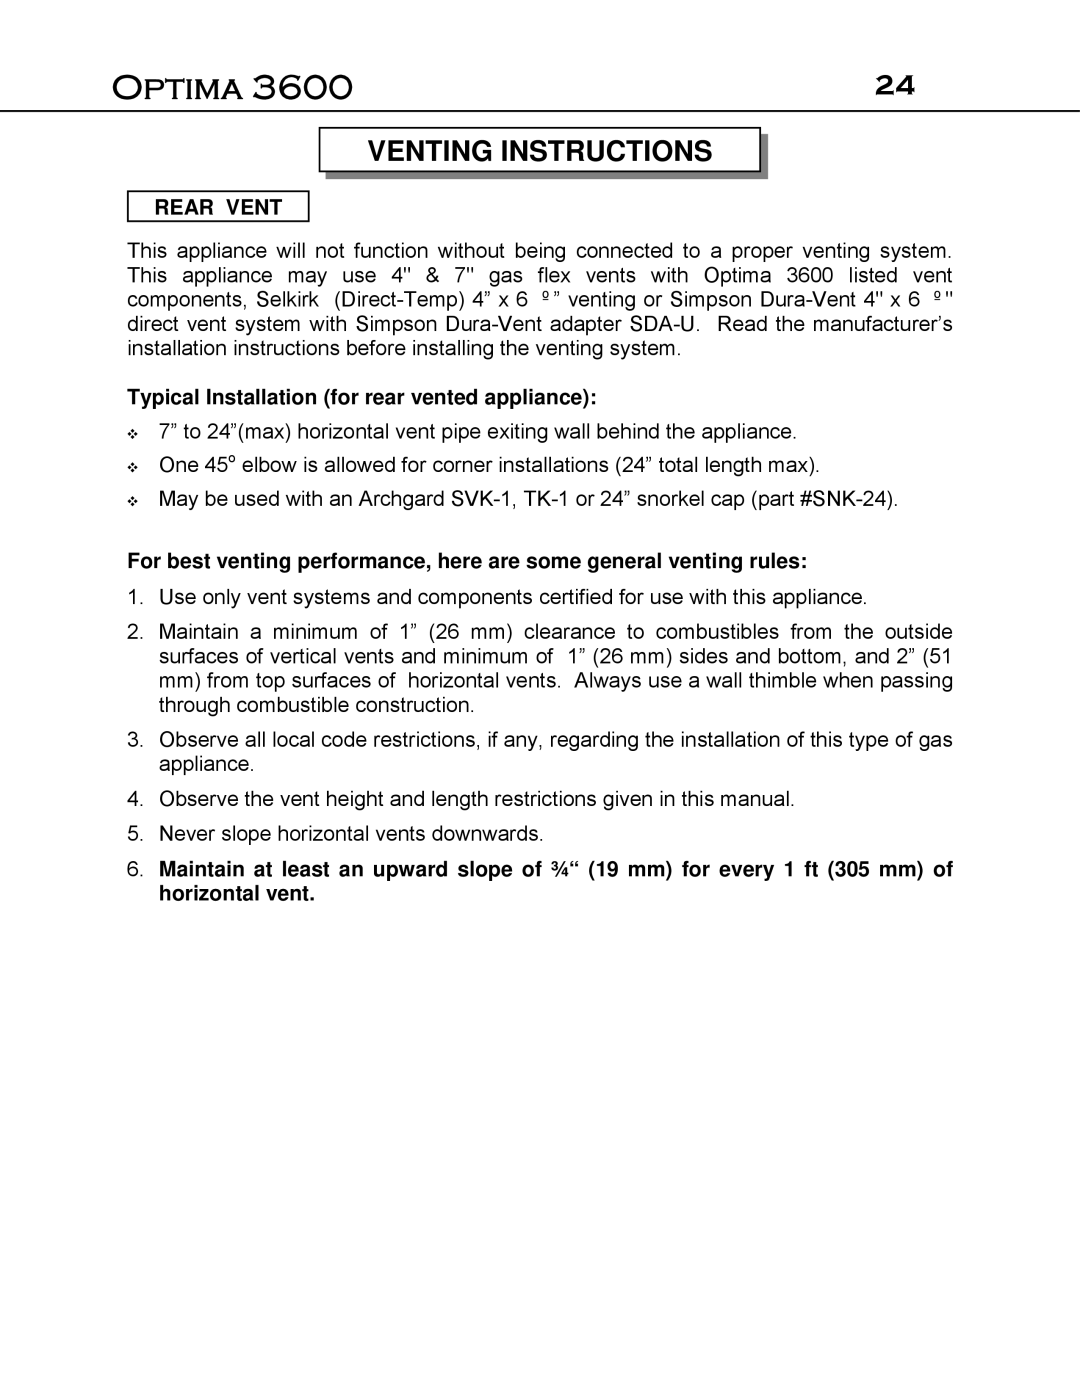
Optima 3600O specifications
Optima Company has made a significant impact in the field of advanced technology solutions with its flagship product, the Optima 3600O. This device is a versatile tool designed for a range of applications, especially in industries that require precision, efficiency, and reliability. Targeted primarily at professional environments, the Optima 3600O integrates cutting-edge features and robust technologies, making it a competitive choice in its category.One of the key features of the Optima 3600O is its powerful processing unit, designed to deliver swift performance even under demanding conditions. The device is equipped with a multi-core processor that ensures enhanced computational capabilities, enabling users to multitask effectively without experiencing lag or delays. Coupled with high-speed RAM, the system operates seamlessly, making it ideal for complex data analysis and real-time applications.
The Optima 3600O boasts a user-friendly interface that simplifies operations for both novice and experienced users. The device incorporates an intuitive touchscreen display, which provides clear visuals and easy navigation through various functions. Customizable settings allow users to tailor the user experience according to their specific needs, enhancing overall productivity.
In terms of connectivity, the Optima 3600O features advanced wireless and wired options, ensuring compatibility with a wide range of devices and networks. The integration of Bluetooth and Wi-Fi capabilities enables users to transfer data effortlessly while maintaining a stable connection. Furthermore, the device supports multiple data formats, making it versatile for integration with other systems.
Another noteworthy characteristic of the Optima 3600O is its built-in security features, which safeguard sensitive data against unauthorized access and cyber threats. These security measures include encryption protocols and user authentication processes, ensuring data integrity and confidentiality.
The durability of the Optima 3600O is also impressive. Designed to withstand tough working conditions, the device features a robust housing that protects against impacts, dust, and moisture. This resilience makes it suitable for use in various environments, including manufacturing, logistics, and research.
Overall, the Optima 3600O stands out as a reliable and efficient solution for professionals seeking high performance and versatility. With its state-of-the-art technologies and user-centric features, it is well-positioned to meet the evolving needs of industries worldwide, affirming Optima Company's commitment to innovation and quality in technology solutions.

