The nosepiece is fitted with filter threads.
For light polluted skies we recommend using the Orion SkyGlow Astrophotography filters (Item #05559).
(Filters available through Orion, check the catalog or OrionTelescopes.com for more information).
8mm Wide Field Lens
Attach the 8mm Wide Field lens to the SSAIO using the CS mount adapter.
Adjustable Finder Bracket
Place the finder bracket into the dovetail finder base on your telescope and lock using thumb screw.
The bracket base also features a ¼ 20 thread underneath to attach to a standard tripod. The bracket base can be removed from the rings to reveal another ¼ 20 thread underneath the rings to also attach to a standard tripod. This makes using the camera and bracket with a standard tripod more convenient and portable than using a telescope with mount and tripod.
Place the SSAIO camera through the rings of the Finder Bracket and adjust the nylon tip screws to center view to be the same as view through telescope.
Use the reticules built into the software to aid in centering and for use as a digital finder.
Autoguider cable
Plug the autoguider cable into ST4 port located on rear of the SSAIO and also into guide port located on mount. Use PHD software for guiding.
System Requirements
Computer
The SSAIO requires a PC running Windows XP, Vista, 7 or 8. The computer hardware should have at least the following:
•Pentium™ III Processor
•CD-ROM
•Connection to the Internet
•512MB RAM
•Disk Space – 10GB or more is recommended
•Video Display
•Mouse
•USB High Speed 2.0 port
Software and Driver
Installation
Before the SSAIO can be used, soft- ware and camera drivers must be installed onto your computer.
Do not connect the camera to your computer before you have installed the software.
Software Installation
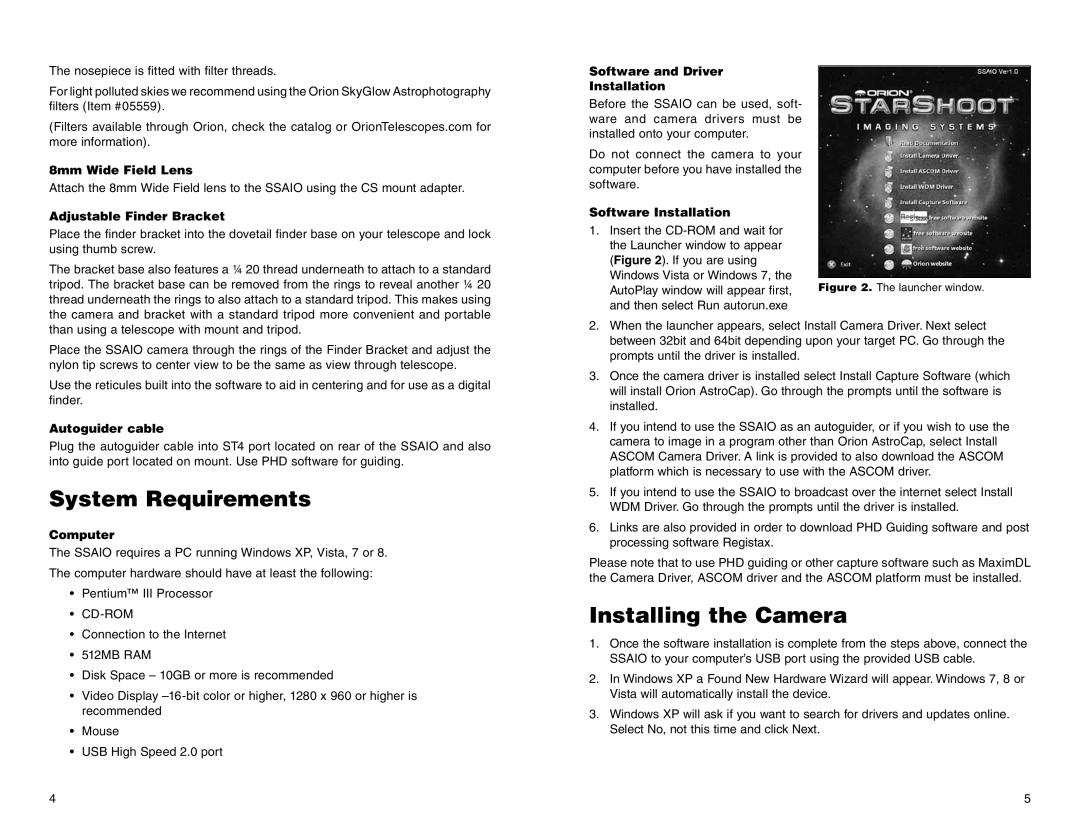
1.Insert the
(Figure 2). If you are using
Windows Vista or Windows 7, the
AutoPlay window will appear first, Figure 2. The launcher window. and then select Run autorun.exe
2.When the launcher appears, select Install Camera Driver. Next select between 32bit and 64bit depending upon your target PC. Go through the prompts until the driver is installed.
3.Once the camera driver is installed select Install Capture Software (which will install Orion AstroCap). Go through the prompts until the software is installed.
4.If you intend to use the SSAIO as an autoguider, or if you wish to use the camera to image in a program other than Orion AstroCap, select Install ASCOM Camera Driver. A link is provided to also download the ASCOM platform which is necessary to use with the ASCOM driver.
5.If you intend to use the SSAIO to broadcast over the internet select Install WDM Driver. Go through the prompts until the driver is installed.
6.Links are also provided in order to download PHD Guiding software and post processing software Registax.
Please note that to use PHD guiding or other capture software such as MaximDL the Camera Driver, ASCOM driver and the ASCOM platform must be installed.
Installing the Camera
1.Once the software installation is complete from the steps above, connect the SSAIO to your computer’s USB port using the provided USB cable.
2.In Windows XP a Found New Hardware Wizard will appear. Windows 7, 8 or Vista will automatically install the device.
3.Windows XP will ask if you want to search for drivers and updates online. Select No, not this time and click Next.
4 | 5 |