 EzCap Application Guide
Click Go Applications EzCAP, then double click EzCAP Capture icon.
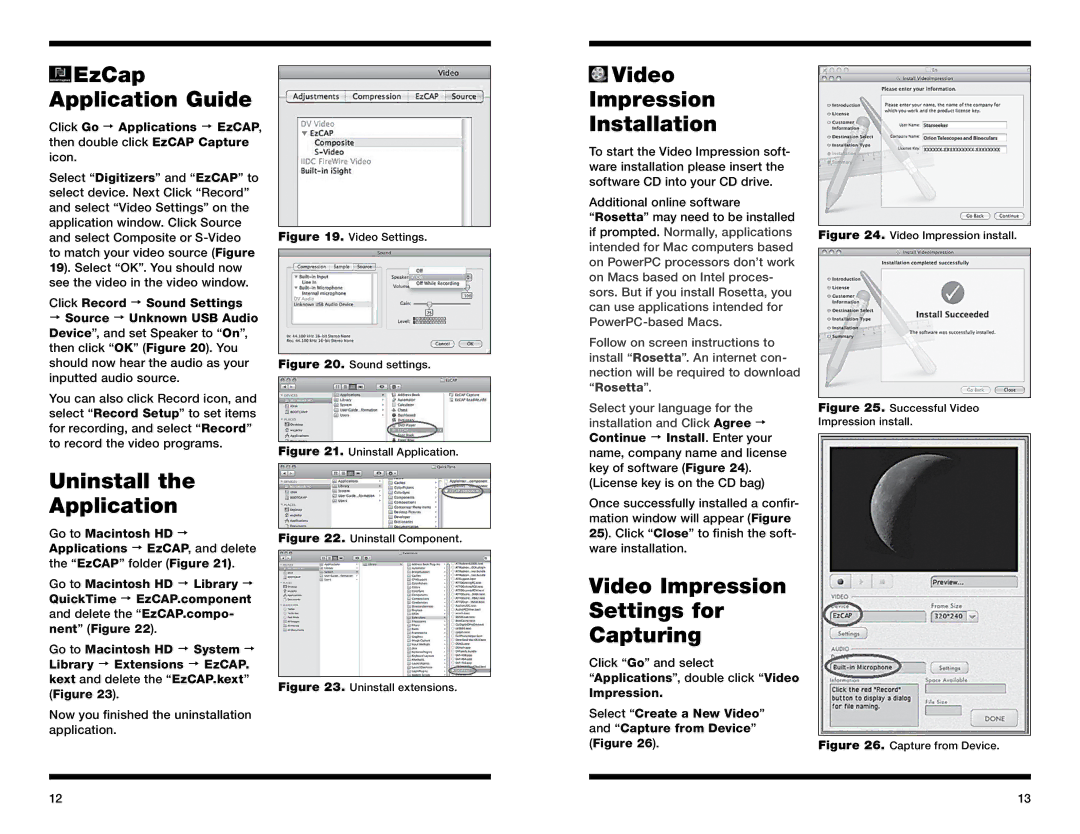
Select “Digitizers” and “EzCAP” to select device. Next Click “Record” and select “Video Settings” on the application window. Click Source and select Composite or
Click Record Sound Settings
Source Unknown USB Audio Device”, and set Speaker to “On”, then click “OK” (Figure 20). You should now hear the audio as your inputted audio source.
You can also click Record icon, and select “Record Setup” to set items for recording, and select “Record” to record the video programs.
Figure 19. Video Settings.
Figure 20. Sound settings.
Figure 21. Uninstall Application.
 Video
Video
Impression
Installation
To start the Video Impression soft- ware installation please insert the software CD into your CD drive.
Additional online software
“Rosetta” may need to be installed if prompted. Normally, applications intended for Mac computers based on PowerPC processors don’t work on Macs based on Intel proces- sors. But if you install Rosetta, you can use applications intended for
Follow on screen instructions to install “Rosetta”. An internet con- nection will be required to download “Rosetta”.
Select your language for the installation and Click Agree Continue Install. Enter your name, company name and license key of software (Figure 24).
Figure 24. Video Impression install.
Figure 25. Successful Video Impression install.
Uninstall the
Application
Go to Macintosh HD Applications EzCAP, and delete the “EzCAP” folder (Figure 21).
Go to Macintosh HD Library QuickTime EzCAP.component and delete the “EzCAP.compo- nent” (Figure 22).
Go to Macintosh HD System Library Extensions EzCAP. kext and delete the “EzCAP.kext” (Figure 23).
Now you finished the uninstallation application.
Figure 22. Uninstall Component.
Figure 23. Uninstall extensions.
(License key is on the CD bag)
Once successfully installed a confir- mation window will appear (Figure 25). Click “Close” to finish the soft- ware installation.
Video Impression Settings for Capturing
Click “Go” and select
“Applications”, double click “Video
Impression.
Select “Create a New Video” and “Capture from Device” (Figure 26).
Figure 26. Capture from Device.
12 | 13 |
