139214, TSSTTVCAO1, SPR-050710 specifications
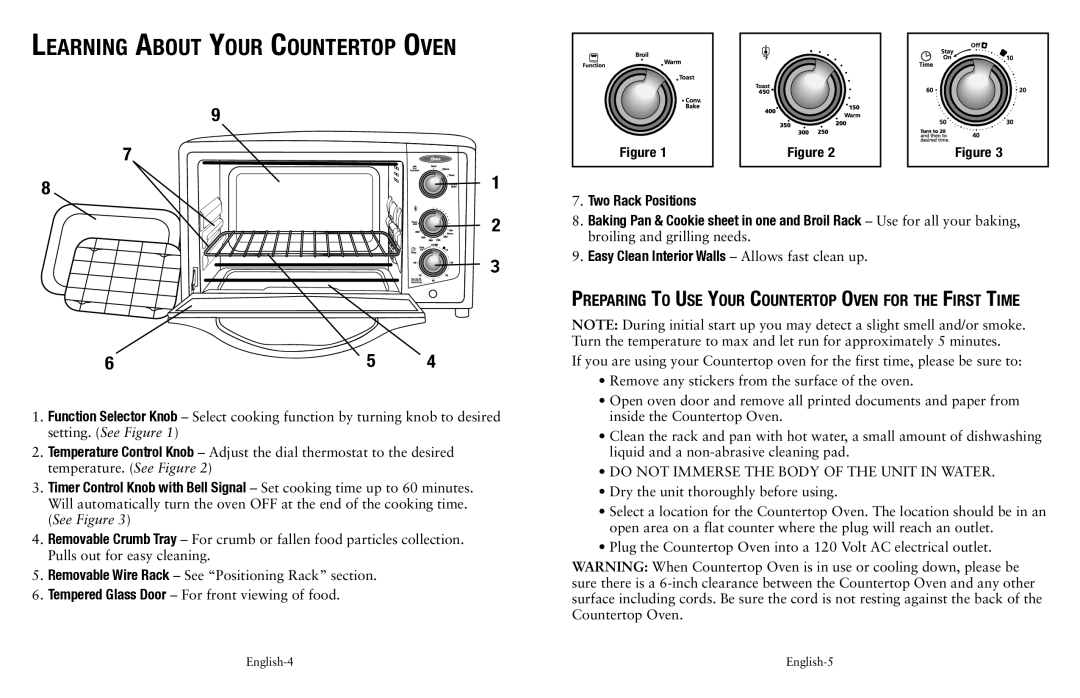
The Oster SPR-050710, TSSTTVCAO1, and 139214 are three popular kitchen appliances designed to simplify cooking tasks while enhancing culinary experiences. Each of these products features unique technologies and characteristics that cater to a variety of cooking preferences.The Oster SPR-050710 is a versatile countertop oven that combines the functionality of multiple appliances into one compact unit. One of its standout features is the convection cooking technology, which circulates hot air throughout the oven for even cooking and browning. The digital controls allow for precise temperature adjustments, making it easy to bake, broil, toast, or roast with confidence. Its roomy interior can accommodate a 12-inch pizza or a whole chicken, making it ideal for families. Additionally, the Oster SPR-050710 includes a sleek design with an easy-to-clean interior, facilitating maintenance after cooking.
The TSSTTVCAO1, or the Toasted Toaster Oven from Black+Decker, is known for its efficiency and simplicity. It features a spacious interior and a four-slice toast capacity, which is perfect for preparing breakfast for the whole family. This toaster oven includes adjustable temperature controls and a 60-minute timer, allowing users to have complete control over their cooking. Its built-in oven light makes monitoring food progress easy, while the removable crumb tray simplifies cleanup. The TSSTTVCAO1 also provides different cooking settings, including baking, broiling, and toasting, making it a multifunctional addition to any kitchen.
The 139214 model, often referred to as an exemplary air fryer toaster oven, represents a combination of traditional toaster oven functions with the added health benefits of air frying. This model employs rapid air technology to cook meals with minimal oil while producing a crispy finish reminiscent of deep-frying. With multiple cooking presets, users can effortlessly prepare a range of dishes from roasted vegetables to crispy chicken wings. Its spacious interior and easy-to-use digital controls enhance the cooking experience, while the stainless steel construction gives it a modern aesthetic that fits well in various kitchen styles.
In summary, the Oster SPR-050710, TSSTTVCAO1, and 139214 each offer unique features and technologies designed to meet diverse cooking needs. From convection baking to air frying, these appliances promise to elevate your culinary creations with ease and efficiency, making them worthy additions to any kitchen.

