1070 specifications
Outlaw Audio has made a name for itself in the high-performance audio market, and their Model 1070 receiver is a prime example of their commitment to delivering exceptional sound quality. The Outlaw Audio 1070 is a versatile surround sound receiver that combines advanced technology with user-friendly features, designed to elevate your home theater experience.One of the standout features of the 1070 is its powerful amplification system. It delivers 7 channels of amplification, each capable of producing 60 watts per channel into 8 ohms. This robust power output ensures that even the most demanding audio tracks are handled with ease, providing clarity and depth across the frequency spectrum. The receiver is also equipped with an array of connection options, including HDMI inputs, to accommodate all of your audio and video sources seamlessly.
The 1070 employs advanced digital processing technologies that enhance your listening experience. It supports various surround sound formats, including Dolby Digital and DTS, allowing you to enjoy multidimensional audio for movies, music, and gaming. Outlaw Audio has integrated their proprietary Outlaw Bass Management system, which offers customizable bass settings to suit your room’s acoustics and your personal preferences. This feature ensures that your subwoofer delivers a seamless integration with your main speakers, enhancing the overall impact of your audio.
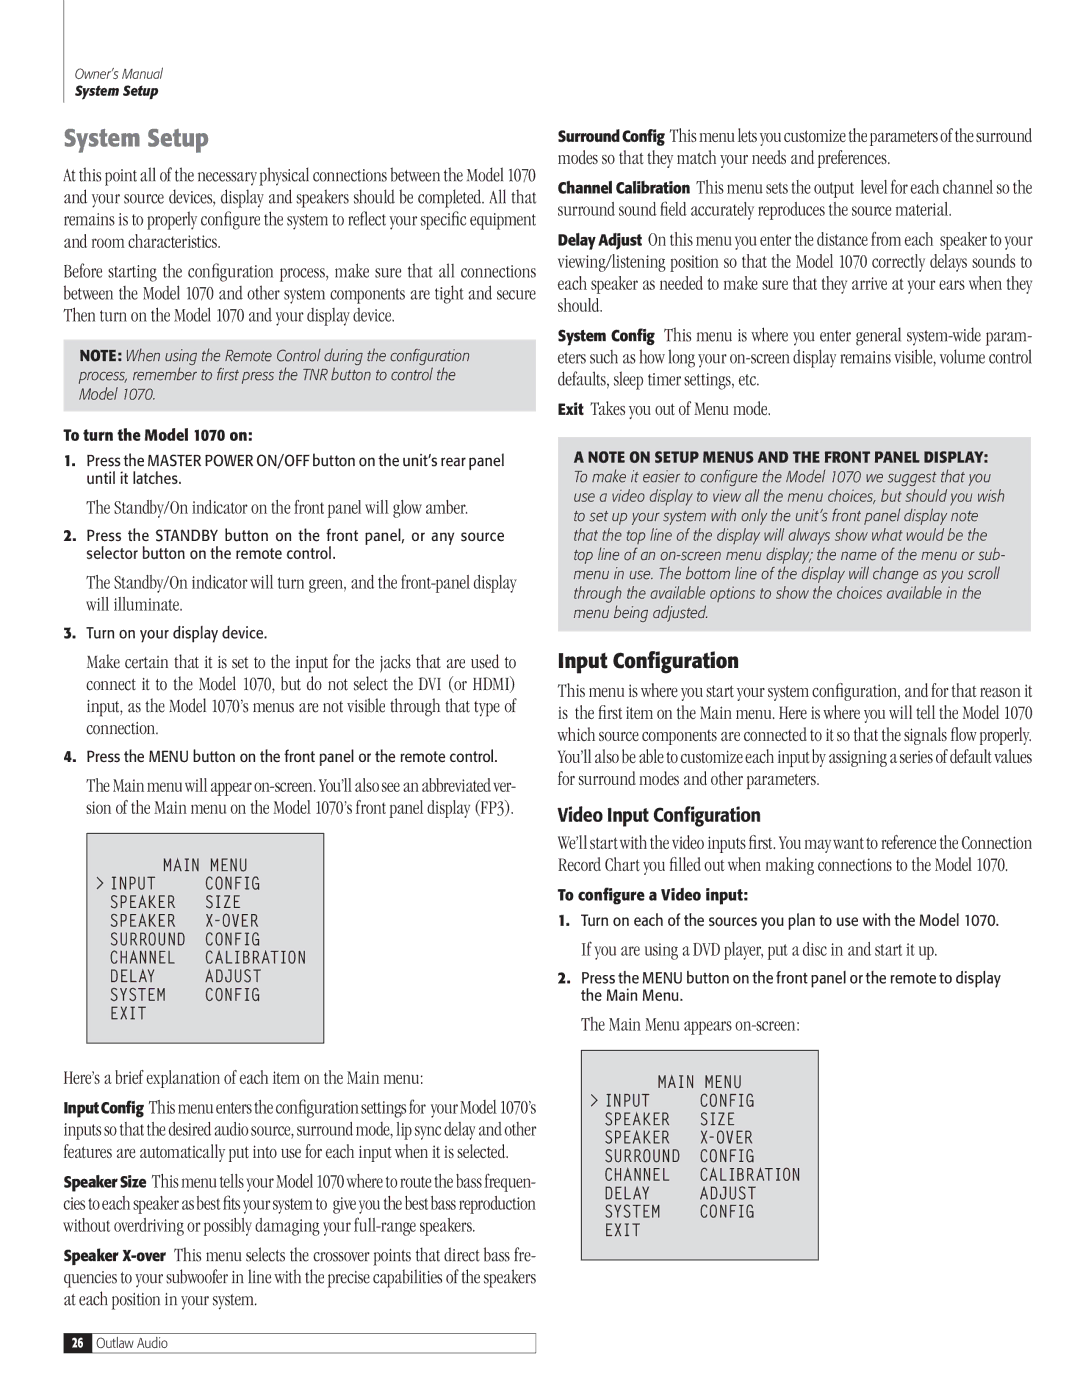
For those who appreciate fine-tuning their listening experience, the Outlaw 1070 includes an easy-to-use graphical user interface that simplifies setup and adjustment. The on-screen menus provide straightforward access to configuration settings, making it simple to calibrate your system for optimal performance.
Another key characteristic of the Outlaw 1070 is its build quality. The receiver is housed in a sturdy chassis, designed to minimize interference and reduce vibrations, a consideration that makes a difference in sound quality. The high-quality components and construction reflect Outlaw Audio’s dedication to crafting products that meet the expectations of audiophiles.
In conclusion, the Outlaw Audio 1070 offers a remarkable combination of power, flexibility, and advanced technologies that cater to both casual listeners and serious audiophiles alike. With its impressive amp capabilities, robust surround sound processing, and user-friendly design, the 1070 stands as a compelling choice for anyone looking to enhance their home audio system. Whether you’re enjoying a movie night or listening to your favorite music, the Outlaw Audio 1070 is engineered to deliver an immersive sound experience.