CPU Installation Procedure
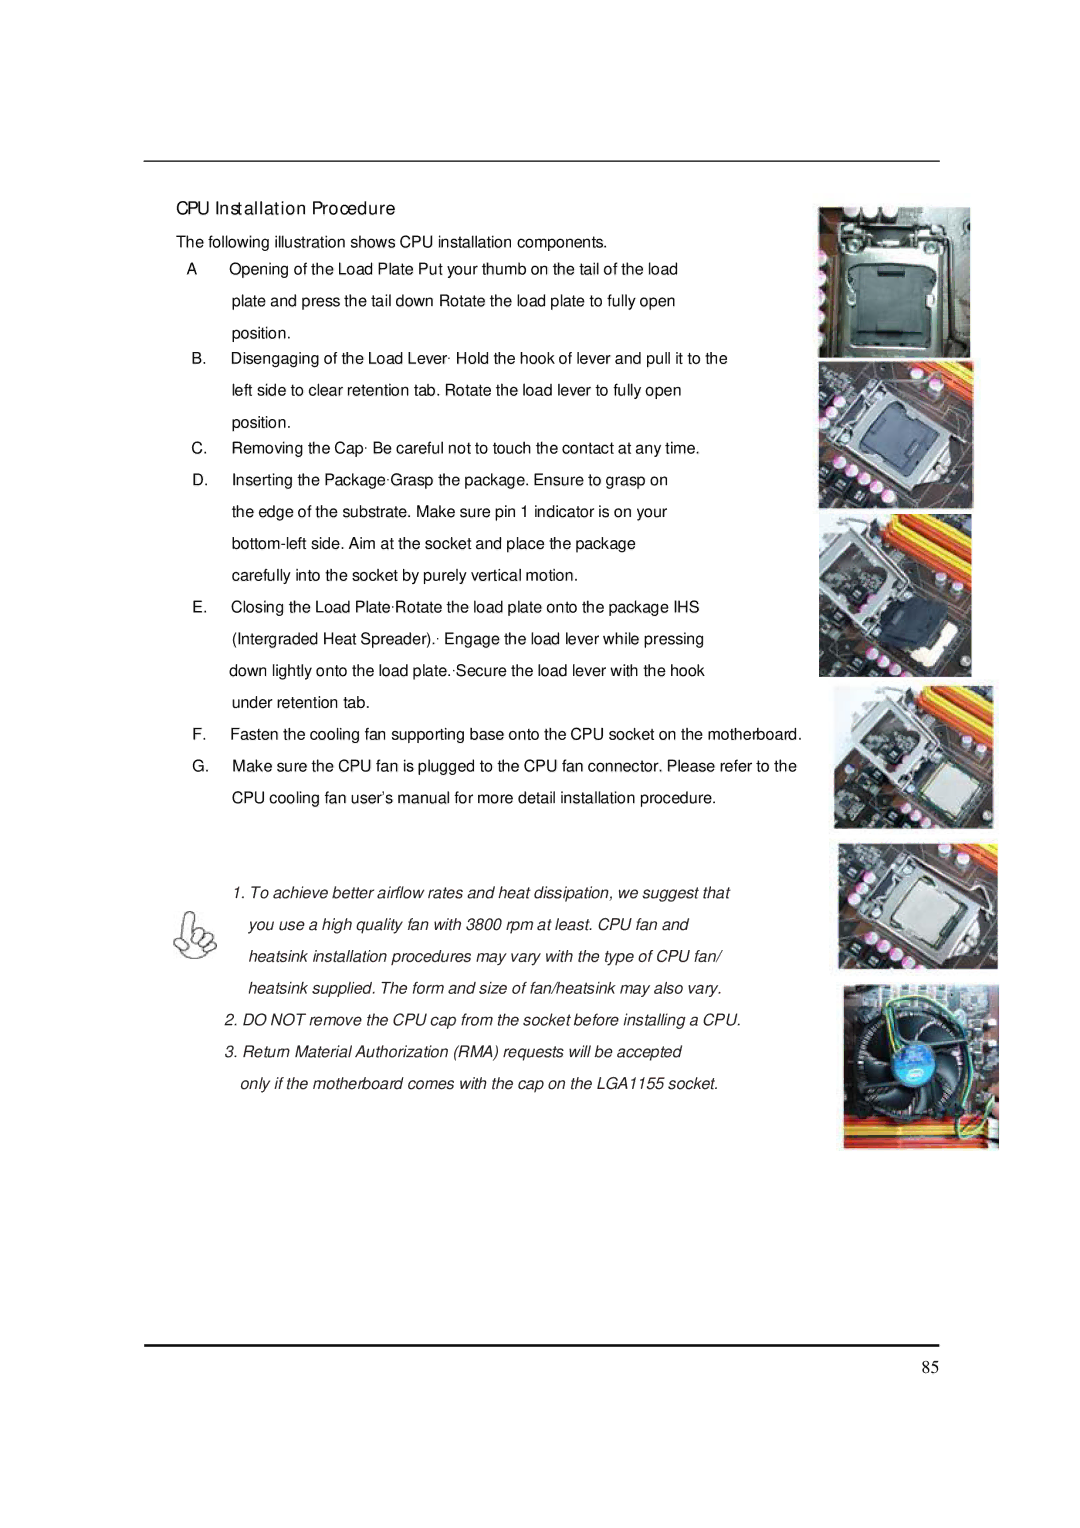
The following illustration shows CPU installation components.
AOpening of the Load Plate Put your thumb on the tail of the load plate and press the tail down Rotate the load plate to fully open
position.
B.Disengaging of the Load Lever· Hold the hook of lever and pull it to the left side to clear retention tab. Rotate the load lever to fully open position.
C.Removing the Cap· Be careful not to touch the contact at any time.
D.Inserting the Package·Grasp the package. Ensure to grasp on the edge of the substrate. Make sure pin 1 indicator is on your
E.Closing the Load Plate·Rotate the load plate onto the package IHS (Intergraded Heat Spreader).· Engage the load lever while pressing down lightly onto the load plate.·Secure the load lever with the hook under retention tab.
F.Fasten the cooling fan supporting base onto the CPU socket on the motherboard.
G.Make sure the CPU fan is plugged to the CPU fan connector. Please refer to the CPU cooling fan user’s manual for more detail installation procedure.
1.To achieve better airflow rates and heat dissipation, we suggest that you use a high quality fan with 3800 rpm at least. CPU fan and heatsink installation procedures may vary with the type of CPU fan/ heatsink supplied. The form and size of fan/heatsink may also vary.
2.DO NOT remove the CPU cap from the socket before installing a CPU.
3.Return Material Authorization (RMA) requests will be accepted
only if the motherboard comes with the cap on the LGA1155 socket.
85