SET UP for Input Signals
COLOR SYSTEM / Panasonic AUTO
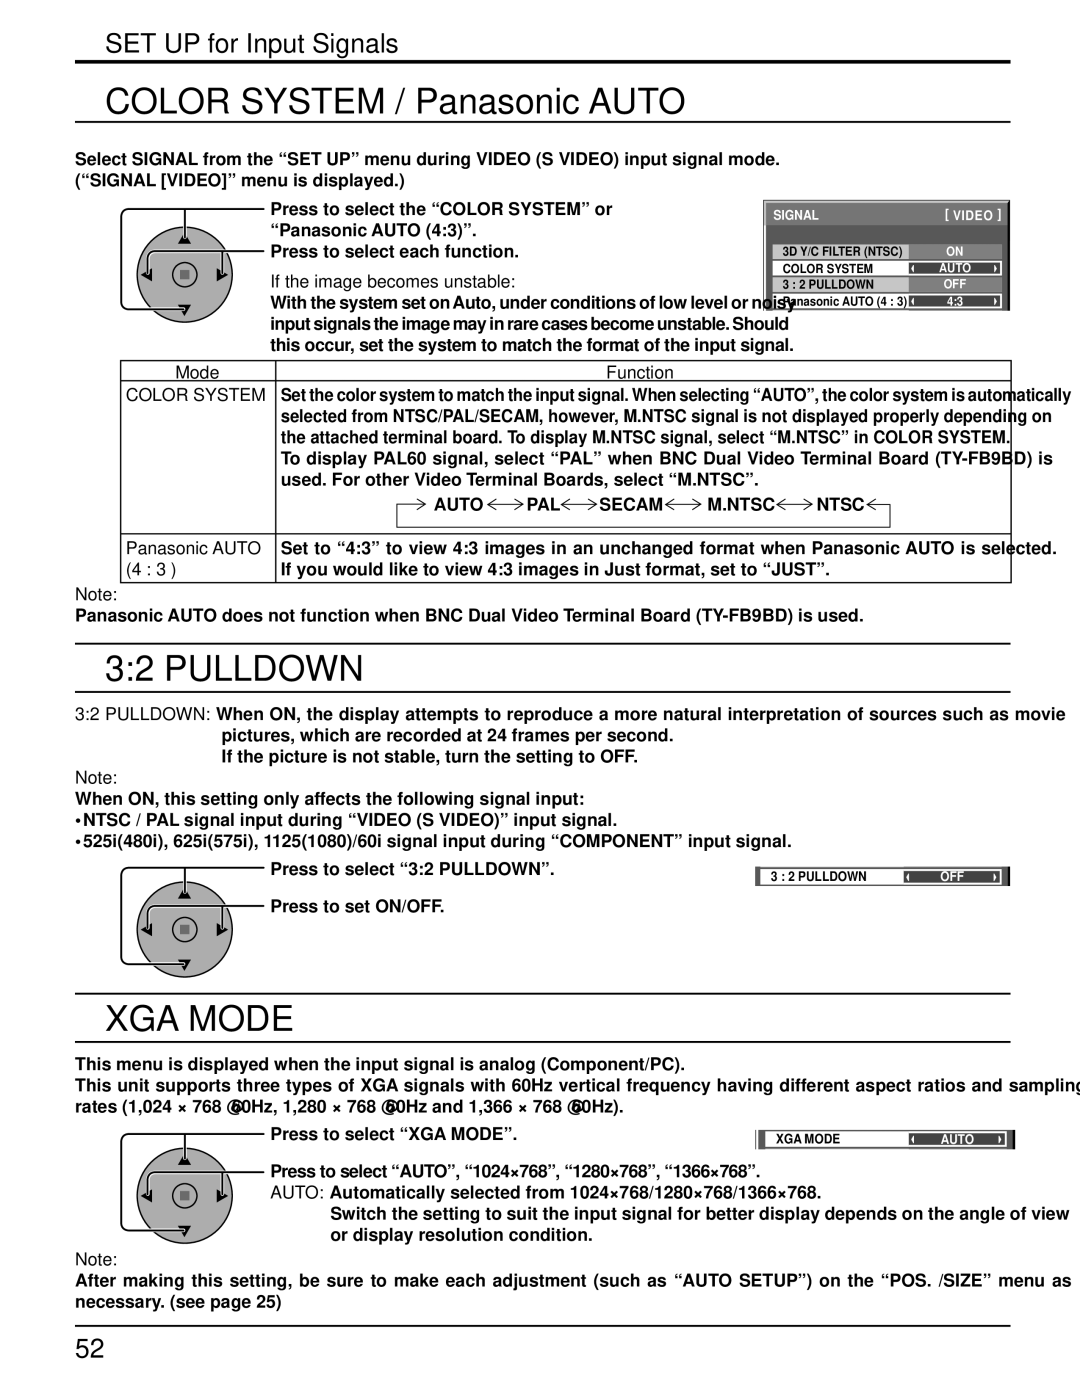
Select SIGNAL from the “SET UP” menu during VIDEO (S VIDEO) input signal mode. (“SIGNAL [VIDEO]” menu is displayed.)
Press to select the “COLOR SYSTEM” or “Panasonic AUTO (4:3)”.
Press to select each function.
If the image becomes unstable:
With the system set on Auto, under conditions of low level or noisy input signals the image may in rare cases become unstable. Should this occur, set the system to match the format of the input signal.
| SIGNAL | [ VIDEO ] | |
|
|
|
|
| 3D Y/C FILTER (NTSC) | ON |
|
|
|
|
|
| COLOR SYSTEM | AUTO | |
|
|
|
|
| 3 : 2 PULLDOWN | OFF |
|
|
|
|
|
| Panasonic AUTO (4 : 3) | 4:3 |
|
|
|
|
|
Mode |
|
| Function |
|
|
COLOR SYSTEM | Set the color system to match the input signal. When selecting “AUTO”, the color system is automatically | ||||
| selected from NTSC/PAL/SECAM, however, M.NTSC signal is not displayed properly depending on | ||||
| the attached terminal board. To display M.NTSC signal, select “M.NTSC” in COLOR SYSTEM. | ||||
| To display PAL60 signal, select “PAL” when BNC Dual Video Terminal Board | ||||
| used. For other Video Terminal Boards, select “M.NTSC”. |
| |||
| AUTO | PAL | SECAM | M.NTSC | NTSC |
|
| ||||
Panasonic AUTO | Set to “4:3” to view 4:3 images in an unchanged format when Panasonic AUTO is selected. | ||||
(4 : 3 ) | If you would like to view 4:3 images in Just format, set to “JUST”. |
| |||
Note:
Panasonic AUTO does not function when BNC Dual Video Terminal Board
3:2 PULLDOWN
3:2 PULLDOWN: When ON, the display attempts to reproduce a more natural interpretation of sources such as movie pictures, which are recorded at 24 frames per second.
If the picture is not stable, turn the setting to OFF.
Note:
When ON, this setting only affects the following signal input:
•NTSC / PAL signal input during “VIDEO (S VIDEO)” input signal.
•525i(480i), 625i(575i), 1125(1080)/60i signal input during “COMPONENT” input signal.
Press to select “3:2 PULLDOWN”.
Press to set ON/OFF.
3 : 2 PULLDOWN | OFF |
XGA MODE
This menu is displayed when the input signal is analog (Component/PC).
This unit supports three types of XGA signals with 60Hz vertical frequency having different aspect ratios and sampling rates (1,024 × 768 @ 60Hz, 1,280 × 768 @ 60Hz and 1,366 × 768 @ 60Hz).
Press to select “XGA MODE”.
XGA MODE | AUTO |
|
|
Press to select “AUTO”, “1024×768”, “1280×768”, “1366×768”.
AUTO: Automatically selected from 1024×768/1280×768/1366×768.
Switch the setting to suit the input signal for better display depends on the angle of view or display resolution condition.
Note:
After making this setting, be sure to make each adjustment (such as “AUTO SETUP”) on the “POS. /SIZE” menu as necessary. (see page 25)
52