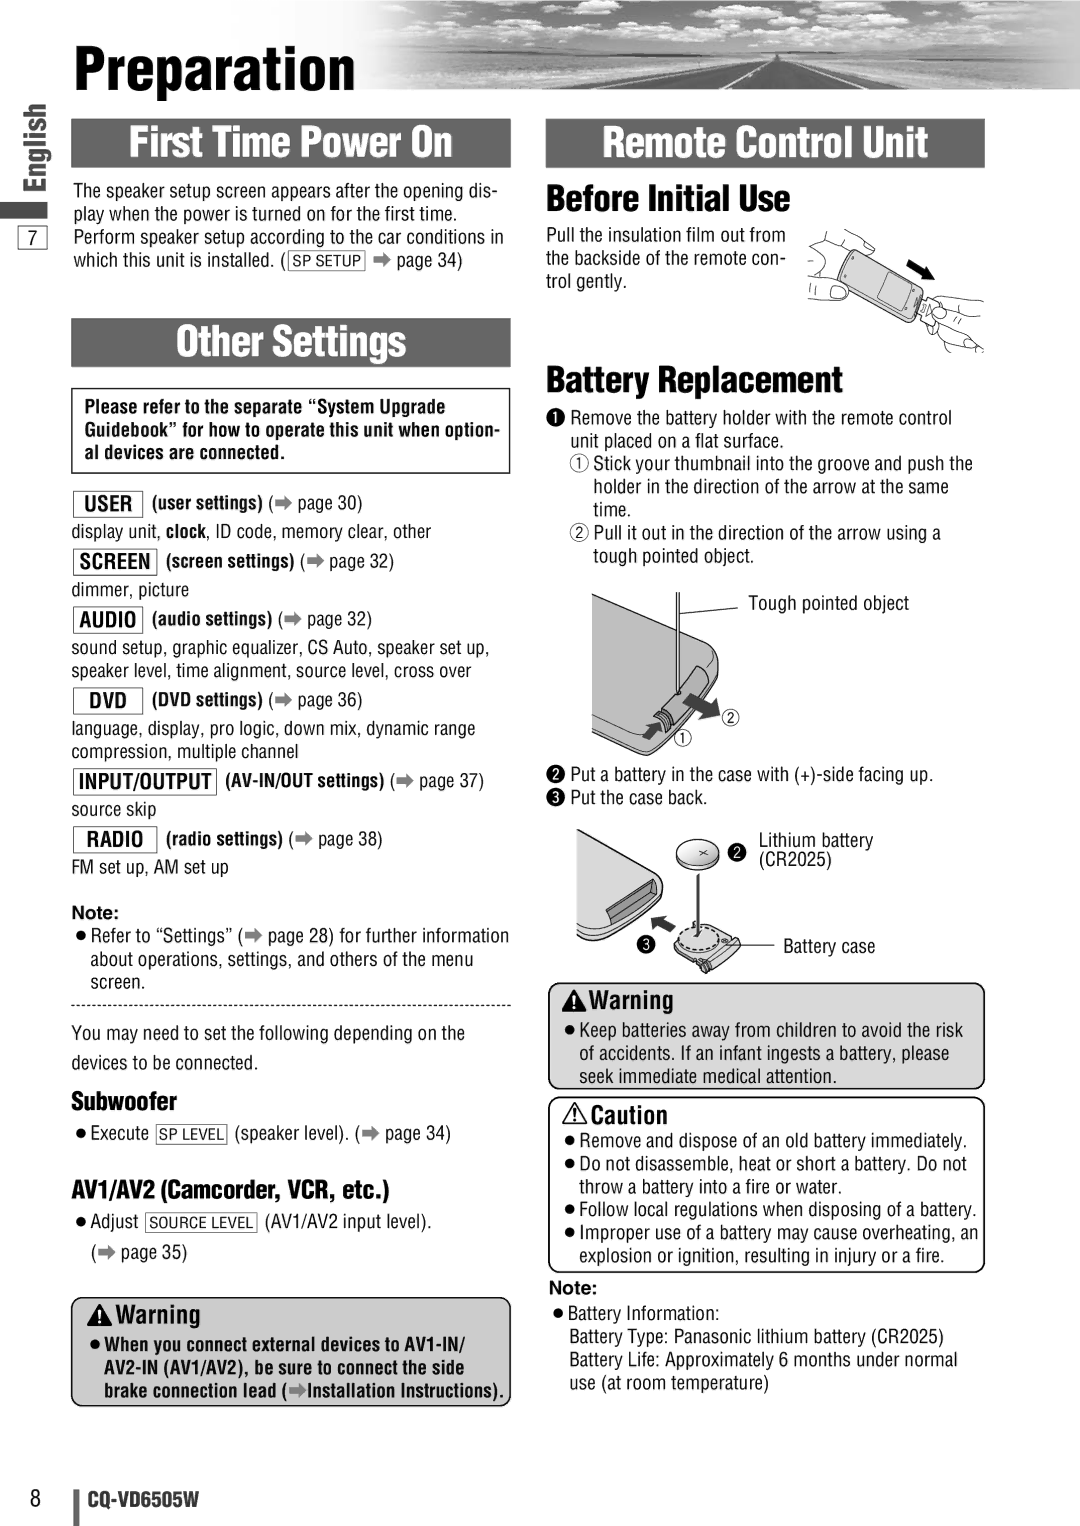
Preparation
English |
|
|
| First Time Power On | |
|
| |
|
| The speaker setup screen appears after the opening dis- |
|
| play when the power is turned on for the first time. |
|
7Perform speaker setup according to the car conditions in which this unit is installed. ( SP SETUP a page 34)
Other Settings
Please refer to the separate “System Upgrade Guidebook” for how to operate this unit when option- al devices are connected.
USER (user settings) (a page 30)
display unit, clock, ID code, memory clear, other
SCREEN (screen settings) (a page 32) dimmer, picture
AUDIO (audio settings) (a page 32)
sound setup, graphic equalizer, CS Auto, speaker set up, speaker level, time alignment, source level, cross over
DVD (DVD settings) (a page 36)
language, display, pro logic, down mix, dynamic range compression, multiple channel
INPUT/OUTPUT
RADIO (radio settings) (a page 38)
FM set up, AM set up
Note:
¡Refer to “Settings” (a page 28) for further information about operations, settings, and others of the menu screen.
You may need to set the following depending on the
devices to be connected.
Subwoofer
¡Execute SP LEVEL (speaker level). (a page 34)
AV1/AV2 (Camcorder, VCR, etc.)
¡Adjust SOURCE LEVEL (AV1/AV2 input level). (a page 35)
![]() Warning
Warning
¡When you connect external devices to AV1-IN/
Remote Control Unit
Before Initial Use
Pull the insulation film out from the backside of the remote con- trol gently.
Battery Replacement
q Remove the battery holder with the remote control unit placed on a flat surface.
qStick your thumbnail into the groove and push the
holder in the direction of the arrow at the same time.
wPull it out in the direction of the arrow using a tough pointed object.
Tough pointed object
w Put a battery in the case with
Lithium battery
![]() 2 (CR2025)
2 (CR2025)
3 | Battery case |
![]() Warning
Warning
¡Keep batteries away from children to avoid the risk of accidents. If an infant ingests a battery, please seek immediate medical attention.
![]() Caution
Caution
¡Remove and dispose of an old battery immediately. ¡Do not disassemble, heat or short a battery. Do not
throw a battery into a fire or water.
¡Follow local regulations when disposing of a battery. ¡Improper use of a battery may cause overheating, an explosion or ignition, resulting in injury or a fire.
Note:
¡Battery Information:
Battery Type: Panasonic lithium battery (CR2025)
Battery Life: Approximately 6 months under normal use (at room temperature)
8
