Power supply
AC adaptor
FOR THE UNITED KINGDOM ONLY READ THE CAUTION FOR THE AC MAINS LEAD ON PAGE 2 BEFORE CONNECTION.
Started |
| DC IN 9V |
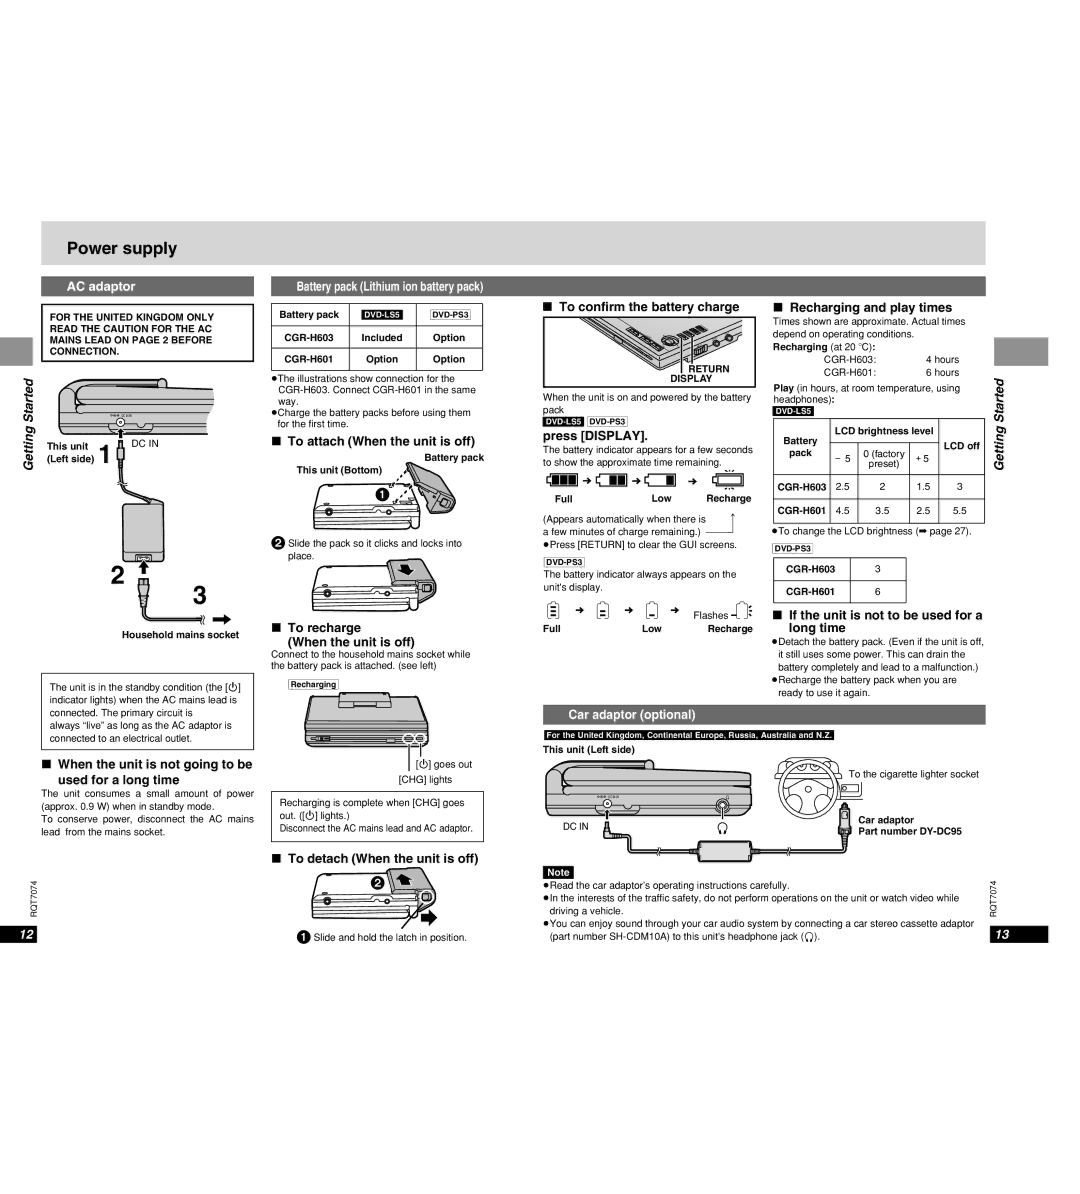
Getting | This unit | DC IN |
| (Left side) 1 |
|
2 ![]()
3
Household mains socket
The unit is in the standby condition (the [Í] indicator lights) when the AC mains lead is connected. The primary circuit is
Battery pack (Lithium ion battery pack)
Battery pack | ||
|
|
|
Included | Option | |
|
|
|
| Option | Option |
|
|
|
≥The illustrations show connection for the
≥Charge the battery packs before using them for the first time.
∫To attach (When the unit is off)
Battery pack
This unit (Bottom)
1![]()
2Slide the pack so it clicks and locks into place.
∫To recharge
∫(When the unit is off)
Connect to the household mains socket while the battery pack is attached. (see left)
[Recharging]
∫To confirm the battery charge
|
|
|
| TOP | ME |
|
|
|
| ME |
| NU | |
D |
| RET |
| NU |
|
|
— | ISP | LA | RN |
|
| VIDEO |
OF |
|
|
|
| AUDIO | |
F |
| Y |
|
|
| |
ENT |
|
|
|
|
| OPT OUT |
RE |
|
|
|
|
|
|
ON |
|
|
| VOL |
|
|
|
|
|
|
|
|
RETURN
DISPLAY
When the unit is on and powered by the battery pack
press [DISPLAY].
The battery indicator appears for a few seconds to show the approximate time remaining.
Full | Low | Recharge |
(Appears automatically when there is | f | |
a few minutes of charge remaining.) | } | |
≥Press [RETURN] to clear the GUI screens. | ||
The battery indicator always appears on the unit's display.
|
| Flashes |
Full | Low | Recharge |
Car adaptor (optional)
∫Recharging and play times
Times shown are approximate. Actual times
depend on operating conditions. |
|
Recharging (at 20 oC): |
|
4 hours | |
6 hours |
Play (in hours, at room temperature, using headphones):
Battery | LCD brightness level |
| ||
|
|
| LCD off | |
pack |
| 0 (factory |
| |
-5 | +5 |
| ||
|
| preset) |
|
|
2.5 | 2 | 1.5 | 3 | |
|
|
|
|
|
4.5 | 3.5 | 2.5 | 5.5 | |
|
|
|
|
|
≥To change the LCD brightness (➡ page 27).
3 | |
|
|
6 | |
|
|
∫If the unit is not to be used for a long time
≥Detach the battery pack. (Even if the unit is off, it still uses some power. This can drain the battery completely and lead to a malfunction.)
≥Recharge the battery pack when you are ready to use it again.
Getting Started
always “live” as long as the AC adaptor is connected to an electrical outlet.
[For\the\United\Kingdom,\Continental\Europe,[Russia,\Australia\and\N.Z.]
This unit (Left side)
∫When the unit is not going to be
used for a long time
The unit consumes a small amount of power (approx. 0.9 W) when in standby mode.
To conserve power, disconnect the AC mains lead from the mains socket.
[Í] goes out
[CHG] lights
Recharging is complete when [CHG] goes out. ([Í] lights.)
Disconnect the AC mains lead and AC adaptor.
To the cigarette lighter socket
DC IN 9V
DC IN | Car adaptor | |
Part number | ||
|
| ∫ To detach (When the unit is off) |
RQT7074 | 2 |
| |
12 | 1 Slide and hold the latch in position. |
Note |
|
| |
≥Read the car adaptor’s operating instructions carefully. | RQT7074 | ||
≥In the interests of the traffic safety, do not perform operations on the unit or watch video while | |||
driving a vehicle. | |||
≥You can enjoy sound through your car audio system by connecting a car stereo cassette adaptor |
| ||
13 | |||
(part number | |||