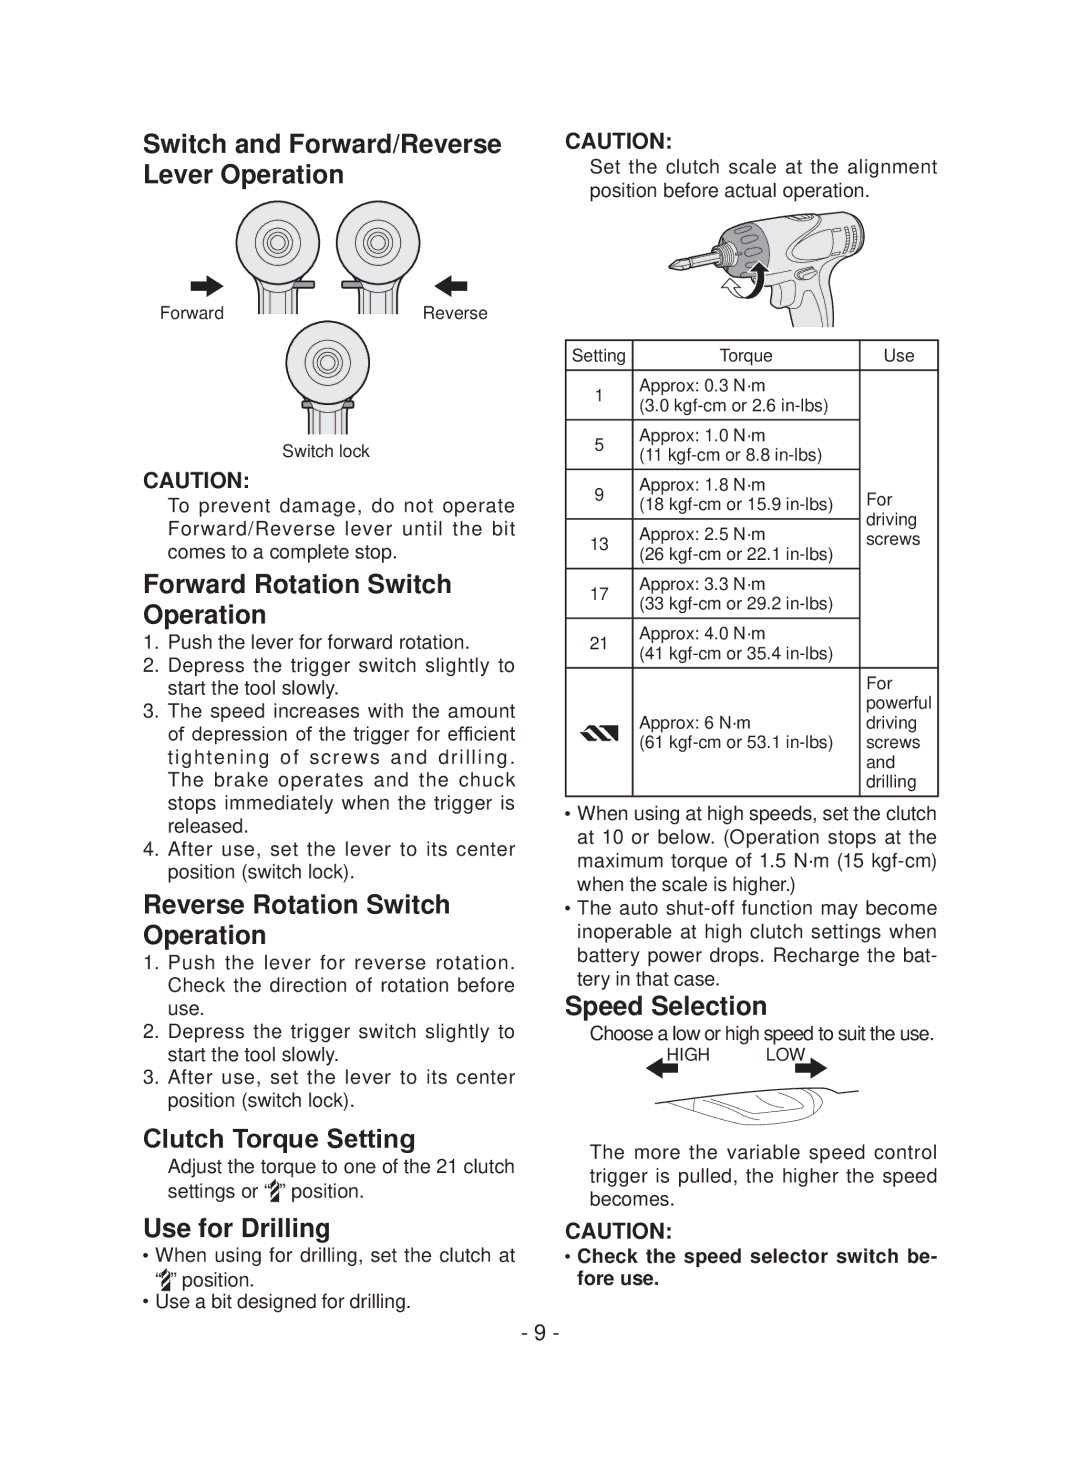
Switch and Forward/Reverse Lever Operation
ForwardReverse
Switch lock
CAUTION:
To prevent damage, do not operate Forward/Reverse lever until the bit comes to a complete stop.
Forward Rotation Switch Operation
1.Push the lever for forward rotation.
2.Depress the trigger switch slightly to start the tool slowly.
3.The speed increases with the amount of depression of the trigger for efficient tightening of screws and drilling. The brake operates and the chuck stops immediately when the trigger is released.
4.After use, set the lever to its center position (switch lock).
Reverse Rotation Switch Operation
1.Push the lever for reverse rotation. Check the direction of rotation before use.
2.Depress the trigger switch slightly to start the tool slowly.
3.After use, set the lever to its center position (switch lock).
Clutch Torque Setting
Adjust the torque to one of the 21 clutch settings or “![]() ” position.
” position.
Use for Drilling
●●When using for drilling, set the clutch at “![]() ” position.
” position.
●●Use a bit designed for drilling.
CAUTION:
Set the clutch scale at the alignment position before actual operation.
Setting | Torque | Use |
1Approx: 0.3 N·m
(3.0
5Approx: 1.0 N·m
(11
9 | Approx: 1.8 N·m | For |
(18 | ||
|
| driving |
| Approx: 2.5 N·m | |
13 | screws | |
| (26 |
|
17Approx: 3.3 N·m
(33
21 | Approx: 4.0 N·m |
|
(41 |
| |
|
| |
|
| For |
|
| powerful |
| Approx: 6 N·m | driving |
| (61 | screws |
|
| and |
|
| drilling |
●●When using at high speeds, set the clutch at 10 or below. (Operation stops at the maximum torque of 1.5 N·m (15
●●The auto
Speed Selection
Choose a low or high speed to suit the use.
HIGH LOW
The more the variable speed control trigger is pulled, the higher the speed becomes.
CAUTION:
●●Check the speed selector switch be- fore use.
- 9 -
