8.Supply the video output signal of the camera to be adjusted and the reference
9.Set the oscilloscope to the horizontal rate and expand the horizontal sync portion on the oscilloscope.
10.Adjust the horizontal phase by pressing A or B. The adjustable range is
6-4. External HD/VD Mode (HD/VD)
1.Move the cursor to the SYNC parameter.
2.Connect the coaxial cable for the external HD and VD signal to the
3.Confirm that the INT parameter changed to EXT (H/V) on the menu.
4.Move the cursor to the RGB SYNC parameter.
5.Select 4.0V or 0.3V according to the RGB monitor input level.
** SET UP **
CAMERA ID | *OFF | |
FLD/FRM | FLD | |
ELC | *OFF | |
SHUTTER | OFF | |
GAIN | AUTO | |
SYNC | *EXT(H/V | ) |
BLACK BAL | ABC |
|
SCENE FILE | *SCENE1 | |
END |
|
|
6-5. External VD Mode (VD)
1.Move the cursor to the SYNC parameter and select INT.
2.Connect the coaxial cable for the external VD signal to the VD input connector.
3.Confirm that the INT parameter changed to EXT (VD) on the menu.
4.Move the cursor to the RGB SYNC parameter.
5.Select 4.0V or 0.3V according to the RGB monitor input level.
** SET UP **
CAMERA ID | *OFF |
FLD/FRM | FLD |
ELC | *OFF |
SHUTTER | OFF |
GAIN | AUTO |
SYNC | *EXT(VD) |
BLACK BAL | ABC |
SCENE FILE | *SCENE1 |
END |
|
7. Black Balance Setting (BLACK BAL)
Under low light conditions, correct setting of the black balance is required for producing correct colours. Once the black balance has been set correctly, the setting is maintained in memory.
This setting will not be lost even if the camera control unit is turned off. However, for best results, it is recom- mended that the black balance adjustment be carried out when the camera has not been used for a long period of time.
There are two black balance control mode. Auto black balance control (ABC) can be selected on the front panel and manual control (MANU) on this menu.
7-1. Auto Black Balance Setting (BLACK BAL)
1.Move the cursor to the BLACK BAL parameter and select ABC.
** SET UP **
CAMERA ID | *OFF | ||
FLD/FRM |
| FLD | |
ELC | *OFF | ||
SHUTTER |
| OFF | |
GAIN |
| AUTO | |
SYNC |
| INT | |
BLACK BAL |
| ABC |
|
SCENE FILE | *SCENE1 | ||
END |
|
|
|
2.Attach the lens cap on the camera lens.
3.Move the cursor to END and press the PAGE button to close the SETUP menu.
4.Press the A (ABC) button on the front panel of the camera control unit.
The auto black balance setting is performed.
5.When the auto black balance is completed, the auto warning indicator first blinks and then goes off. If the indicator remains lit, repeat the above procedure for setting the auto black balance (ABC).
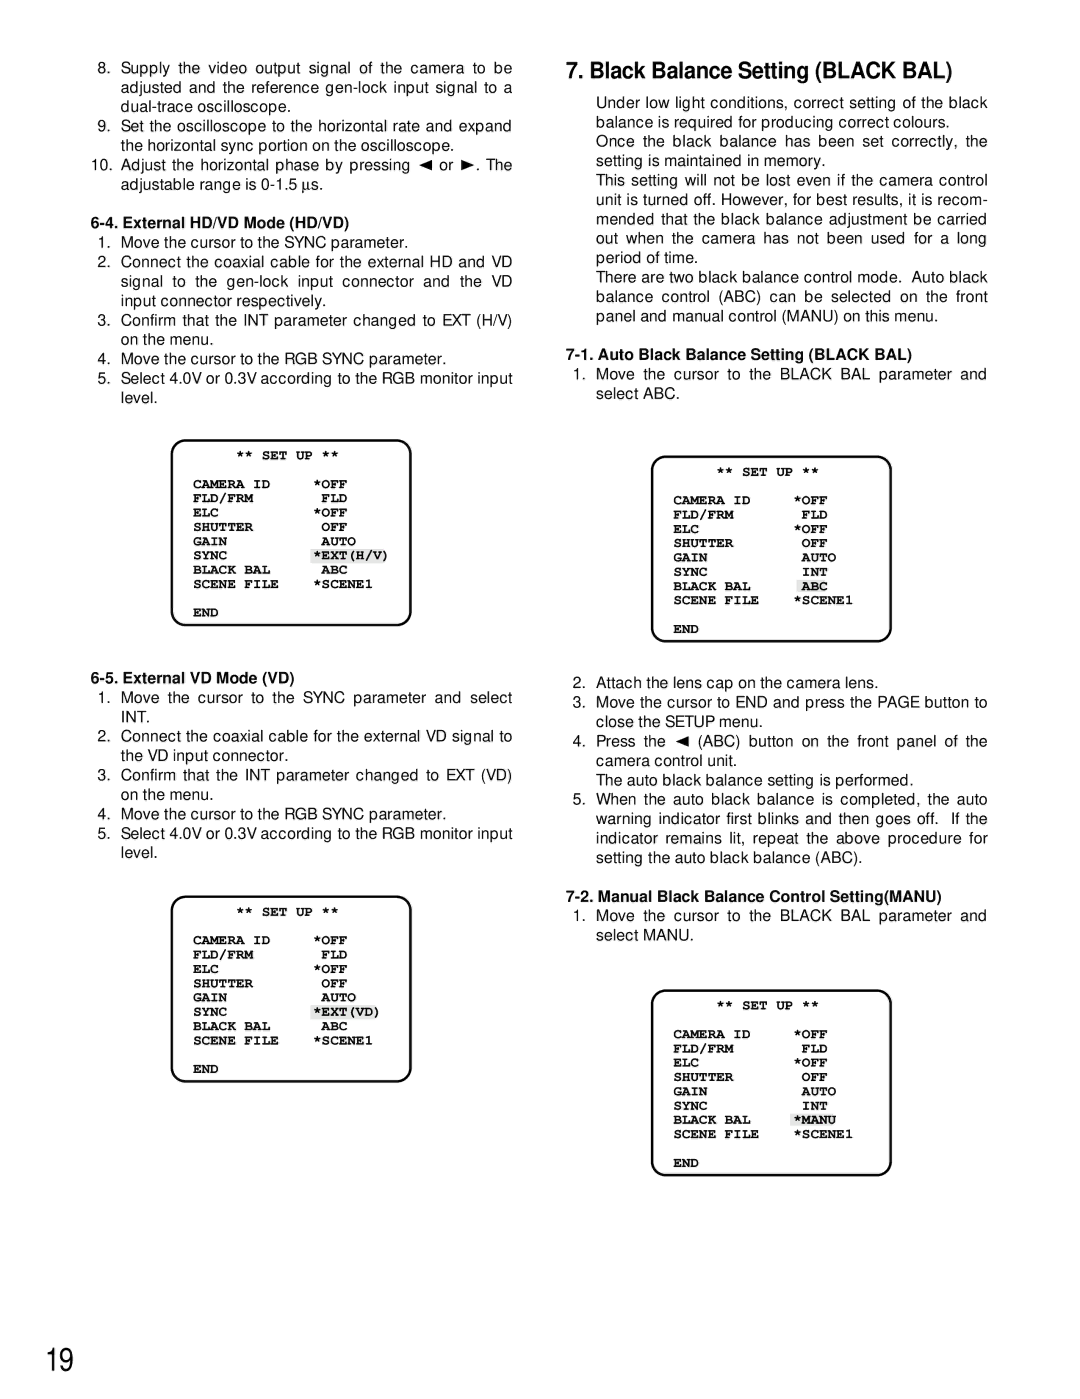
7-2. Manual Black Balance Control Setting(MANU)
1.Move the cursor to the BLACK BAL parameter and select MANU.
** SET UP **
CAMERA ID | *OFF | |
FLD/FRM | FLD | |
ELC | *OFF | |
SHUTTER | OFF | |
GAIN | AUTO | |
SYNC | INT | |
BLACK BAL | *MANU |
|
SCENE FILE | *SCENE1 | |
END |
|
|
19