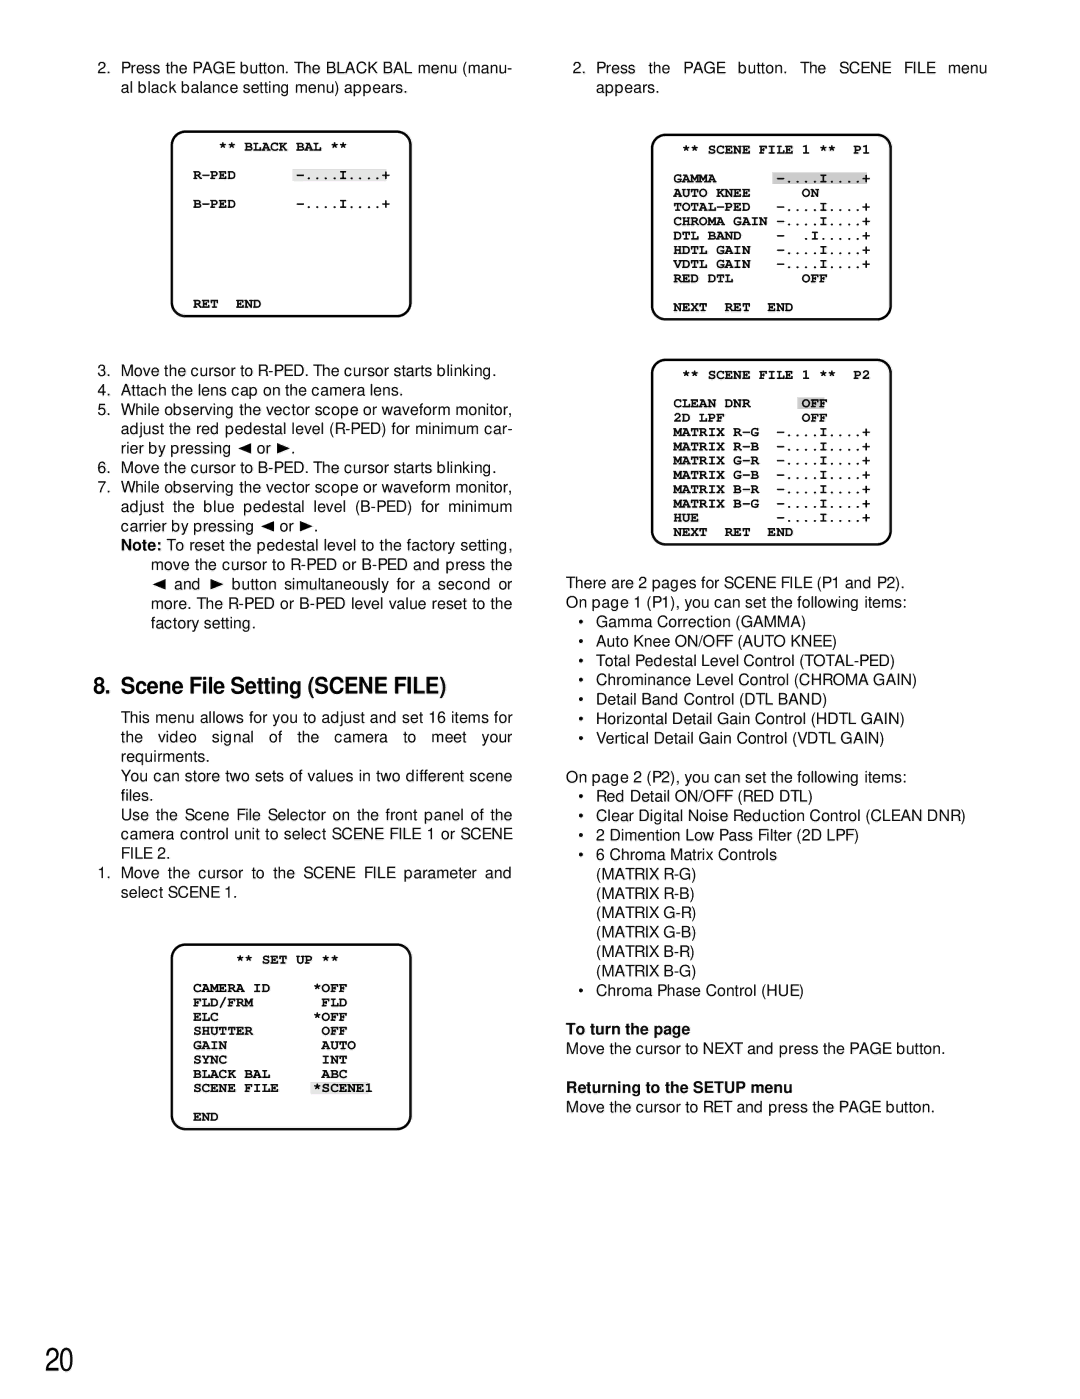
2.Press the PAGE button. The BLACK BAL menu (manu- al black balance setting menu) appears.
** BLACK BAL ** |
| ||
....- | ....I | + | |
....- | ....I | + | |
RET END
3.Move the cursor to
4.Attach the lens cap on the camera lens.
5.While observing the vector scope or waveform monitor, adjust the red pedestal level
6.Move the cursor to
7.While observing the vector scope or waveform monitor, adjust the blue pedestal level
Note: To reset the pedestal level to the factory setting, move the cursor to
8.Scene File Setting (SCENE FILE)
This menu allows for you to adjust and set 16 items for the video signal of the camera to meet your requirments.
You can store two sets of values in two different scene files.
Use the Scene File Selector on the front panel of the camera control unit to select SCENE FILE 1 or SCENE
FILE 2.
1.Move the cursor to the SCENE FILE parameter and select SCENE 1.
** SET UP **
CAMERA ID | *OFF |
FLD/FRM | FLD |
ELC | *OFF |
SHUTTER | OFF |
GAIN | AUTO |
SYNC | INT |
BLACK BAL | ABC |
SCENE FILE | *SCENE1 |
END |
|
2.Press the PAGE button. The SCENE FILE menu appears.
** SCENE FILE 1 ** | P1 | ||||
GAMMA |
| I.... | + | ||
AUTO KNEE |
| ON |
| ||
I.... | + | ||||
CHROMA GAIN | I.... | + | |||
DTL BAND | - | .I | + | ||
HDTL GAIN | I.... | + | |||
VDTL GAIN | I.... | + | |||
RED DTL |
| OFF |
| ||
NEXT | RET | END |
|
|
|
** SCENE FILE 1 ** | P2 | ||||
CLEAN DNR |
|
|
|
| |
| OFF |
| |||
2D LPF |
|
| OFF |
| |
MATRIX | I.... | + | |||
MATRIX | I.... | + | |||
MATRIX | I.... | + | |||
MATRIX | I.... | + | |||
MATRIX | I.... | + | |||
MATRIX | I.... | + | |||
HUE |
| I.... | + | ||
NEXT | RET | END |
|
|
|
There are 2 pages for SCENE FILE (P1 and P2). On page 1 (P1), you can set the following items:
•Gamma Correction (GAMMA)
•Auto Knee ON/OFF (AUTO KNEE)
•Total Pedestal Level Control
•Chrominance Level Control (CHROMA GAIN)
•Detail Band Control (DTL BAND)
•Horizontal Detail Gain Control (HDTL GAIN)
•Vertical Detail Gain Control (VDTL GAIN)
On page 2 (P2), you can set the following items:
•Red Detail ON/OFF (RED DTL)
•Clear Digital Noise Reduction Control (CLEAN DNR)
•2 Dimention Low Pass Filter (2D LPF)
•6 Chroma Matrix Controls (MATRIX
(MATRIX
•Chroma Phase Control (HUE)
To turn the page
Move the cursor to NEXT and press the PAGE button.
Returning to the SETUP menu
Move the cursor to RET and press the PAGE button.
20
