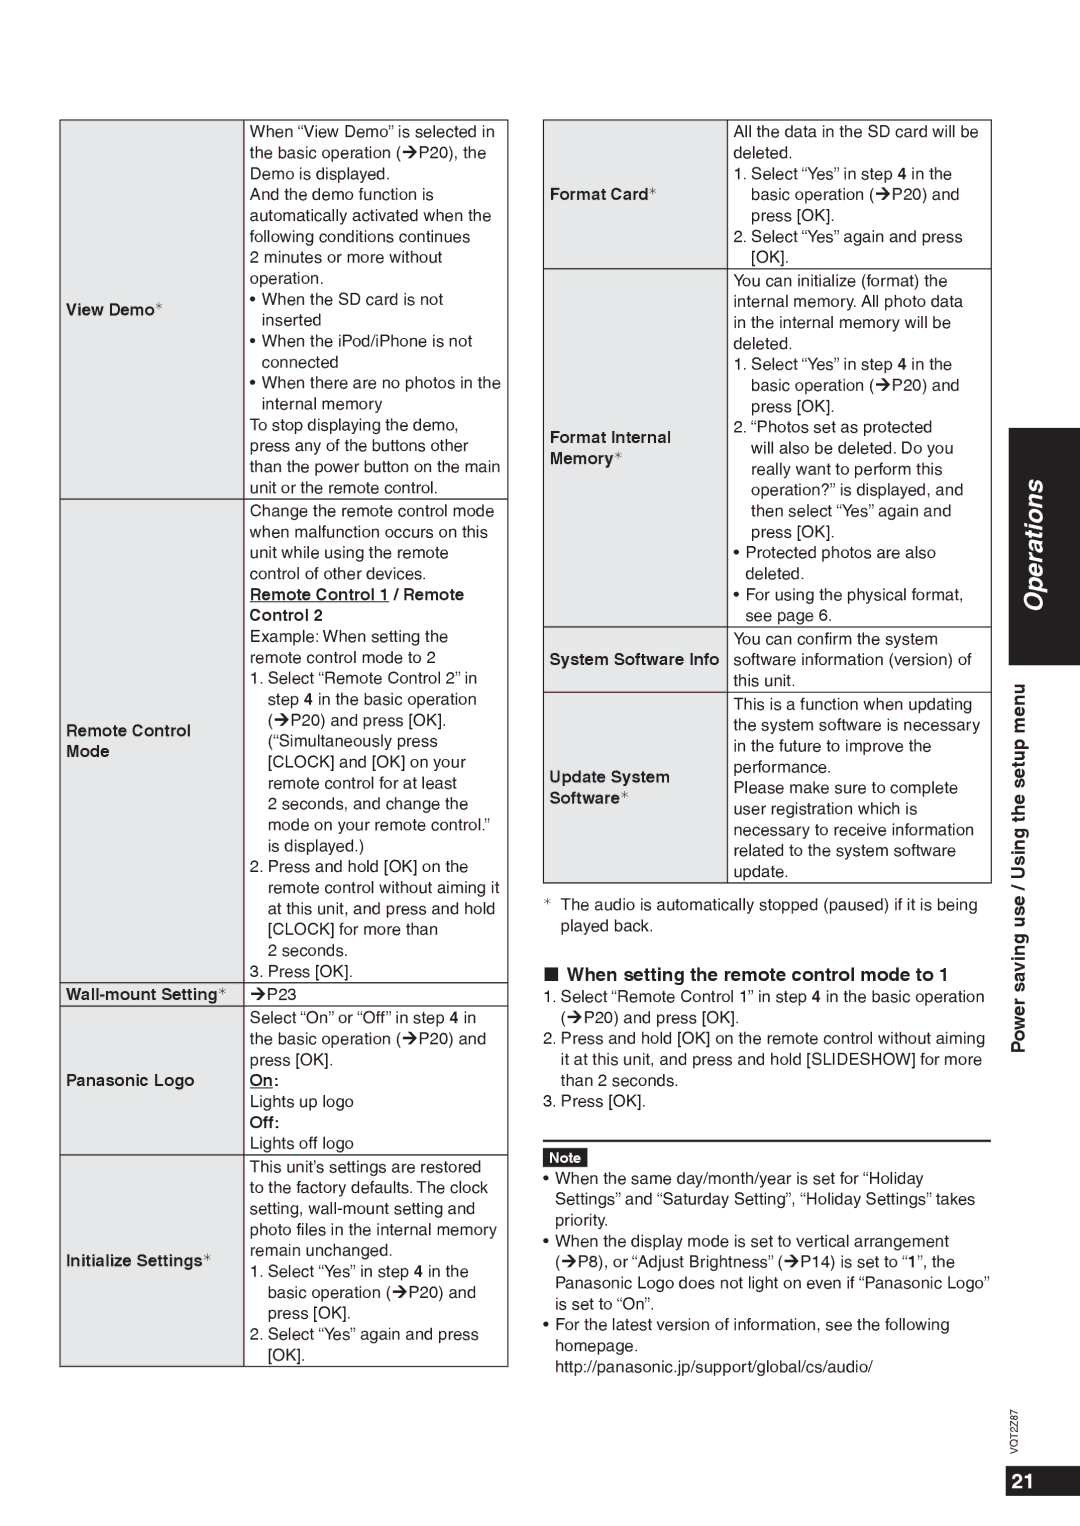
| When “View Demo” is selected in | |
| the basic operation (¼P20), the | |
| Demo is displayed. | |
| And the demo function is | |
| automatically activated when the | |
| following conditions continues | |
| 2 minutes or more without | |
| operation. | |
View Demo¼ | • When the SD card is not | |
inserted | ||
| ||
| • When the iPod/iPhone is not | |
| connected | |
| • When there are no photos in the | |
| internal memory | |
| To stop displaying the demo, | |
| press any of the buttons other | |
| than the power button on the main | |
| unit or the remote control. | |
| Change the remote control mode | |
| when malfunction occurs on this | |
| unit while using the remote | |
| control of other devices. | |
| Remote Control 1 / Remote | |
| Control 2 | |
| Example: When setting the | |
| remote control mode to 2 | |
| 1. Select “Remote Control 2” in | |
| step 4 in the basic operation | |
Remote Control | (¼P20) and press [OK]. | |
(“Simultaneously press | ||
Mode | ||
[CLOCK] and [OK] on your | ||
| ||
| remote control for at least | |
| 2 seconds, and change the | |
| mode on your remote control.” | |
| is displayed.) | |
| 2. Press and hold [OK] on the | |
| remote control without aiming it | |
| at this unit, and press and hold | |
| [CLOCK] for more than | |
| 2 seconds. | |
| 3. Press [OK]. | |
¼P23 | ||
| Select “On” or “Off” in step 4 in | |
| the basic operation (¼P20) and | |
| press [OK]. | |
Panasonic Logo | On: | |
| Lights up logo | |
| Off: | |
| Lights off logo | |
| This unit’s settings are restored | |
| to the factory defaults. The clock | |
| setting, | |
| photo files in the internal memory | |
Initialize Settings¼ | remain unchanged. | |
1. Select “Yes” in step 4 in the | ||
| ||
| basic operation (¼P20) and | |
| press [OK]. | |
| 2. Select “Yes” again and press | |
| [OK]. |
| All the data in the SD card will be |
|
| |
| deleted. |
|
| |
| 1. Select “Yes” in step 4 in the |
|
| |
Format Card¼ | basic operation (¼P20) and |
|
| |
| press [OK]. |
|
| |
| 2. Select “Yes” again and press |
|
| |
| [OK]. |
|
| |
| You can initialize (format) the |
|
| |
| internal memory. All photo data |
|
| |
| in the internal memory will be |
|
| |
| deleted. |
|
| |
| 1. Select “Yes” in step 4 in the |
|
| |
| basic operation (¼P20) and |
|
| |
| press [OK]. |
|
| |
Format Internal | 2. “Photos set as protected |
|
| |
|
| |||
will also be deleted. Do you |
|
| ||
Memory¼ |
|
| ||
really want to perform this |
|
| ||
|
| Operations | ||
| operation?” is displayed, and |
| ||
| then select “Yes” again and |
| ||
|
|
| ||
| press [OK]. |
|
| |
| • Protected photos are also |
|
| |
| deleted. |
|
| |
| • For using the physical format, |
|
| |
| see page 6. |
|
| |
| You can confirm the system |
|
| |
System Software Info | software information (version) of |
|
| |
|
| |||
| this unit. | menu | ||
| This is a function when updating | |||
| the system software is necessary | |||
| in the future to improve the | setup | ||
Update System | performance. | |||
Please make sure to complete | ||||
Software¼ | the | |||
user registration which is | ||||
| ||||
|
|
| ||
| necessary to receive information | Using | ||
| update. | |||
| related to the system software |
|
| |
|
| / | ||
|
| |||
¼ The audio is automatically stopped (paused) if it is being | use | |||
played back. |
| |||
| saving | |||
When setting the remote control mode to 1 | ||||
|
| |||
1. Select “Remote Control 1” in step 4 in the basic operation | Power | |||
(¼P20) and press [OK]. | ||||
|
| |||
2. Press and hold [OK] on the remote control without aiming it at this unit, and press and hold [SLIDESHOW] for more than 2 seconds.
3. Press [OK].
Note
•When the same day/month/year is set for “Holiday Settings” and “Saturday Setting”, “Holiday Settings” takes priority.
•When the display mode is set to vertical arrangement (¼P8), or “Adjust Brightness” (¼P14) is set to “1”, the Panasonic Logo does not light on even if “Panasonic Logo” is set to “On”.
•For the latest version of information, see the following homepage. http://panasonic.jp/support/global/cs/audio/
VQT2Z87
21
