Basic Operation
Remote control operation
Operating range
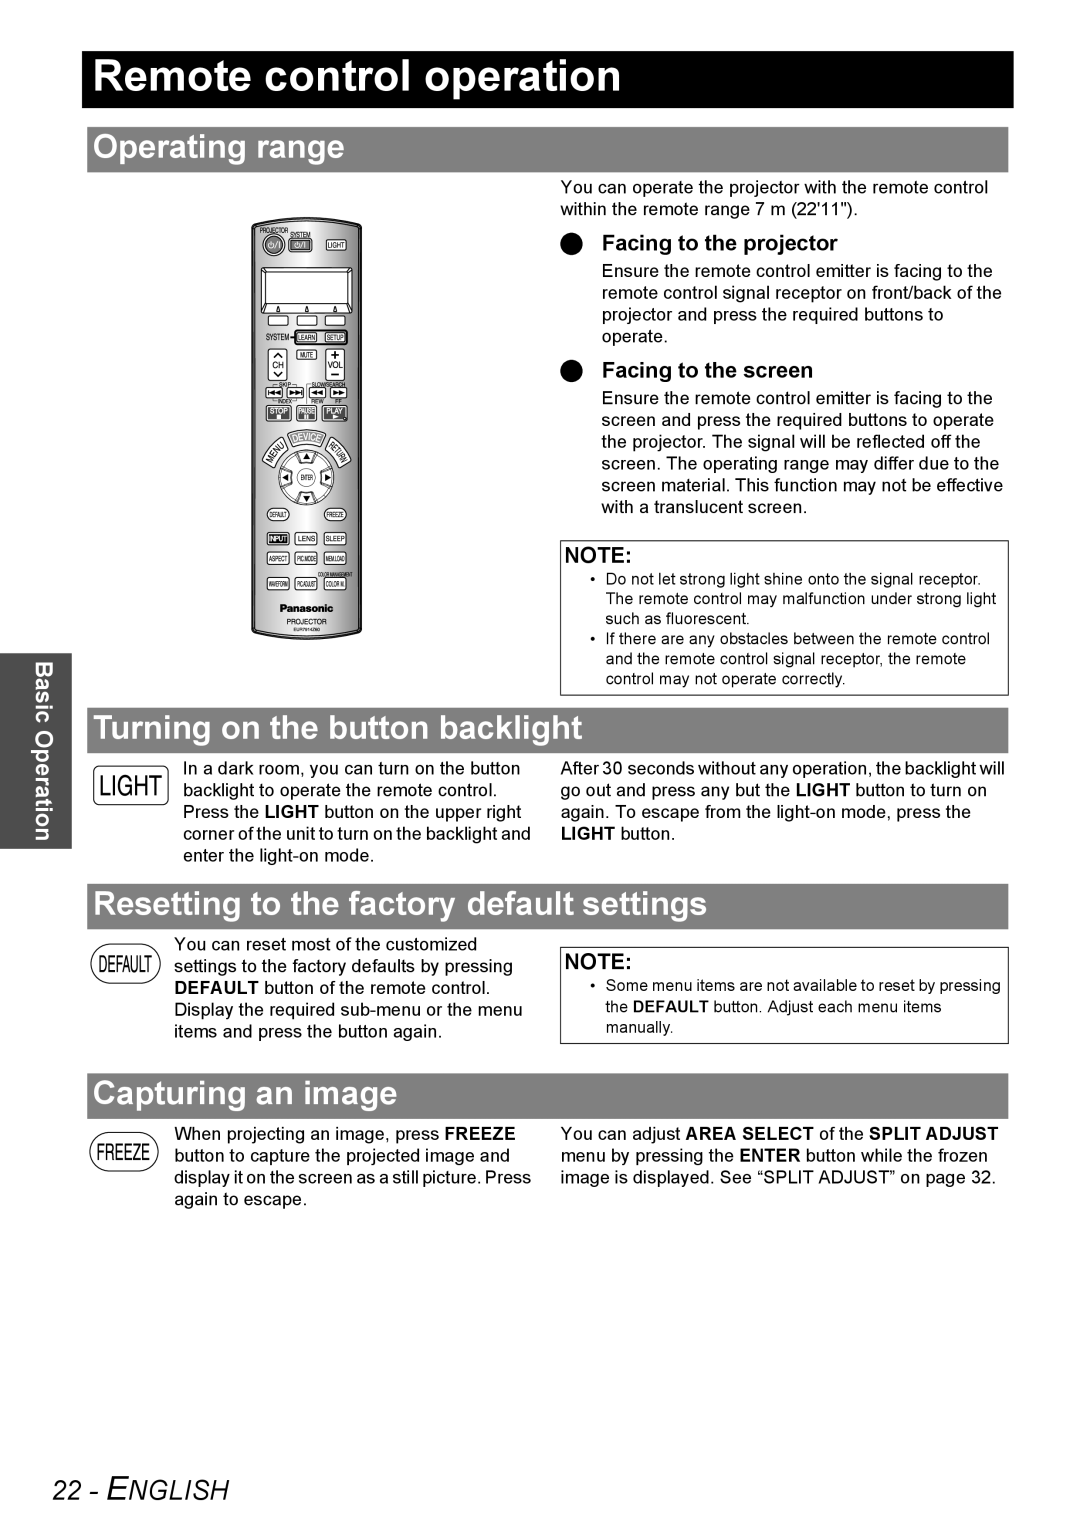
You can operate the projector with the remote control within the remote range 7 m (22'11").
Facing to the projector
Ensure the remote control emitter is facing to the remote control signal receptor on front/back of the projector and press the required buttons to operate.
Facing to the screen
Ensure the remote control emitter is facing to the screen and press the required buttons to operate the projector. The signal will be reflected off the screen. The operating range may differ due to the screen material. This function may not be effective with a translucent screen.
NOTE:
• Do not let strong light shine onto the signal receptor. The remote control may malfunction under strong light such as fluorescent.
• If there are any obstacles between the remote control and the remote control signal receptor, the remote control may not operate correctly.
Turning on the button backlight
In a dark room, you can turn on the button | After 30 seconds without any operation, the backlight will |
backlight to operate the remote control. | go out and press any but the LIGHT button to turn on |
Press the LIGHT button on the upper right | again. To escape from the |
corner of the unit to turn on the backlight and | LIGHT button. |
enter the |
|
Resetting to the factory default settings
You can reset most of the customized |
|
settings to the factory defaults by pressing | NOTE: |
DEFAULT button of the remote control. | • Some menu items are not available to reset by pressing |
Display the required | the DEFAULT button. Adjust each menu items |
items and press the button again. | manually. |
Capturing an image
When projecting an image, press FREEZE | You can adjust AREA SELECT of the SPLIT ADJUST |
button to capture the projected image and | menu by pressing the ENTER button while the frozen |
display it on the screen as a still picture. Press | image is displayed. See “SPLIT ADJUST” on page 32. |
again to escape. |
|
