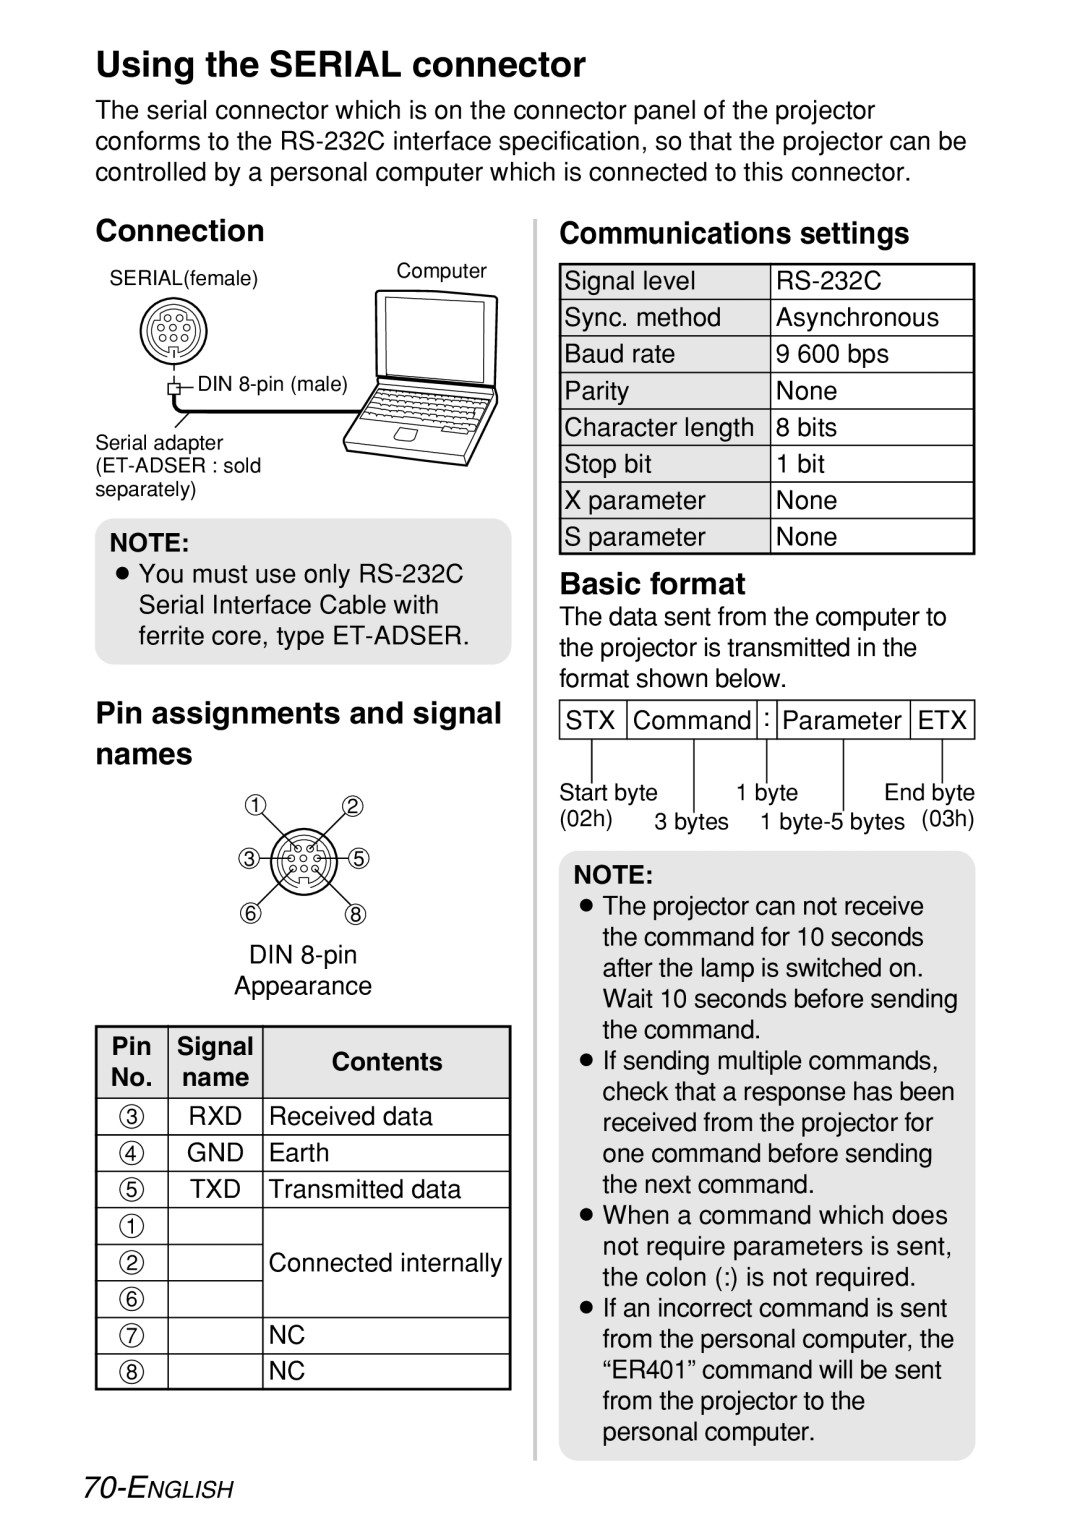
Using the SERIAL connector
The serial connector which is on the connector panel of the projector conforms to the
Connection
SERIAL(female)Computer
DIN
Serial adapter
NOTE:
BYou must use only
Pin assignments and signal names
| 1 | 2 | |
| 3 | 5 | |
| 6 | 8 | |
| DIN | ||
| Appearance | ||
Pin | Signal | Contents | |
No. | name | ||
| |||
% | RXD | Received data | |
& | GND | Earth | |
' | TXD | Transmitted data | |
# |
|
| |
$ |
| Connected internally | |
( |
|
| |
) |
| NC | |
* |
| NC | |
Communications settings
Signal level | |
Sync. method | Asynchronous |
Baud rate | 9 600 bps |
Parity | None |
Character length | 8 bits |
Stop bit | 1 bit |
X parameter | None |
S parameter | None |
Basic format
The data sent from the computer to the projector is transmitted in the format shown below.
STX Command : Parameter ETX
|
|
|
|
|
|
| |
Start byte |
| 1 byte | End byte | ||||
(02h) | 3 bytes | 1 | bytes (03h) | ||||
NOTE:
BThe projector can not receive the command for 10 seconds after the lamp is switched on.
Wait 10 seconds before sending the command.
BIf sending multiple commands, check that a response has been received from the projector for one command before sending the next command.
BWhen a command which does not require parameters is sent, the colon (:) is not required.
BIf an incorrect command is sent from the personal computer, the “ER401” command will be sent from the projector to the personal computer.
